In the Garden: Starting Seeds
February: In winter I hope for spring
I’ve always loved flowers in a casual sense. As a child, I joined my mom in her annual spring plantings - impatiens, petunias, the occasional sweet potato vine. My bachelorette party included a flower-arranging session. One of the top items on our list of must-haves during house-hunting was “room for a cutting garden.”
What is a cutting garden? It’s just the term for growing flowers that are meant for arranging rather than landscaping (though it can serve both purposes). These flowers can handle being cut from their plant and last awhile in a vase. They’ve been bred to have longer stems and not flop over too much. Some varieties of the classics (like roses or tulips) are more suited to cutting than others.
My goal is to have a micro flower farm in a few of our landscaping beds. I’m so inspired by Floret Farm, and I’ve been watching for years as they’ve grown and shared the most incredible beauty on their Instagram page, season after season. I’ve flipped through every page of Erin’s beautiful first book multiple times, just waiting to have the room to grow my own flowers. This is the year!
Though I have a chronic fear of failure and dread the inevitable disappointments this year will bring, I’m embracing the newness here. My goal is to mitigate avoidable issues through preparation and study and then to just enjoy the process.


The Setup
In order to get flowers in early spring, you have to start seeds in winter. That’s just math. I began gathering supplies and seeds in the fall, working through my thoughts, making plans, and tracking my expenses in four different spreadsheets and a long Google Doc.
Here’s what I bought:
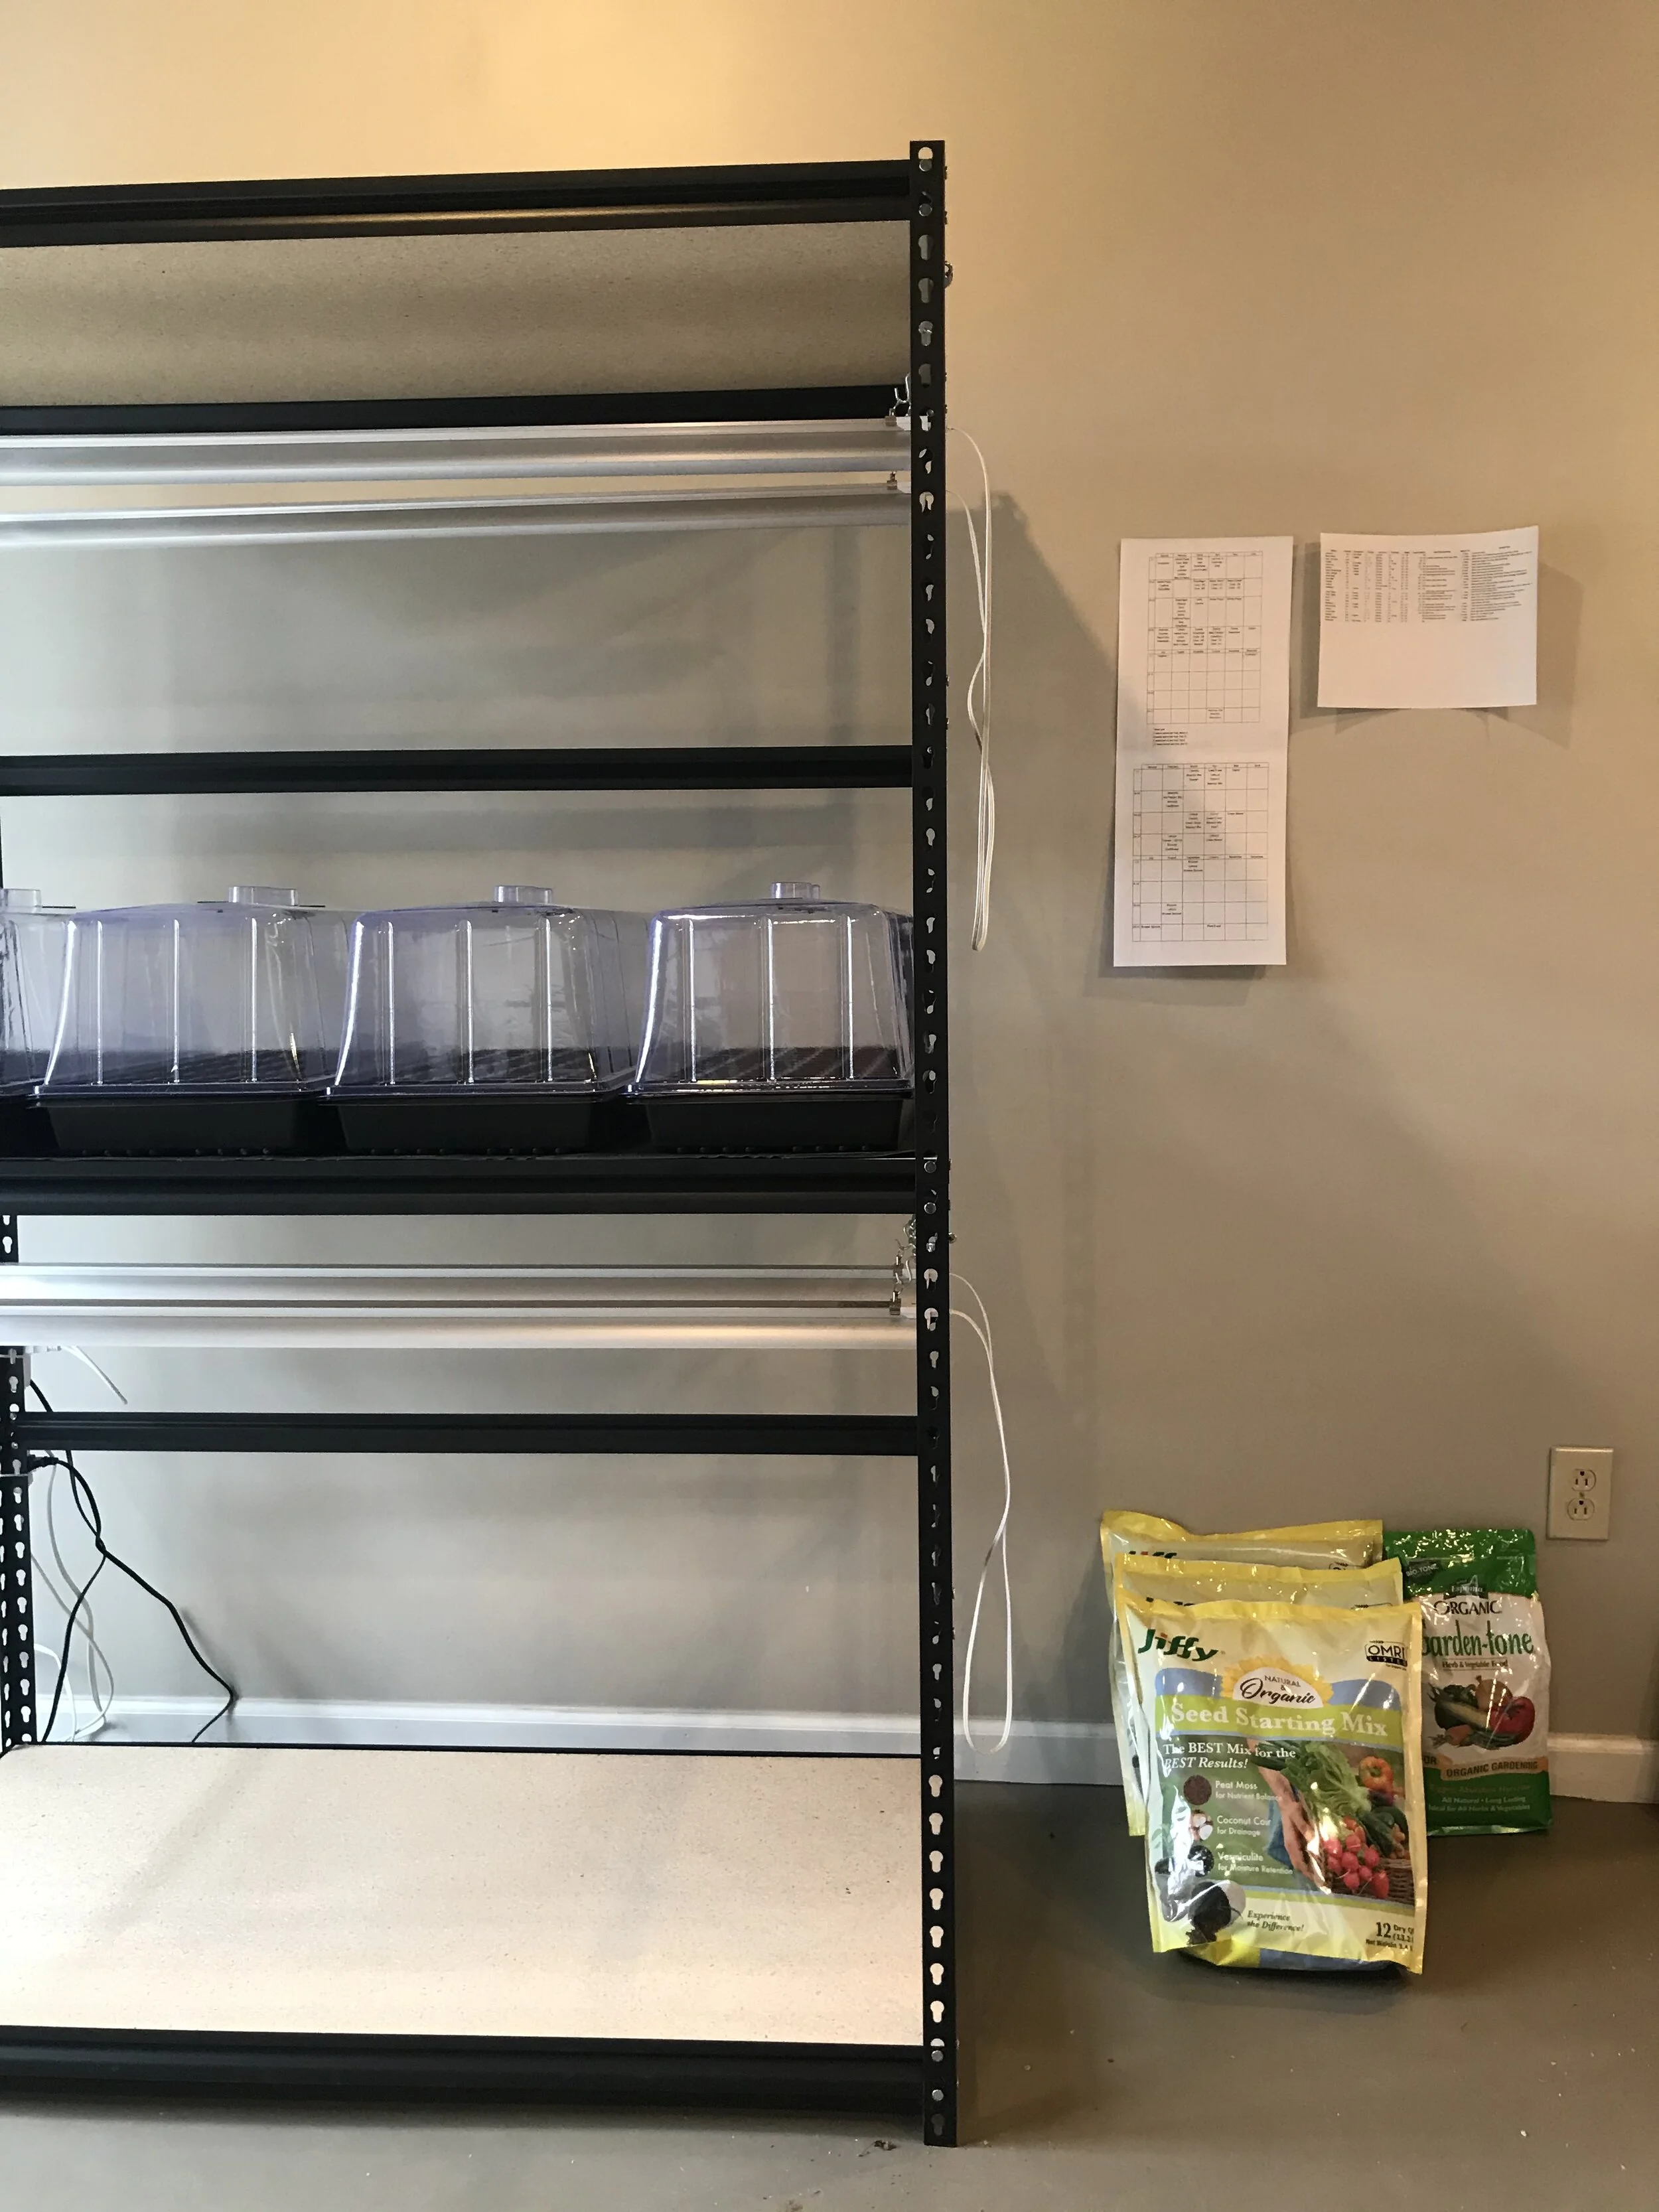
This heavy-duty shelf. It perfectly fits four 72-cell trays on one shelf. Any 48” wide shelf should do the trick for you. I like that this one has adjustable shelves; we took one out to accommodate the grow lights and domes. The chains to hang the grow lights are connected with tiny carabiners to the holes. I will probably put some contact paper on the shelves after I plant everything out this year - they’re OSB, and I worry they will show wear after a few seasons of my messes.
This seed-starting kit, which included a heat mat, four 72-cell trays, the flat trays beneath them, and the domes above. I tried hunting around for cheaper options to create my own kit (I started at Johnny’s Seeds, a well-respected source). Joey convinced me to buy this set after I had a fit of frustration trying to figure out which pieces fit together. I initially thought I’d been ripped off for convenience’s sake, but now I’m convinced it was a great buy. The tall domes fit over my tags, have little vents, and are very sturdy. I’ve learned that not all seed trays are created equal, but I’m sure I’ll be using these ones for years to come. They’re great!
Extra seed trays. I picked up a few of these cheaper trays. They’re flimsier, and the domes aren’t nearly as nice, but the good domes from the kit fit on these trays, and I shouldn’t ever have more than 4 trays germinating at a time (you remove the domes once the seeds sprout). A note on trays: they’re named for how many cells they have; so a 72-cell is 6 cells wide and 12 cells deep. The cells are a little bit smaller than most of the 6-packs you get at a nursery, but it seems to be the most common size for starting seeds.
This seed starting mix. I haven’t tried enough types to say for sure that this is “the BEST” as they claim, but I like it a lot! It’s light and fluffy, and my seedlings seem to love it so far. My germination rates are really high. One bag fills about 2 trays. So it costs me about $3 to start 72 seeds (before the cost of seeds, that is). It appears to holds water well, which is a common cause for concern with seedlings.
My exact grow lights seem to be discontinued, but these ones are by the same manufacturer with the same lighting specs. (Those just appear to be less pink, which would honestly be a win - mine are very pink and kind of trippy). I’m still trying to figure out the sweet spot of height above the seedlings, but 12”-18” seems to be a winner. These hung very easily, and they all gang together for easy on and off.
These smart plugs, which we integrated into our Google Home app. I have the lights set to come on at 7 am and turn off at midnight. This is another reason we got LEDs - 17 hours of light a day! We also used these plugs for our outdoor Christmas lights and our Christmas tree this year. They’re a little bulky, but we really like them.
Plant labels. I have these right now, but I don’t love the big label on them. I will pick up a few packs of these ones for next year.


The Process
Please read this knowing that I almost certainly made this more difficult than it needed to be and also that I have not yet succeeded. But I thrive on a plan!
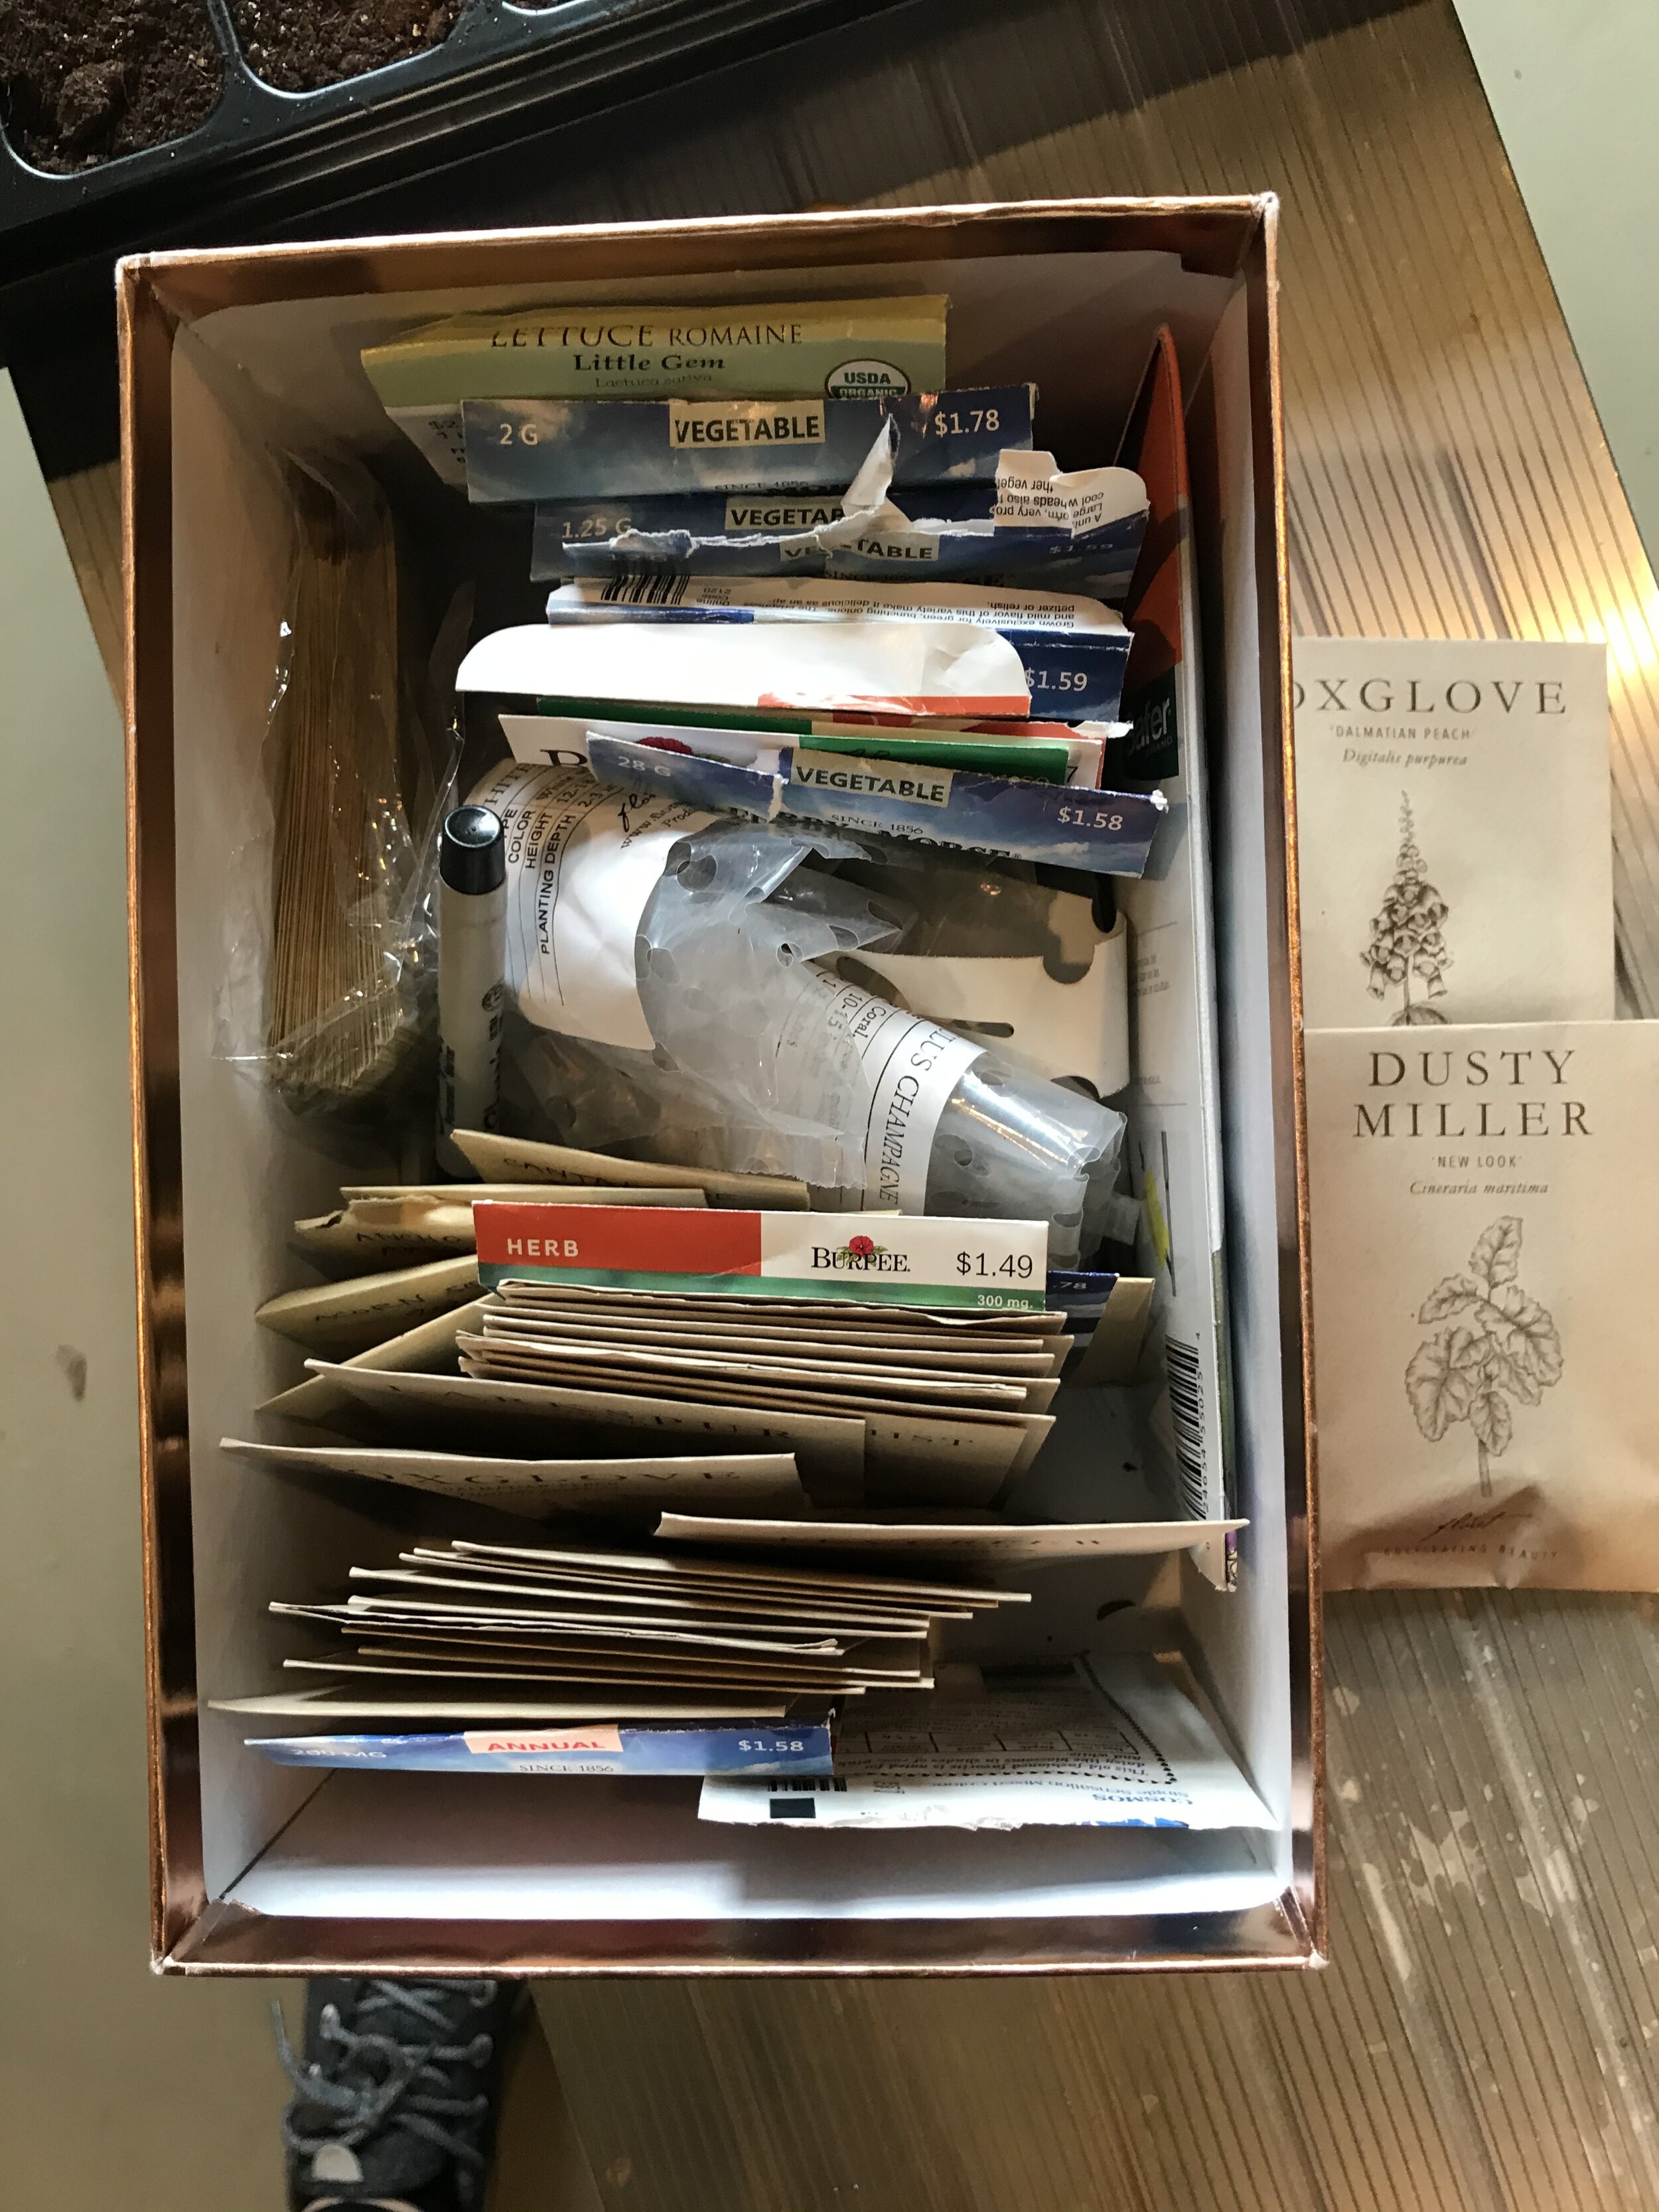
Step 1: buy seeds. I tried to purchase a mix of varieties - different styles, different bloom times, etc. I want my garden to produce a whole bouquet - from the greenery to the filler flowers to the focal flowers. I used this guide to help me round out my choices. Almost all of mine were purchased from Floret (not sponsored, not affiliate… they got a lot of my money, and I love them). Their packaging is darling, and every interaction I’ve had with them feels so intentional. I keep my seeds organized alphabetically - flowers in the front of the box, veggies and herbs in the back.
Step 2: figure out when to plant the seeds. Our average last frost is April 3. I made a calendar with weekly windows for planting using the information on the backs of the seed packets. I’m always going to plant on weekends, so I’m not planting exactly 4 weeks before April 3, but close enough. Some plants only bloom for a short time, so succession planting is recommended. (Read this.) That’s why some flowers show up multiple times on my calendar.
Step 3: Plant! Floret has a great article for this that I used to prep. I followed it pretty closely, though I moisten my starting mix after it’s already in the cells. I’m also committing the cardinal sin of planting lots of varieties in each tray, because I’m working at such a small scale. Oh well! I’m not a farmer, this is just for fun. Marking varieties and starting dates is key. Don’t forget it!
Step 4: Take notes. This is the scientific part, and I think it will be key to helping my build on my successes and failures for next year. I’m excited to learn - what germinates quickly/slowly? What could I have done better? What’s the ideal height for the grow lights? I check in mid-week and take notes on each tray. How many cells germinated? Did some germinate faster than the rest and are at risk of damping off? It’s pretty casual. I also note any big weather events and the weather that day.
Step 5: Get emotionally attached to some tiny leaves. I’m invested now. When I need a 5-minute break from work, I walk down to the workshop and say hi. I check water levels and make sure everything is happy. Nothing much seems to change, but then I look back at my pictures from the week before and see that things are growing.


My seedlings are unhurried, unbothered, unremarkable. But the potential locked inside of them is a gentle reminder about patience, growth, and seasons. Getting closer to nature - observing it in intimate, daily detail - is transformative. I’m forced to realize that the differences are intentional, though I don’t understand them. I am close enough to see the way the broken-open seed clings to the seedling even as it pushes into the air; to think, how charming.
I am touched, in many different ways, by the simple thought that it’s all going according to plan in there. Whatever chaos swirls around this moment in history, these seeds are doing what they were meant to do. And if I can just give them what they need, they’re going to keep doing that. Slow, steady, beautiful.
What’s Coming Next?
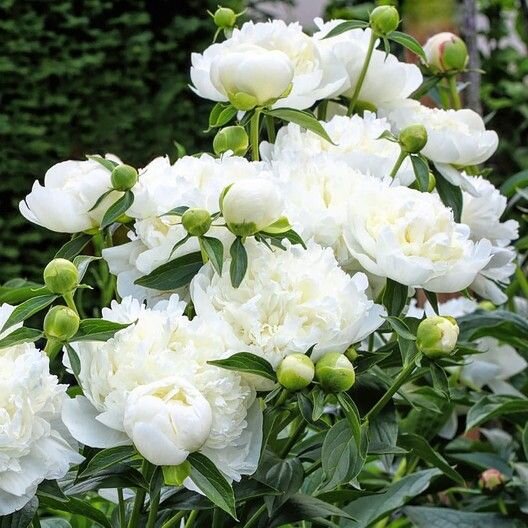
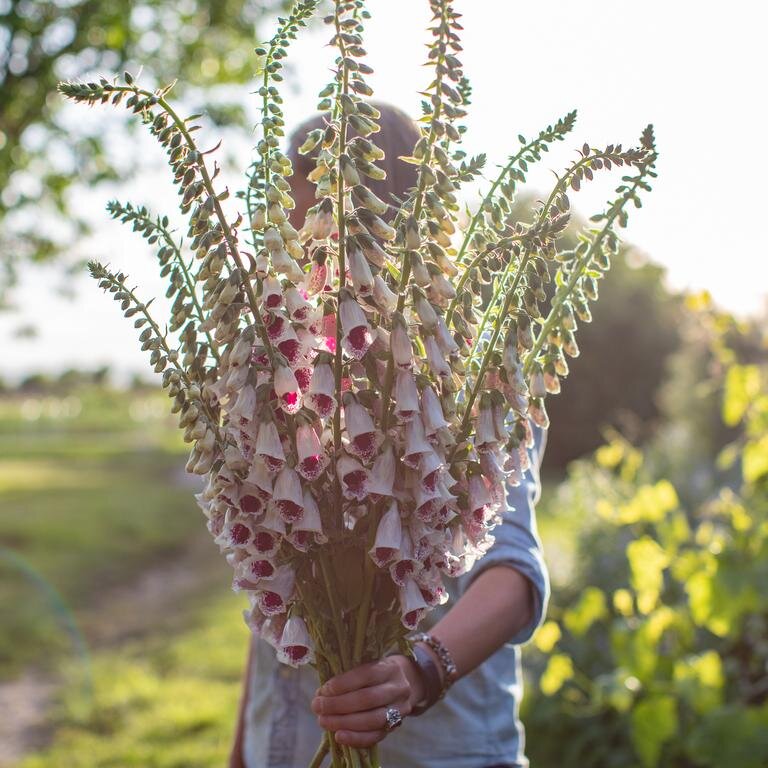
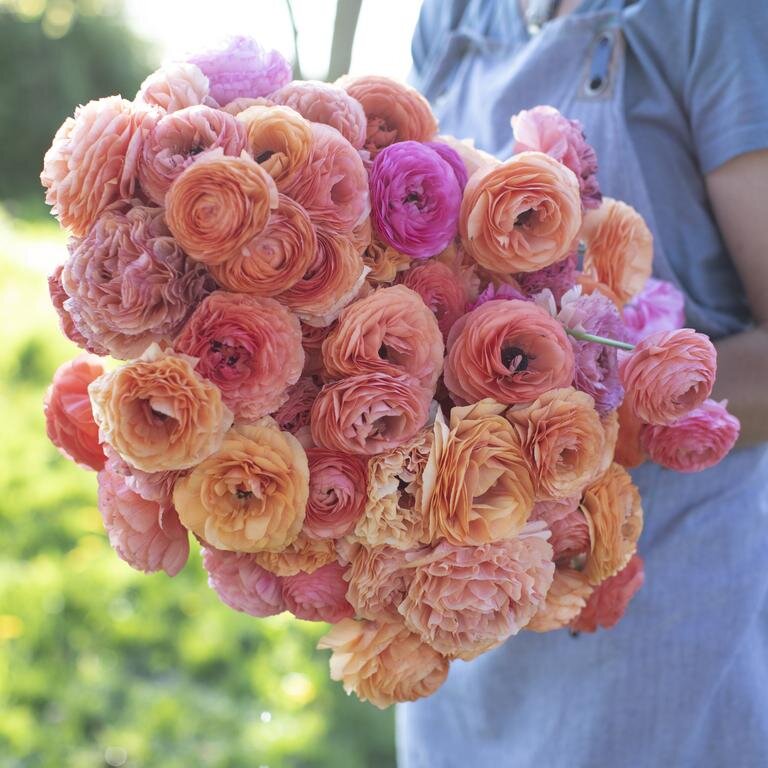
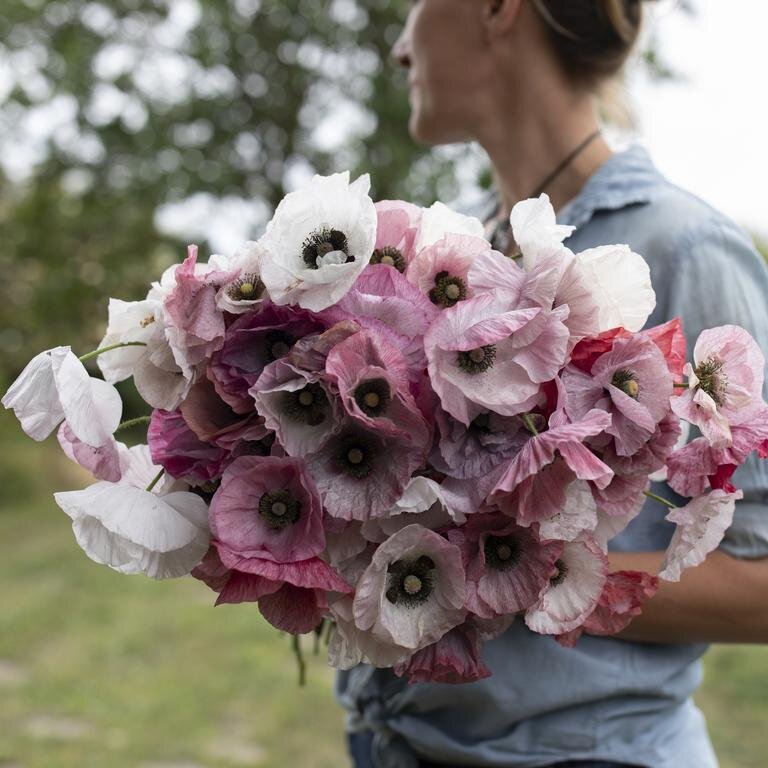
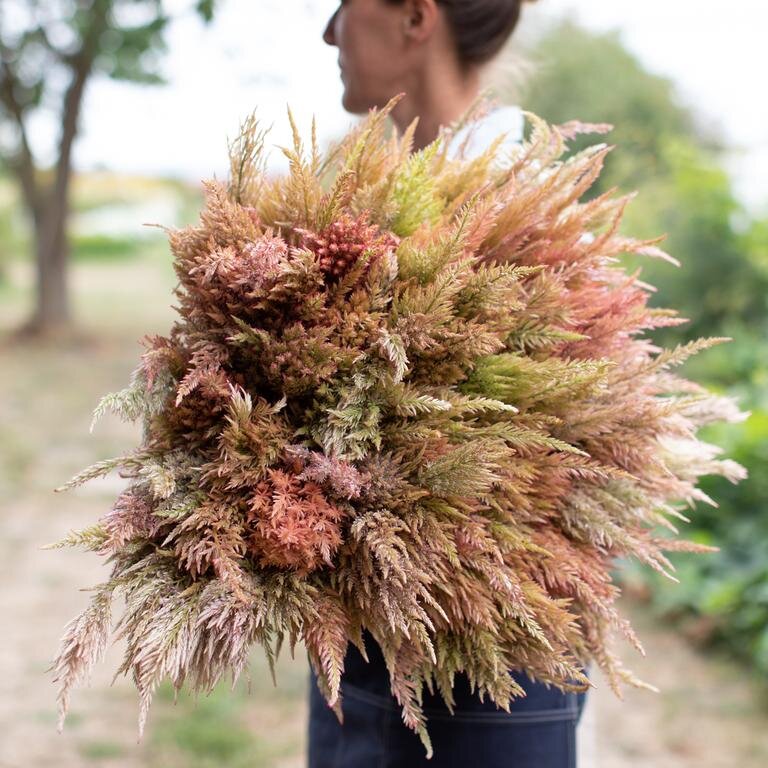
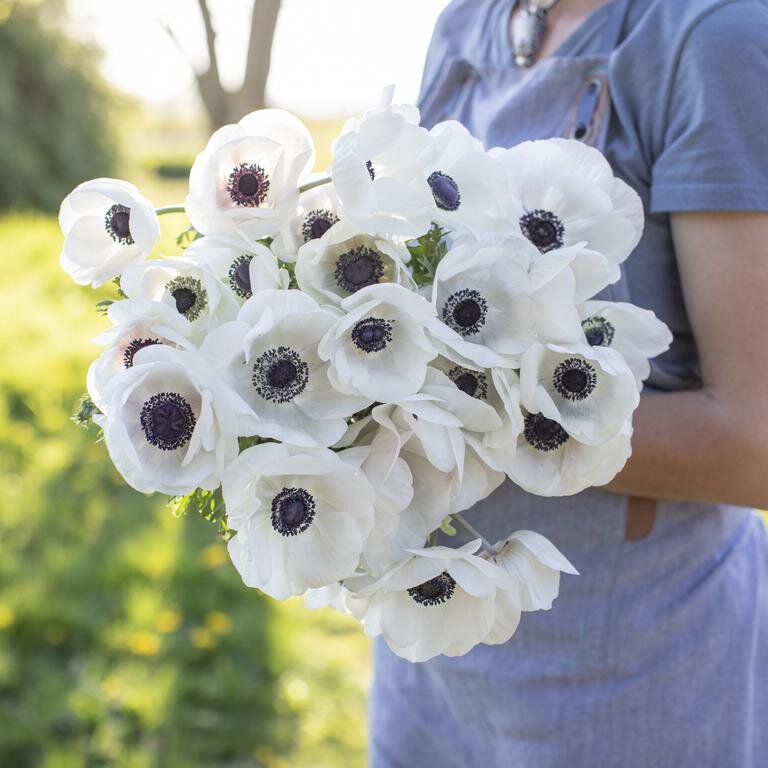
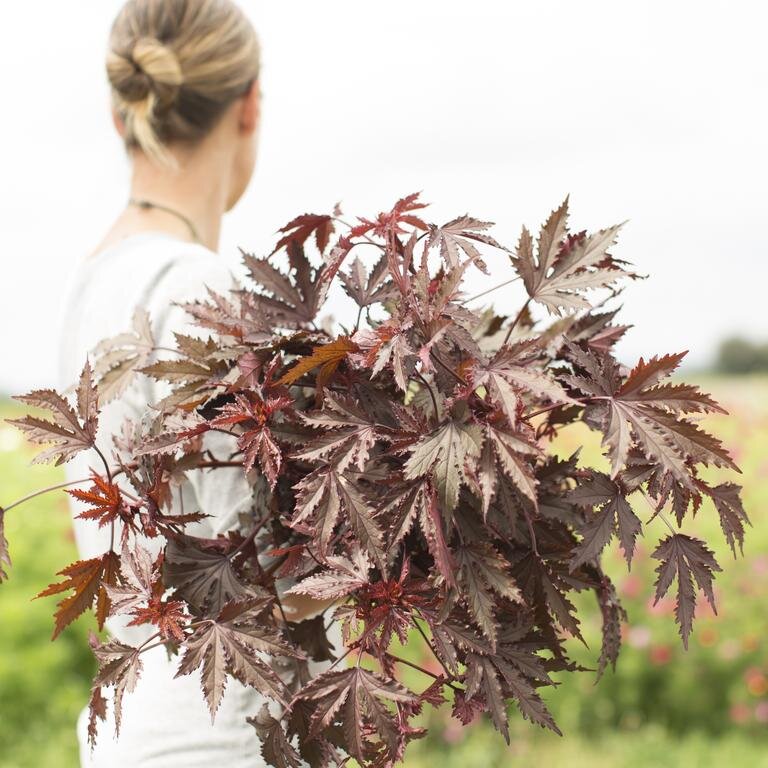
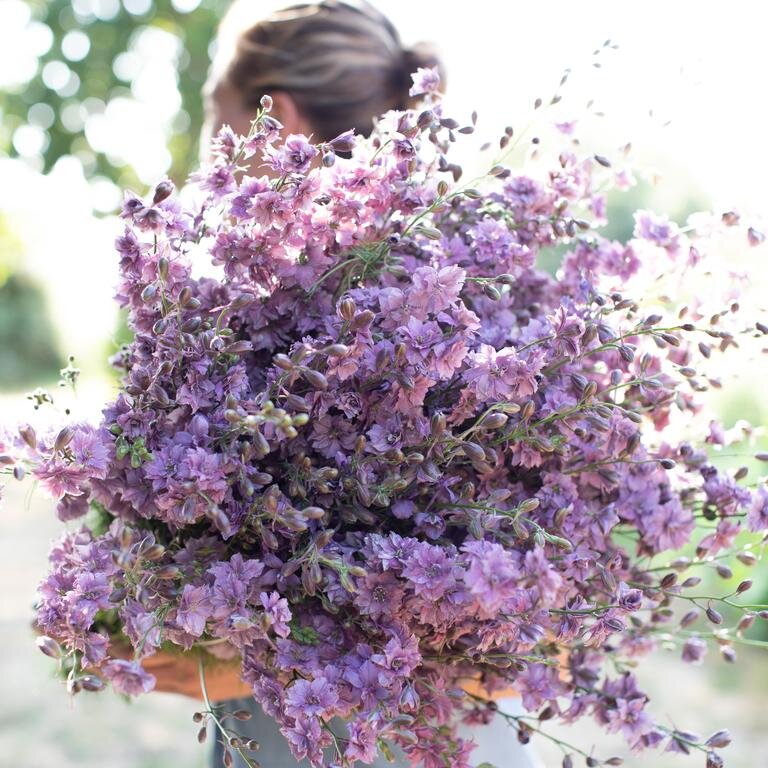
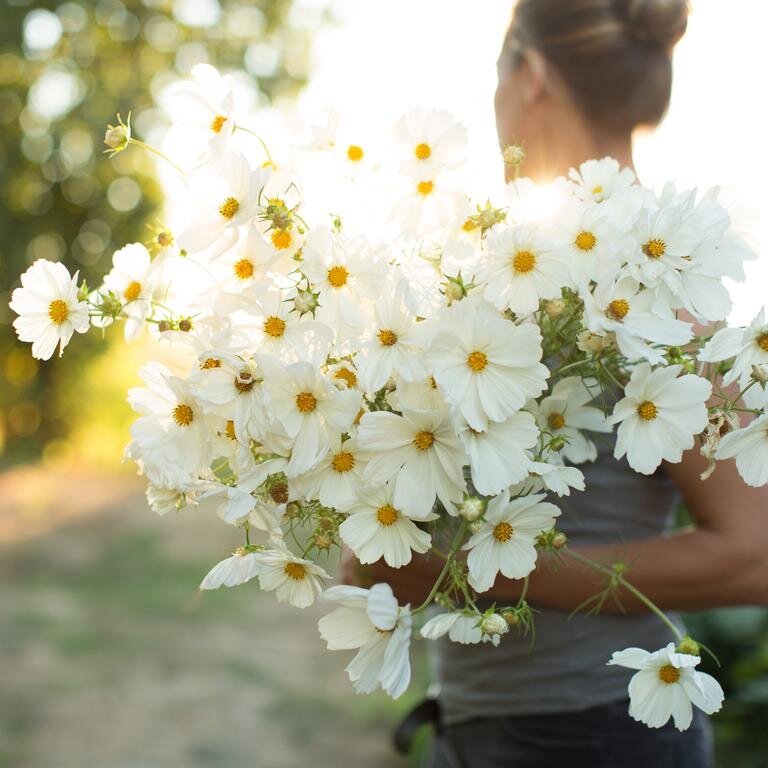
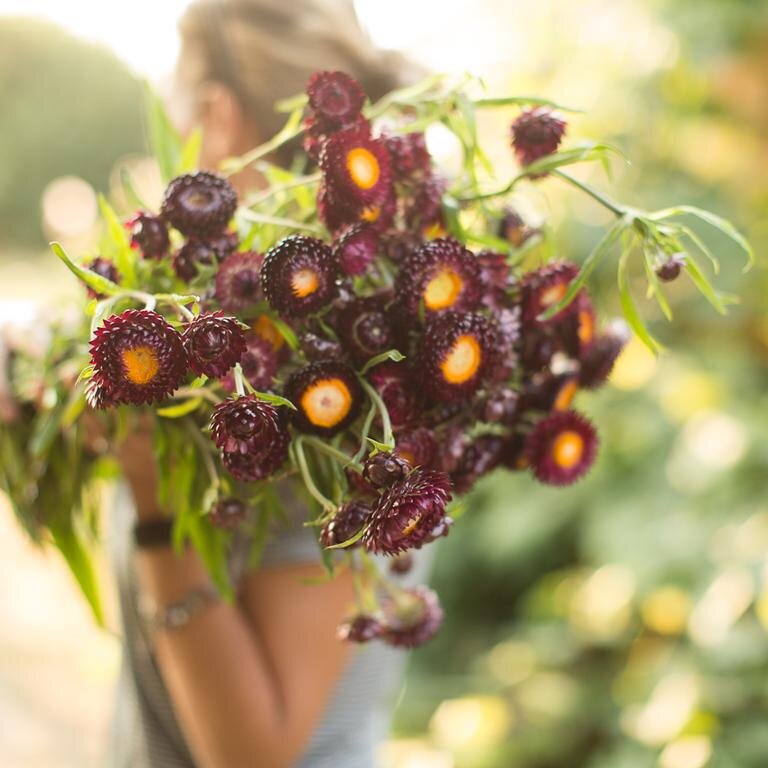
If you’re having a hard time picturing these tiny seedlings as buckets of flowers and greenery… well, me too! Here’s a selection of the 35+ varieties I’ll be trying to grow this year:


This post includes affiliate links. Click here to learn more.