We’re finally renovating the kitchen!
Here’s what we planned (and why I changed my mind about everything)
For the last two months, Joey and I have been in the thick of a kitchen remodel. This has been on our project list since the day we moved in, and I have to say: I’m glad it took us 3 years to get to this. We’ve picked up so many skills over the last few years of homeownership, and it was all leading here.
When we were house hunting, I wanted a house that needed a kitchen renovation. As you lovely readers know, I love to cook (and I’m an interior designer). So any house with a flip kitchen wasn’t for us - I knew we could never justify the cost or waste of ripping up a basically new kitchen, and I really wanted to do it right for us.
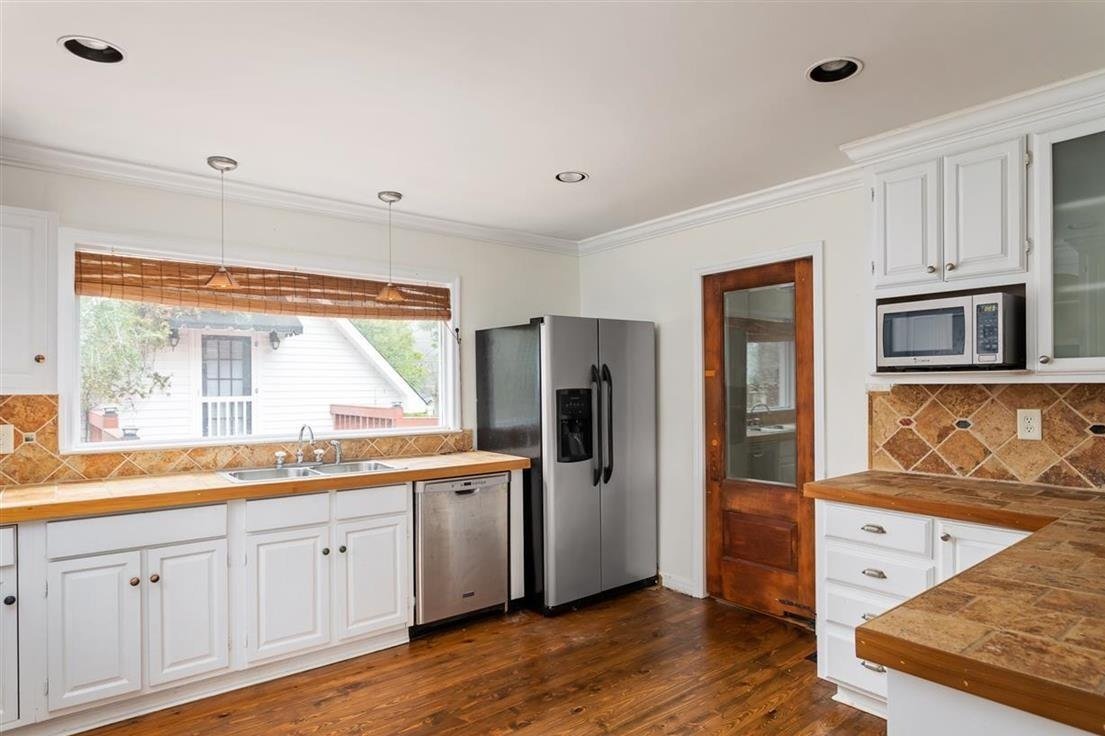
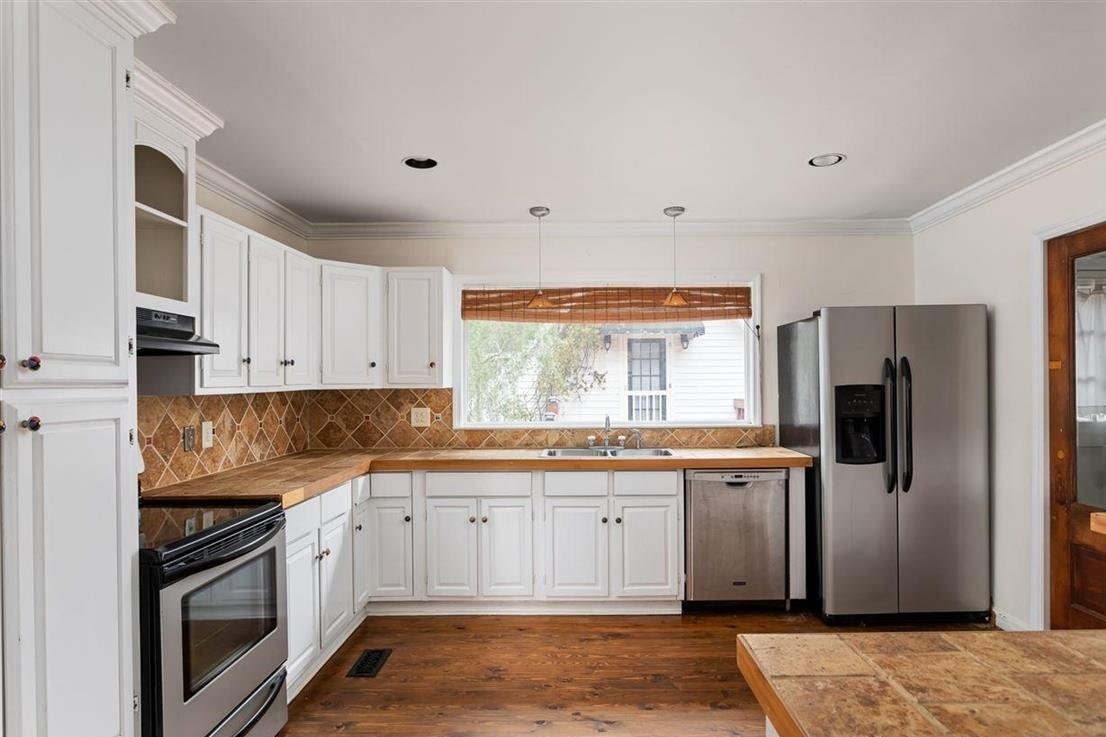
This kitchen? My dream starting point. Because the important thing to know about this kitchen as seen here is that it photographs really well and it absolutely sucks to use it! Taking a sledgehammer to it was a pleasure.
A few very specific pain points:
The range is shoved in next to the pantry, making the two left burners mostly unusable
The couners are floor tile - very textured with large “I wonder what’s soaked into here over the years” grout lines
The counters are not level. Should you desire to cut into a juicy chicken or a watermelon, you will find a puddle at your feet rather quickly
The refrigerator does not fully open because it’s too close to the wall
The pine floors (obviously) do not match the original oak floors in the rest of the house
The range hood merely recirculates, and we would really prefer it to vent
There are upper cabinets separating the peninsula from the dining room. So if you’re food prepping there, you’re looking into a cabinet, and if you’re sitting across from that person, you’re hitting your head on the cabinet.
The cabinets are all low-quality. Very wobbly, no nice hinges or latches, no adjustable shelves, etc
There is so much open space in the middle of the room that the whole thing feels inefficient - whether unloading groceries or bringing chopped vegetables to the stove, nothing is quite as close as you wish it was
So our goal was basically: let’s fix as much of that as possible. But I got it into my head that I should try not to move any of the appliances except the range to make things easier for us during construction. And I landed here:

I figured I could get us some more functional storage and make everything look better. I didn’t love the way the window felt crowded, and the prep area was still further from the stove than I would have liked.
But I didn’t think I could change much about the floor plan - every time I looked at it, it seemed that there was a little too much open floor space for it to be right, but not enough to put in an island. I was afraid of losing that much storage, worried that we would be crowded when we cooked together.

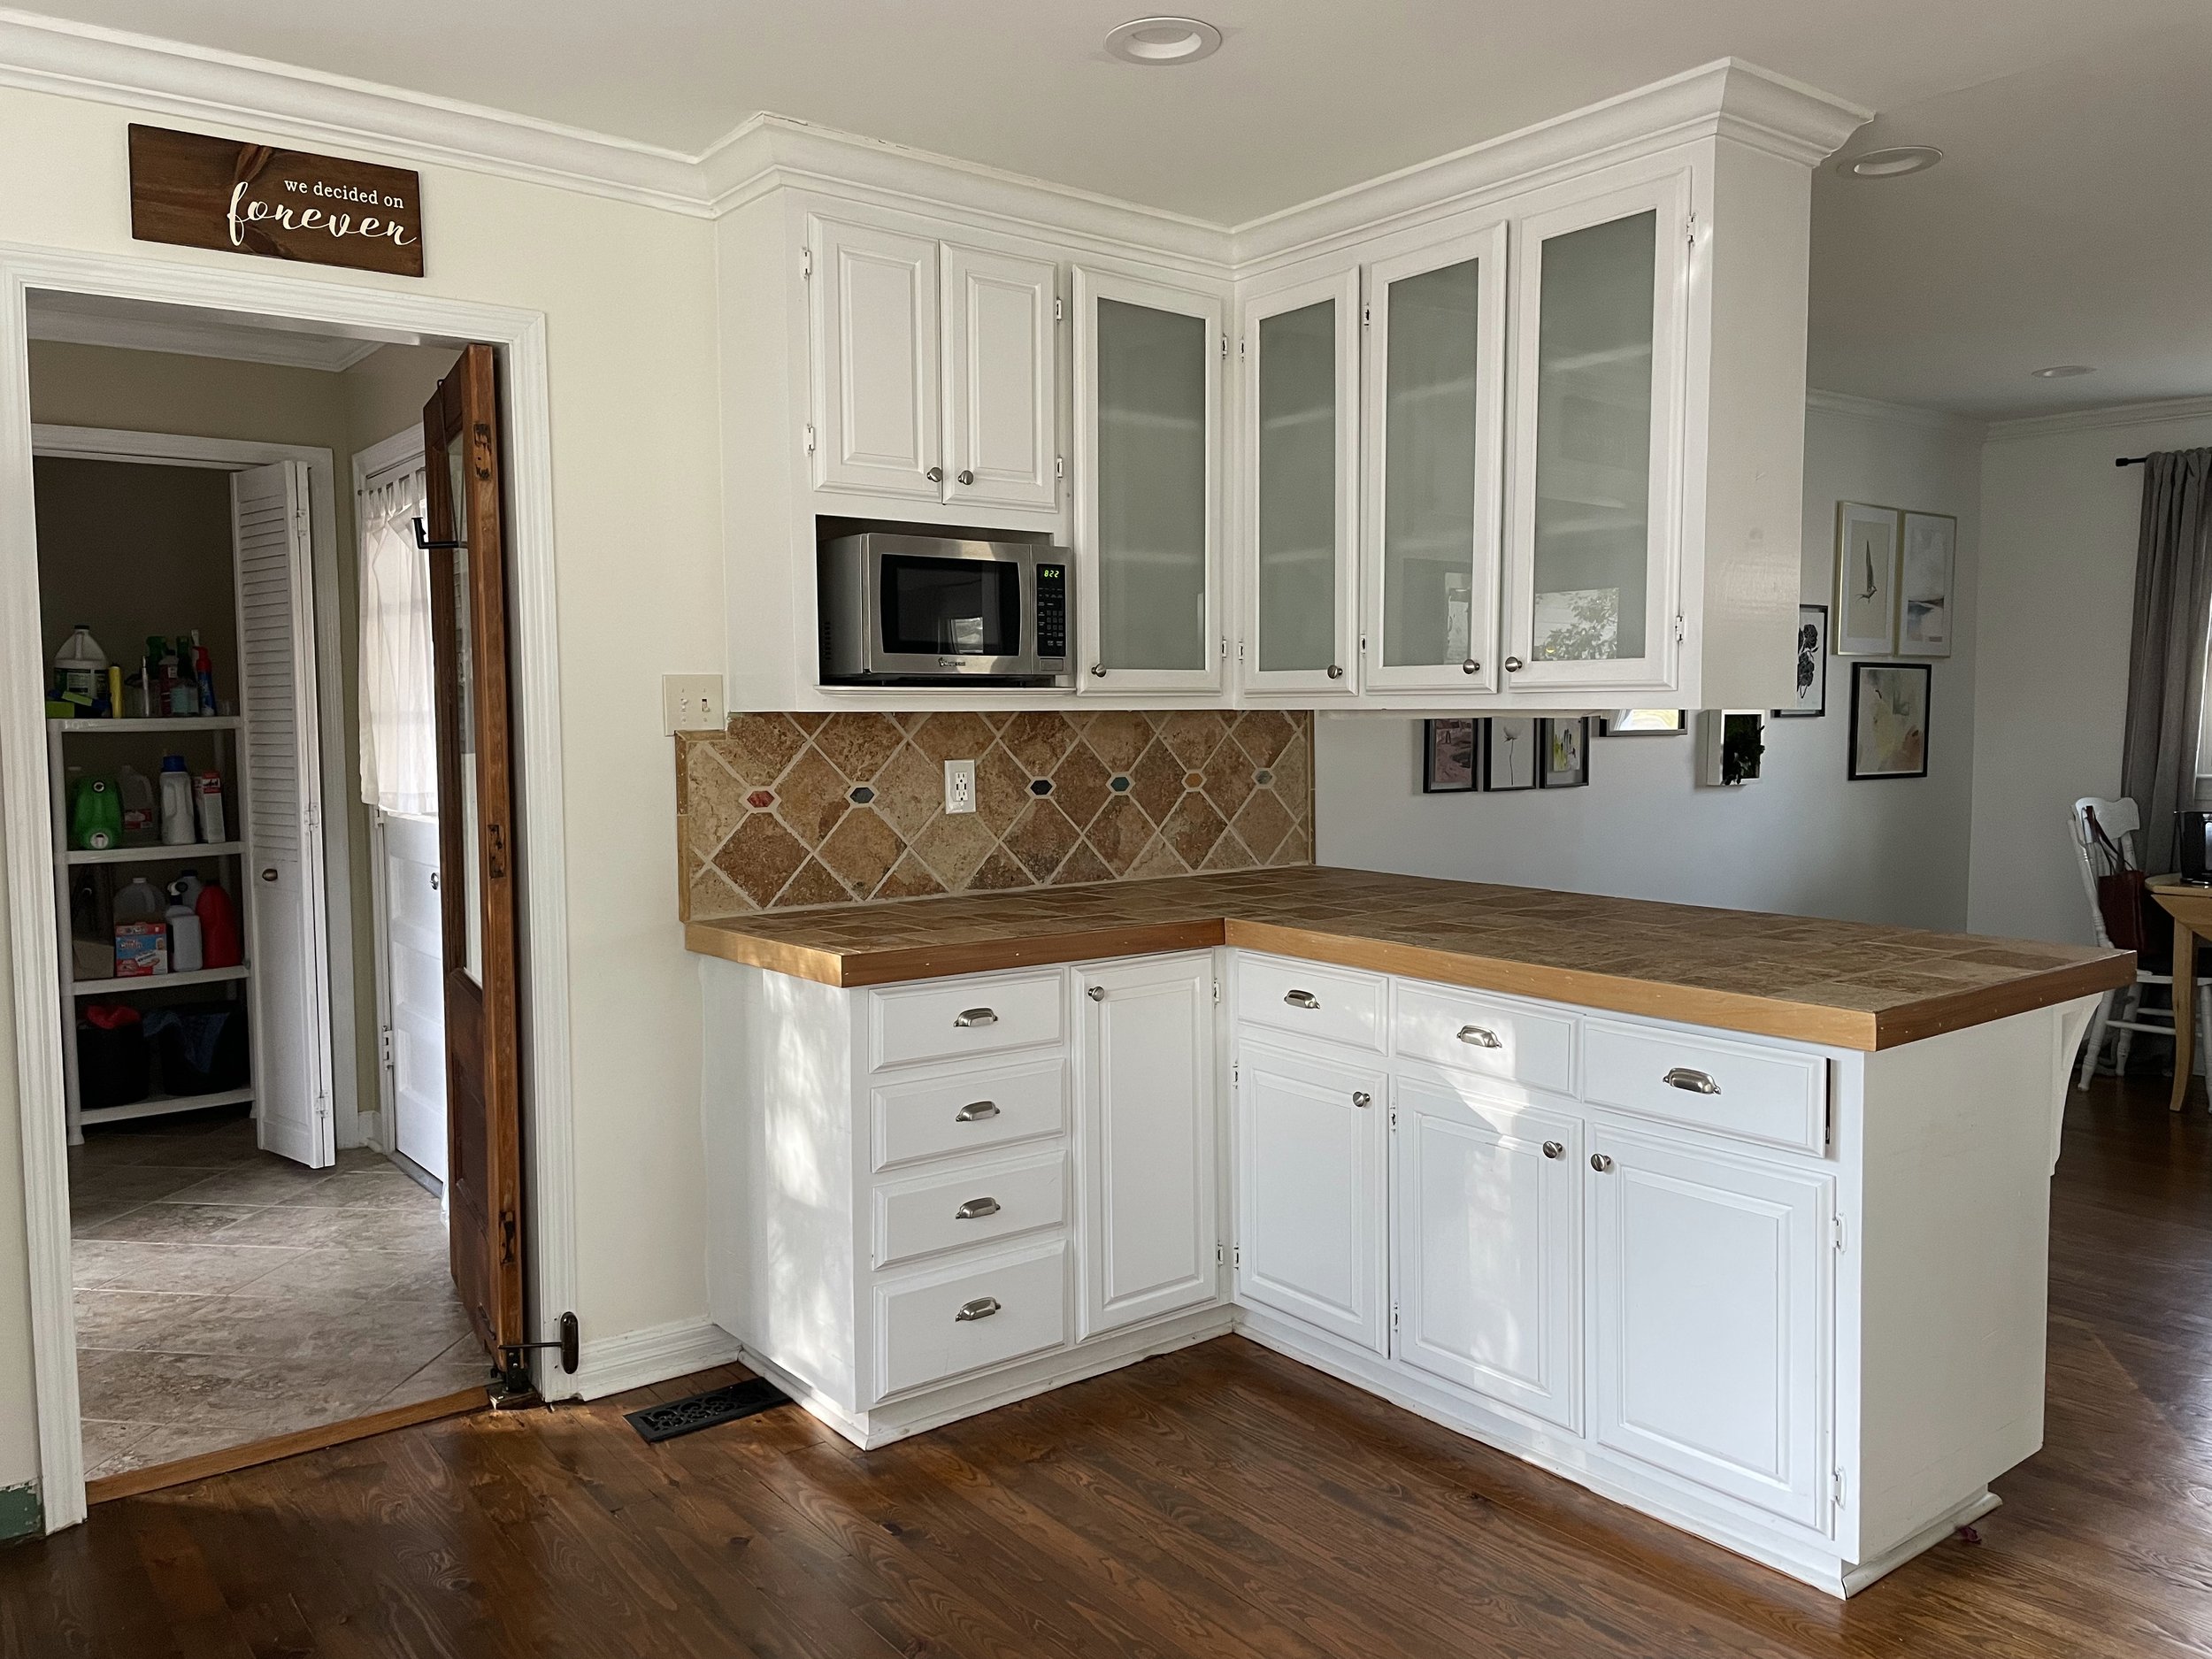
But then, all of a sudden (well, after two very long days of demo) the kitchen looked like this, and I thought “what would I do in this room if I were starting from scratch?”
What I’d drawn up and sent to our cabinet contractor for pricing didn’t feel right once the room was empty.
So I changed everything.
A friend who helped us demo gave me a shove in this direction, and after a stressed-out “what am I doing?” night of reworking things, I landed here:
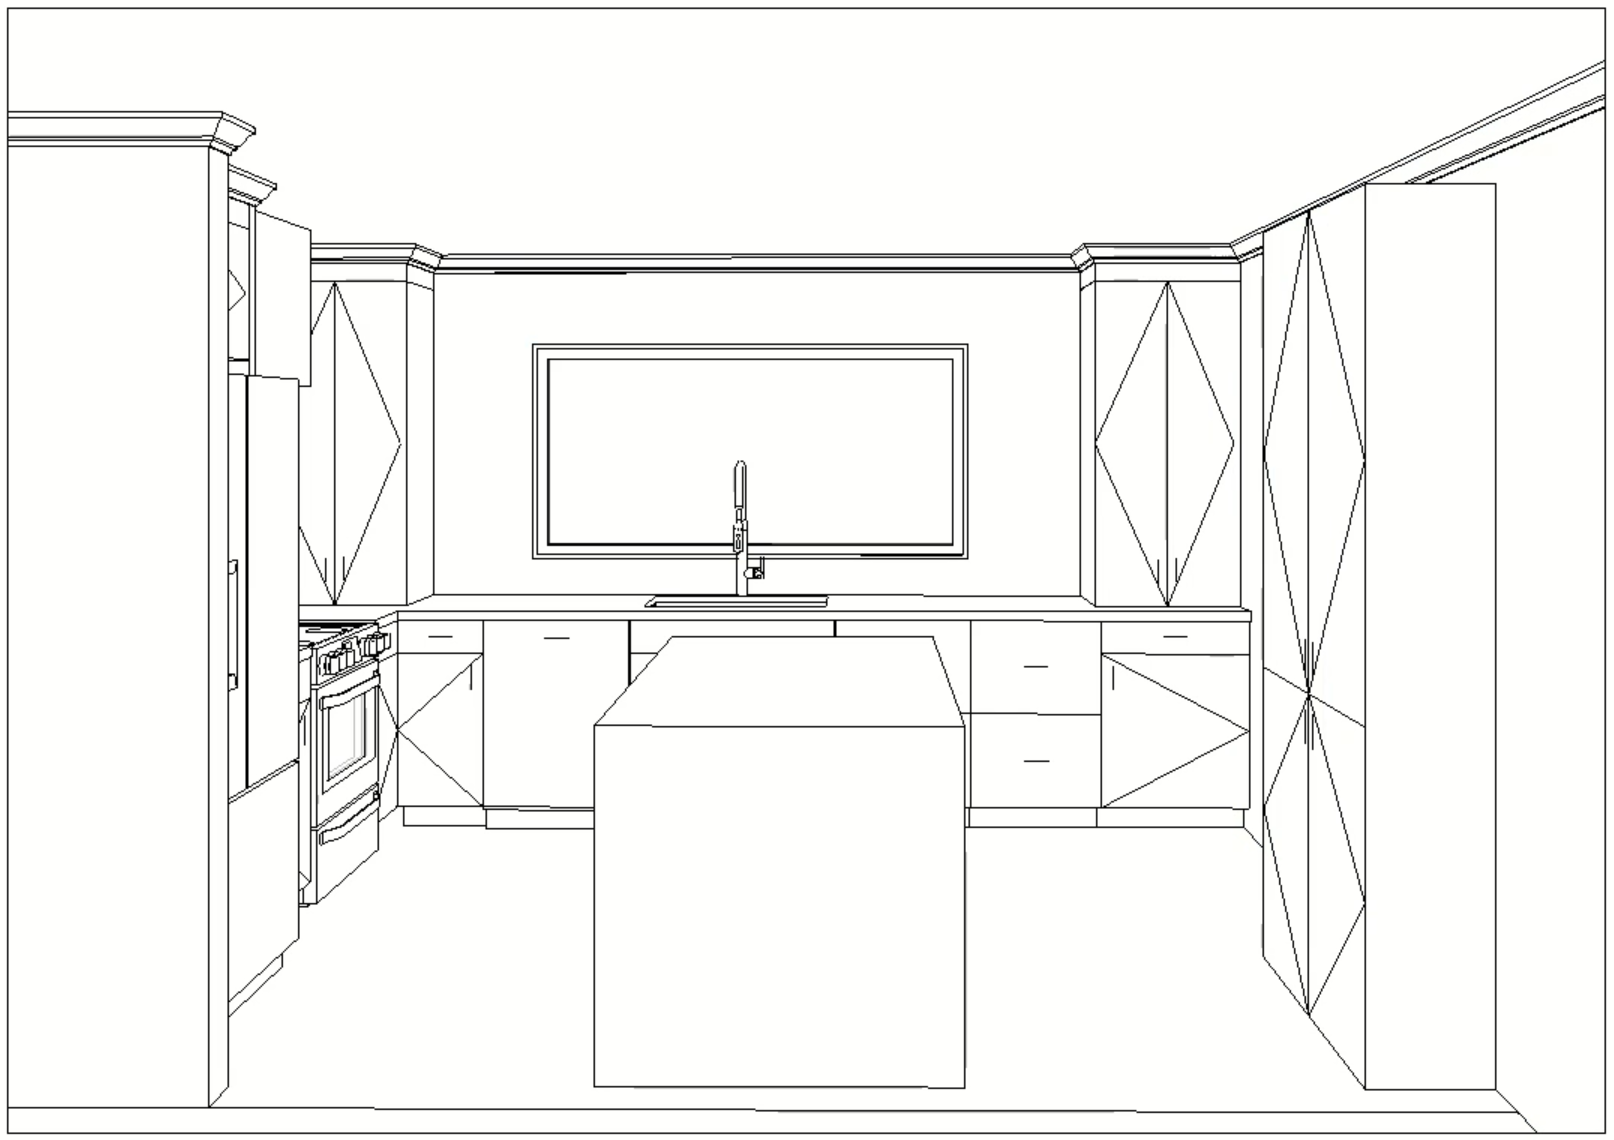
I was still anxious about all the same things, but we forged ahead. If there’s anything I’ve learned working with clients, it’s that the right choice doesn’t always feel right until it’s installed. Sometimes you have to know in you’re head that it’s correct and then let your gut catch up to you.
This plan is more open, has better prep areas, all the appliances are tucked to one side for a nice view out the window, and we got a few extra feet for our dining room.
I sent this drawing sheet to our cabinet team — you can see that I was starting to sketch out ideas about where things would be stored. Some of this changed, but this is largely what we went with!

I’ll write up a longer post later about the whole project (including what we spent), but I’ll leave you with a sneak peek. Spoiler alert: it’s turning out fantastic.

Sources for everything in this image are here. You can follow along on Instagram here (I’m very fun!)
And finally, finish information:
Cabinet color: Sherwin Williams Homburg Gray
Wall, trim, and ceiling color: Sherwin Williams Pure White, eggshell on walls/trim and flat on ceiling
Counters: Wilsonart Arktos
Floor tile: not available to the public (sorry!)
This post includes affiliate links. Click here to learn more.