The Guest House Bath Reno
Our 2 month DIY: What it cost and how we did it
After taking a break in 2021 to rest up and save up, 2022 is a big year for house projects. Our first one was the bathroom in our guest house. (If you need a refresher on our home’s layout and its status as of the end of 2020, check out this post - the guest house is at the end.)
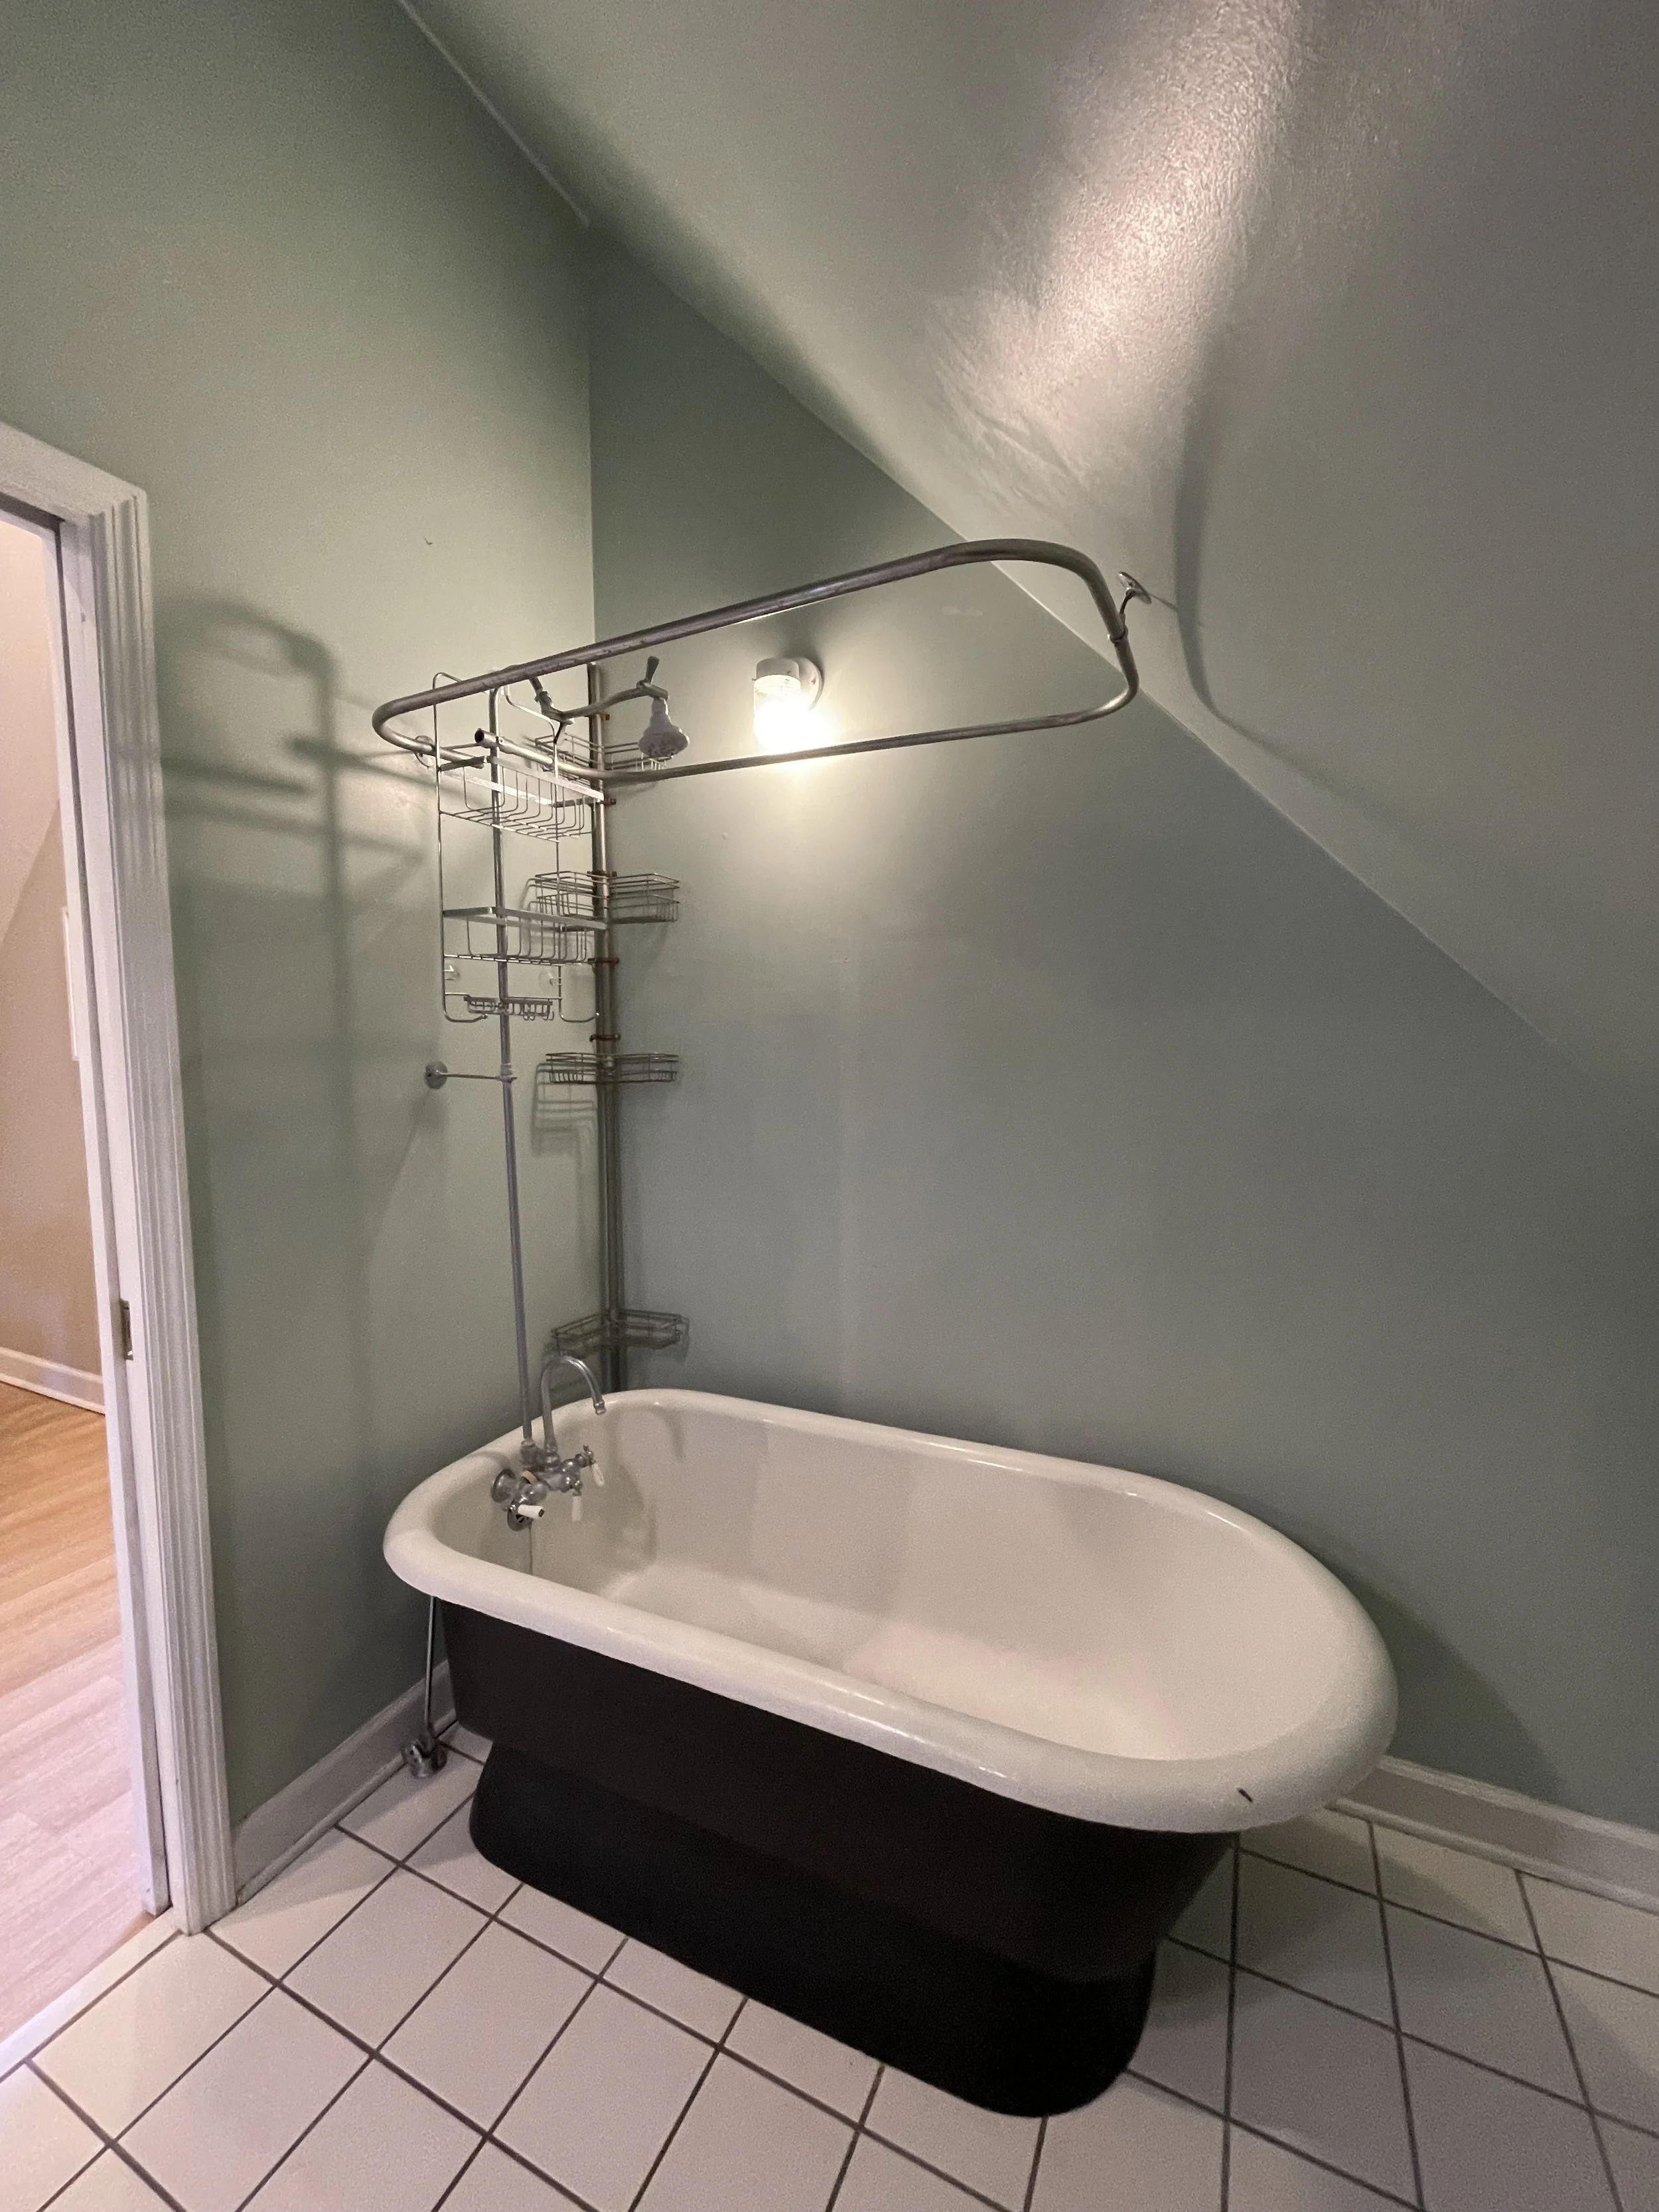
Given the frankly impossible list of projects I wrote up for the year, this probably wasn’t the most obvious one to start with. We don’t actually live in the guest house! In fact, we’re rarely over there. But it’s where our family stays when they visit us, and we’re hoping for more of that in the future. And the bathroom was, well, a major bummer:
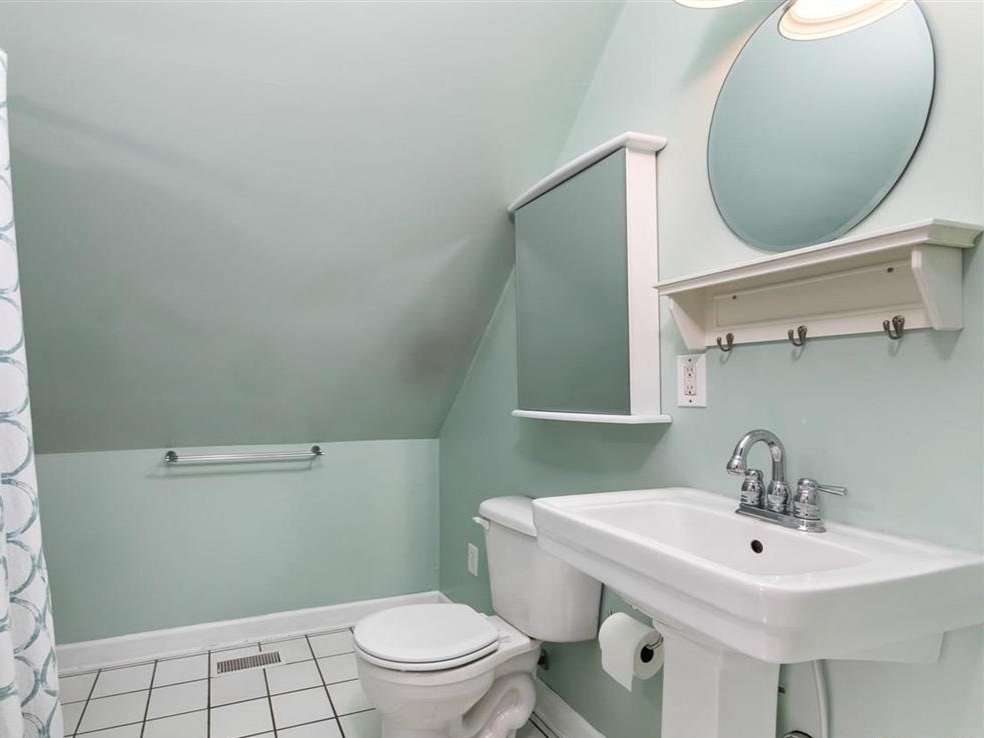

Everyone who’s stayed with us has said, as politely as possible, “It’s one of the worst showers I’ve ever taken.” A bathtub rigged up to be a shower, the shower liner blowing in at your wet body, your fear that water is leaking out around you, and why are none of these walls tiled?
Not great.
So it’s been on our list of semi-urgent projects, but we moved it to the top of the list for a very simple and selfish reason: we needed to use this bathroom. In April, we had windows installed on our entire house, so we moved out to the guest house for two weeks while we demolished, replaced, trimmed, and touched up all the new windows. Being able to retreat out to the guest house was a huge plus, and having a functional (and beautiful!) bathroom made it even better.

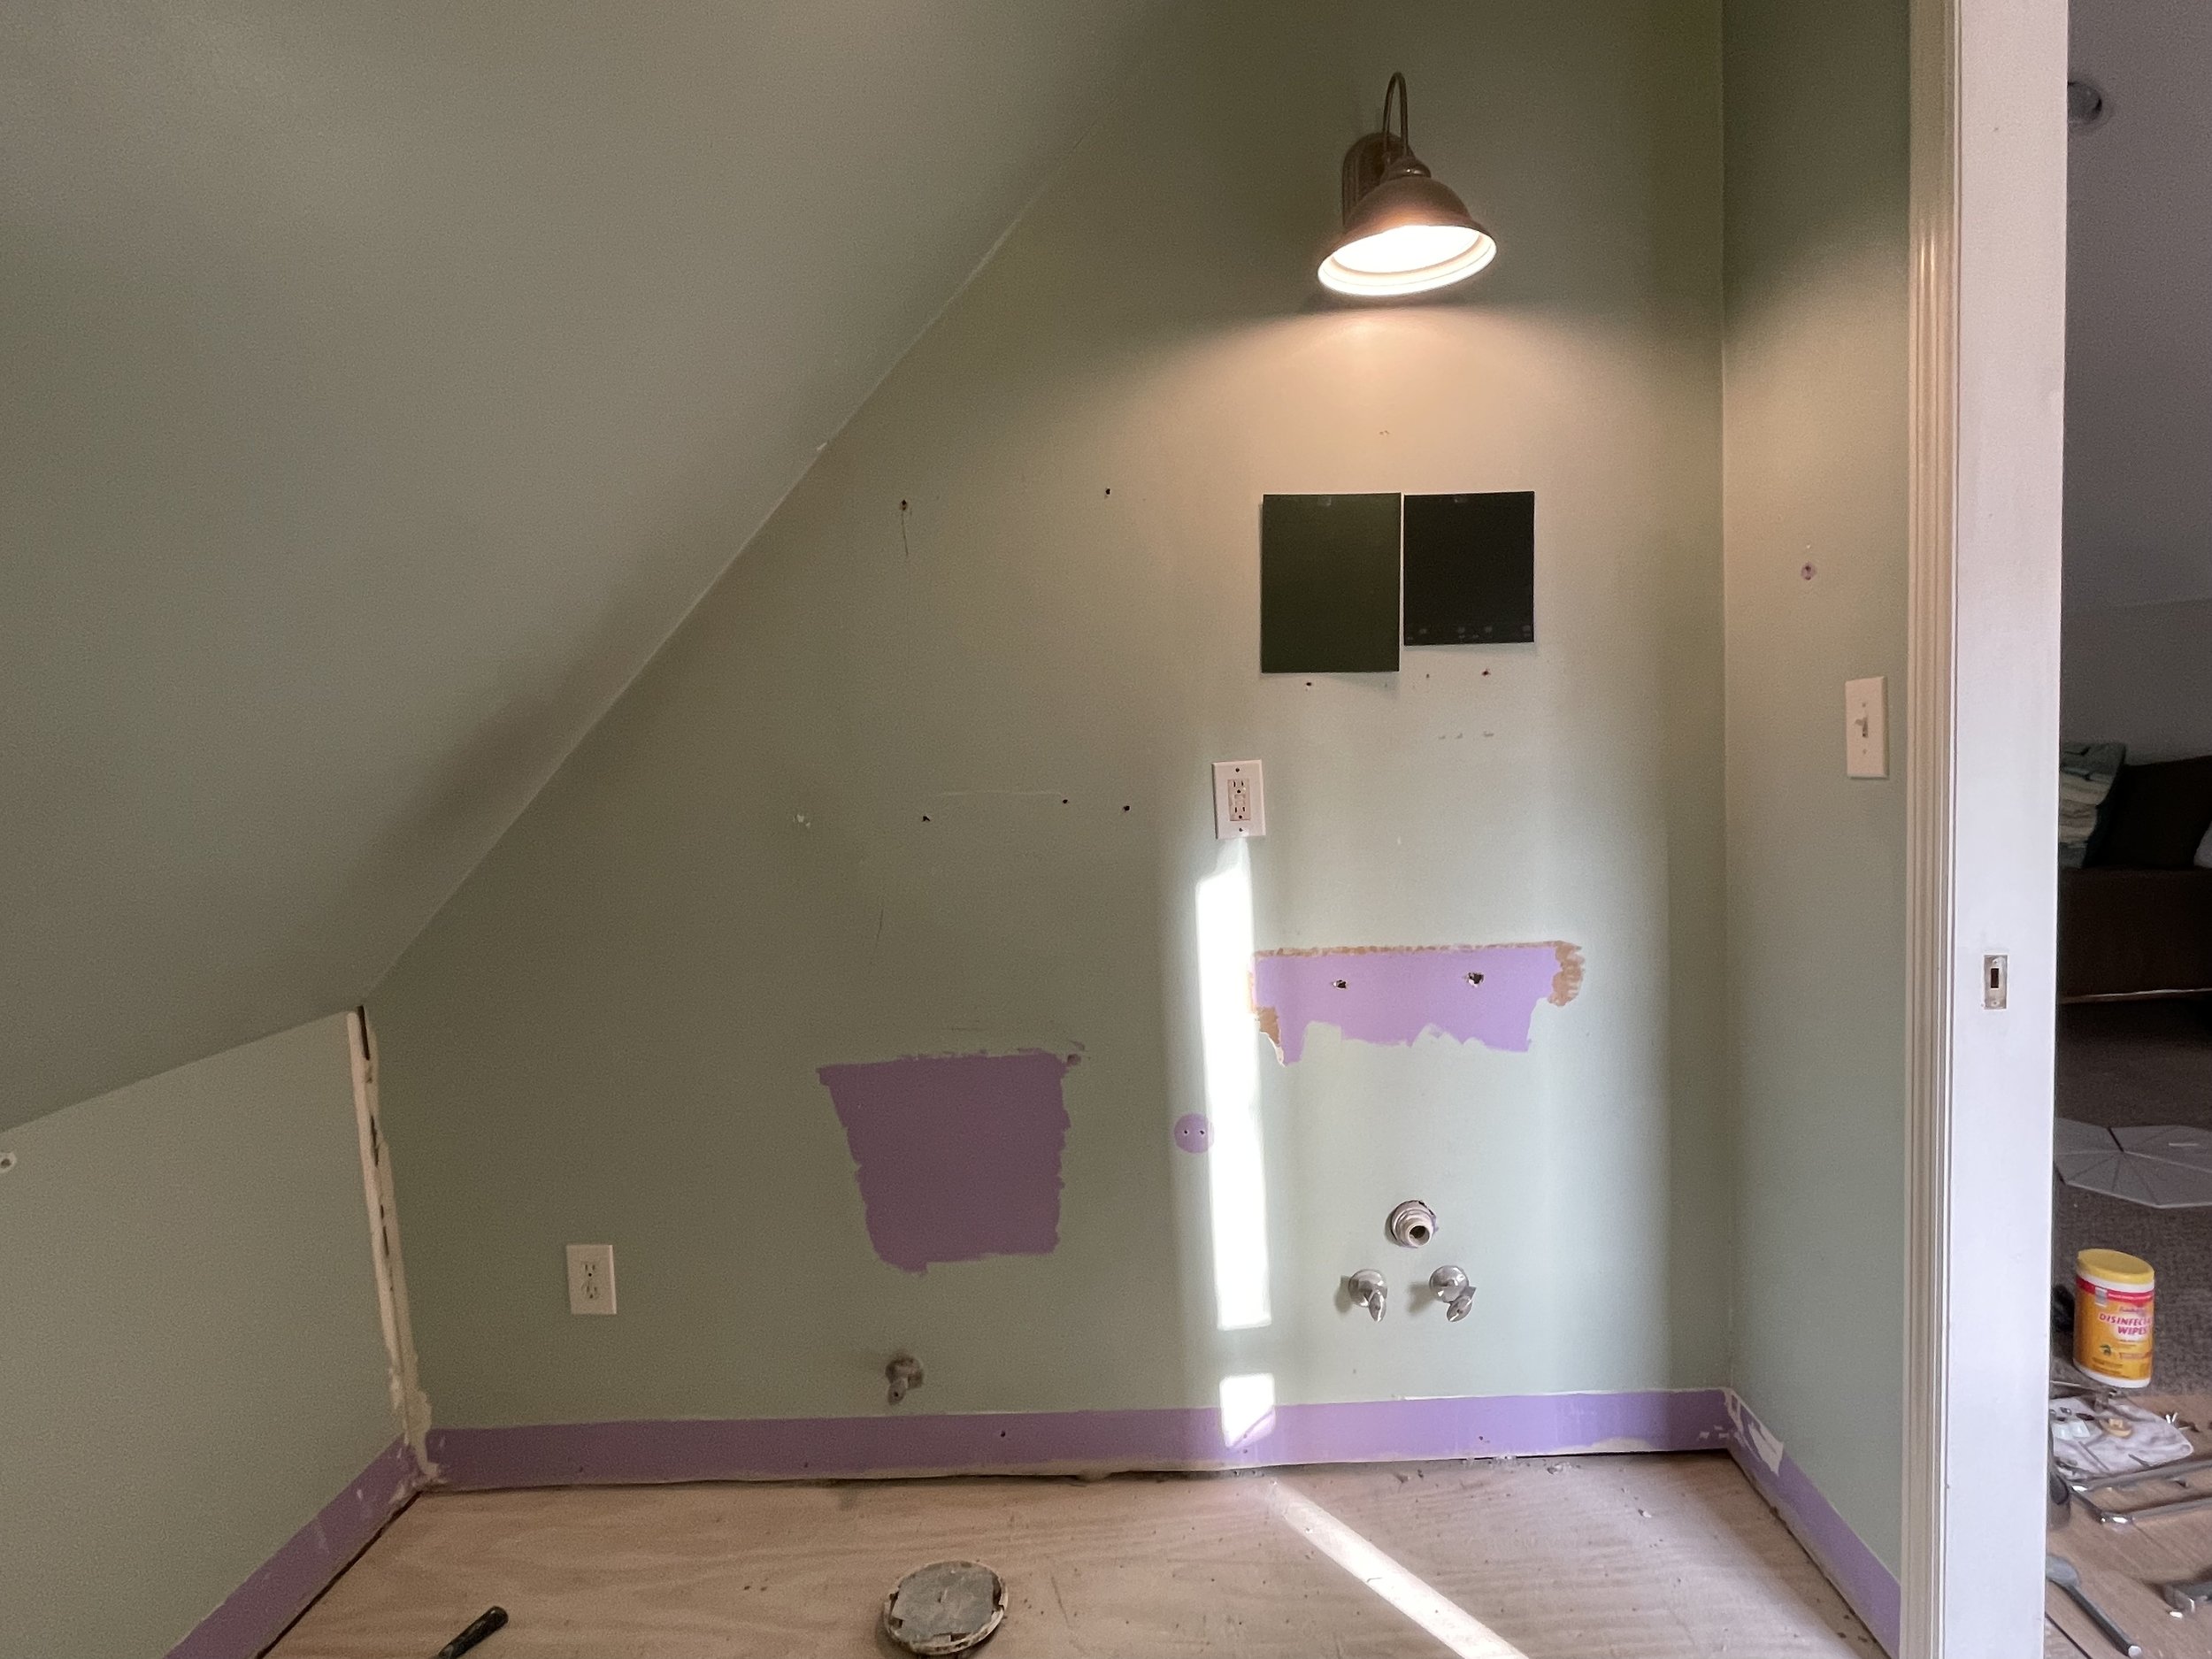
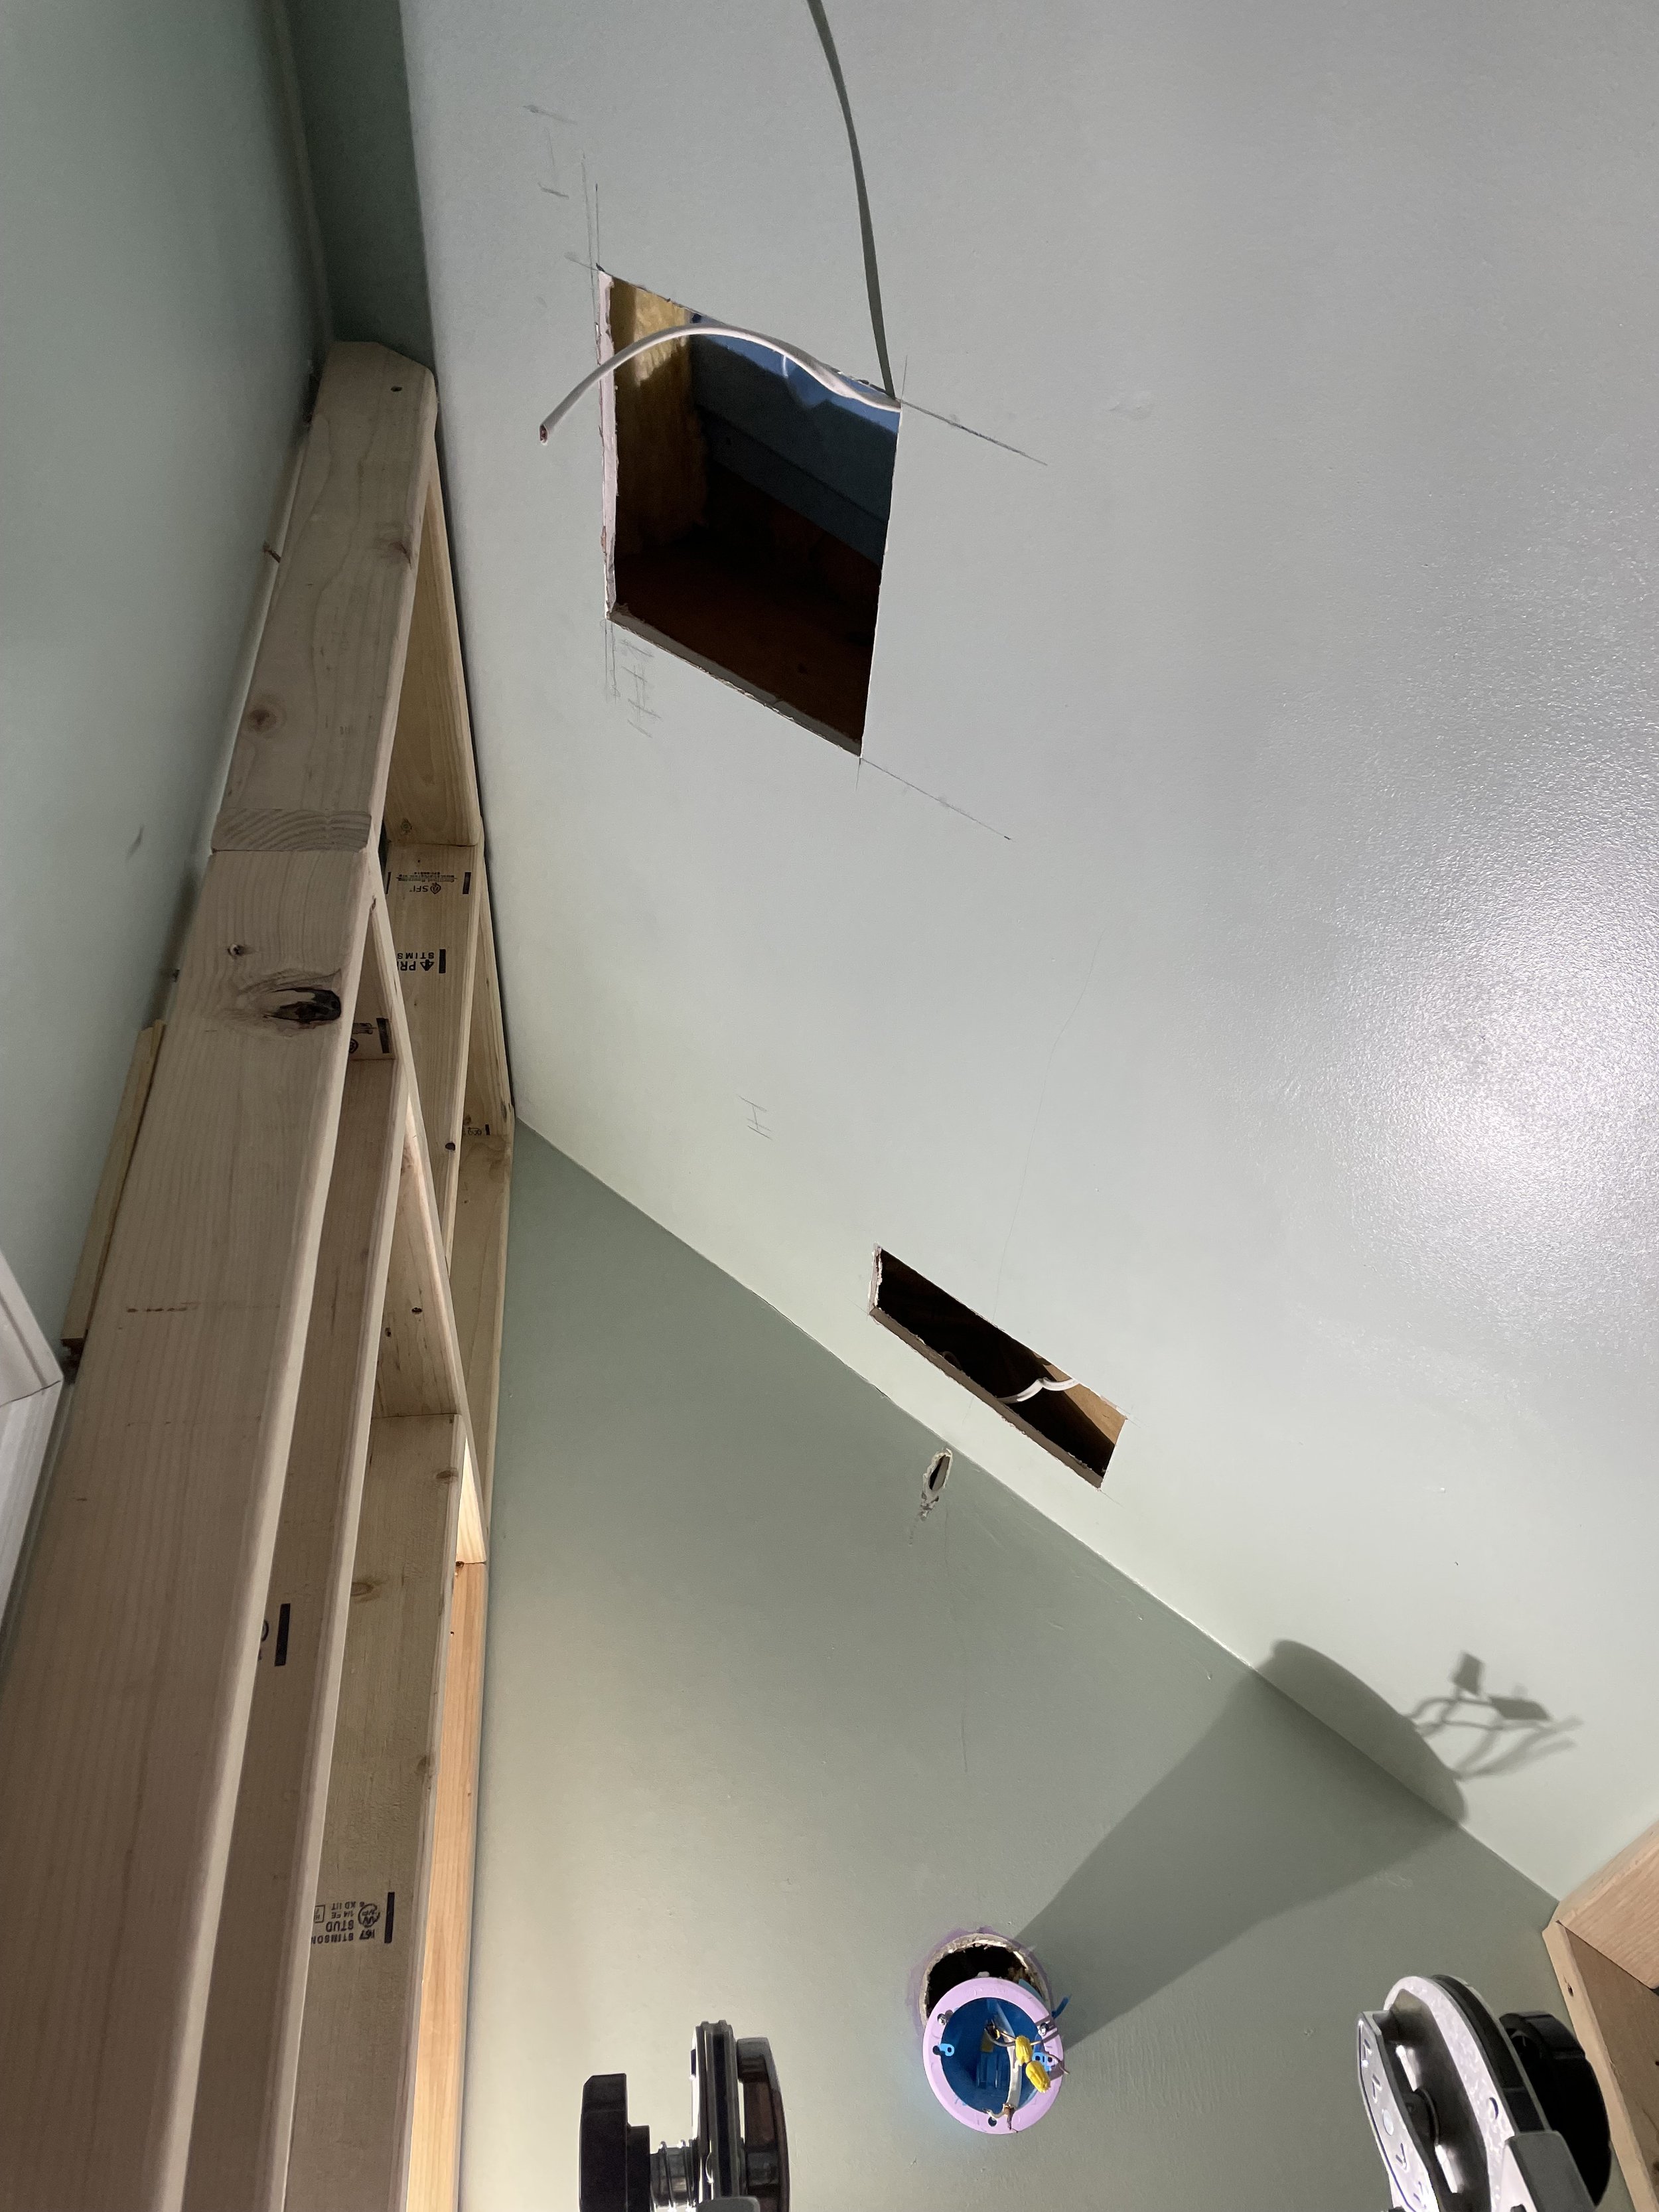
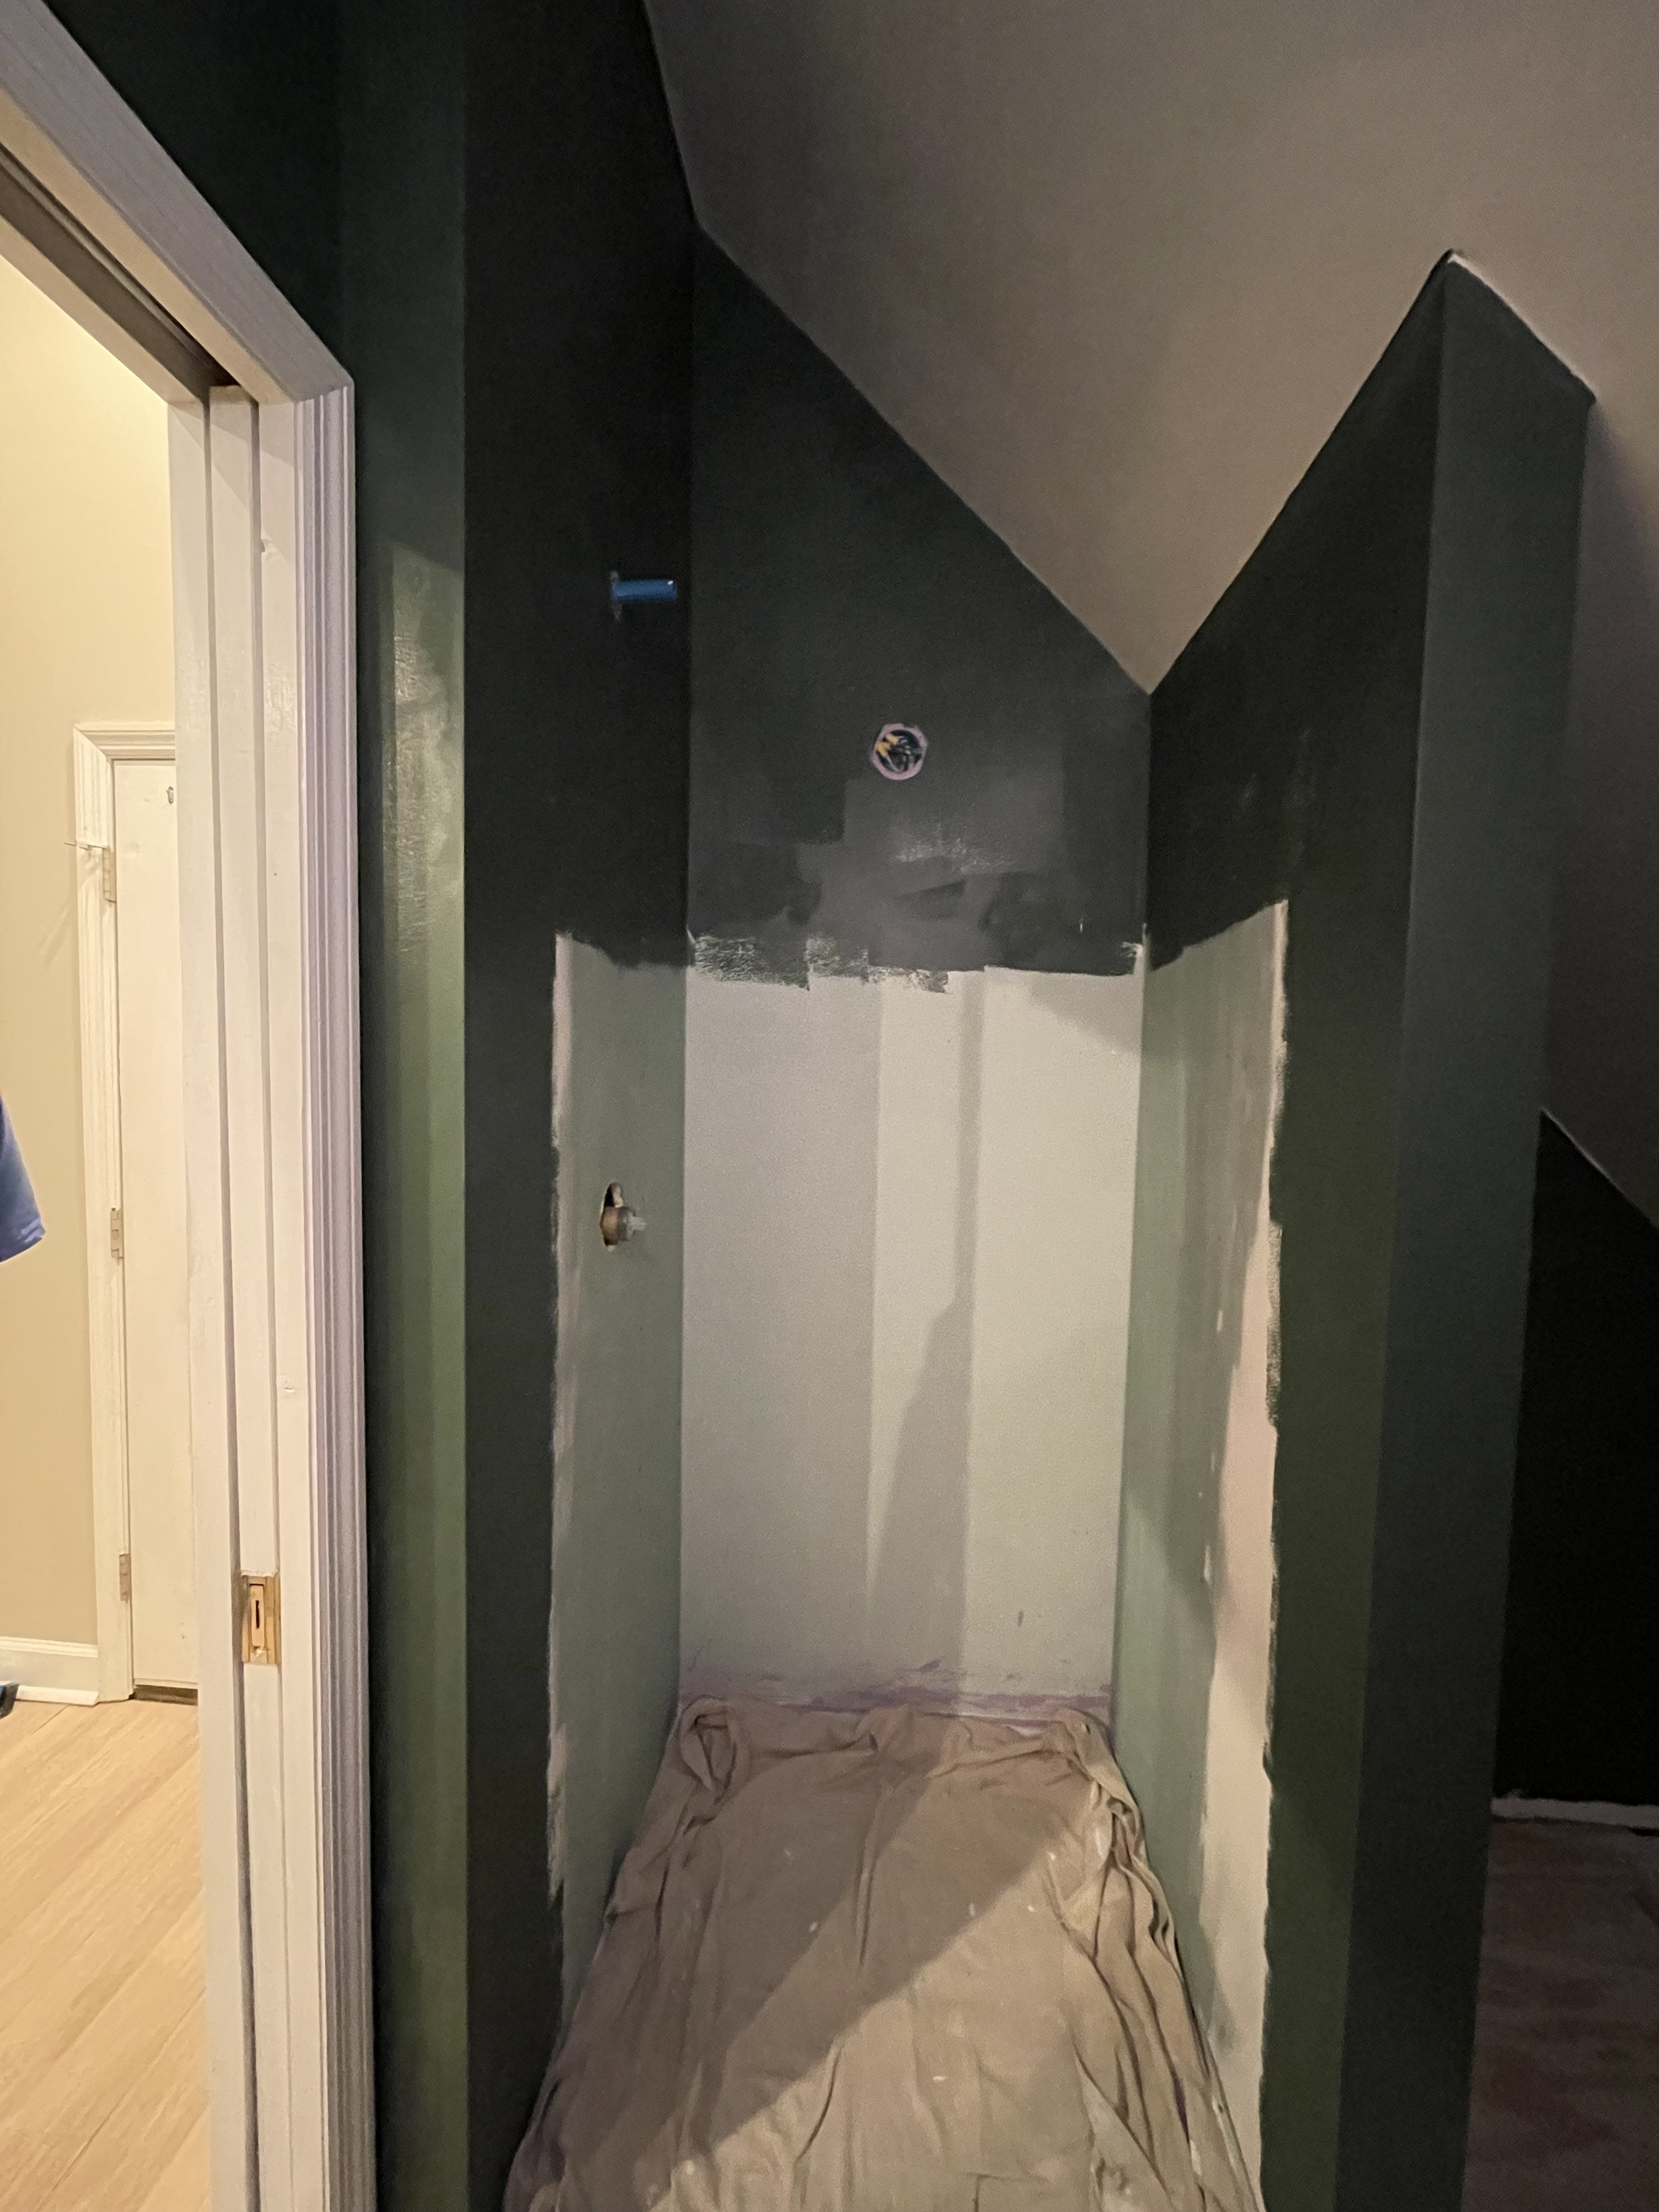
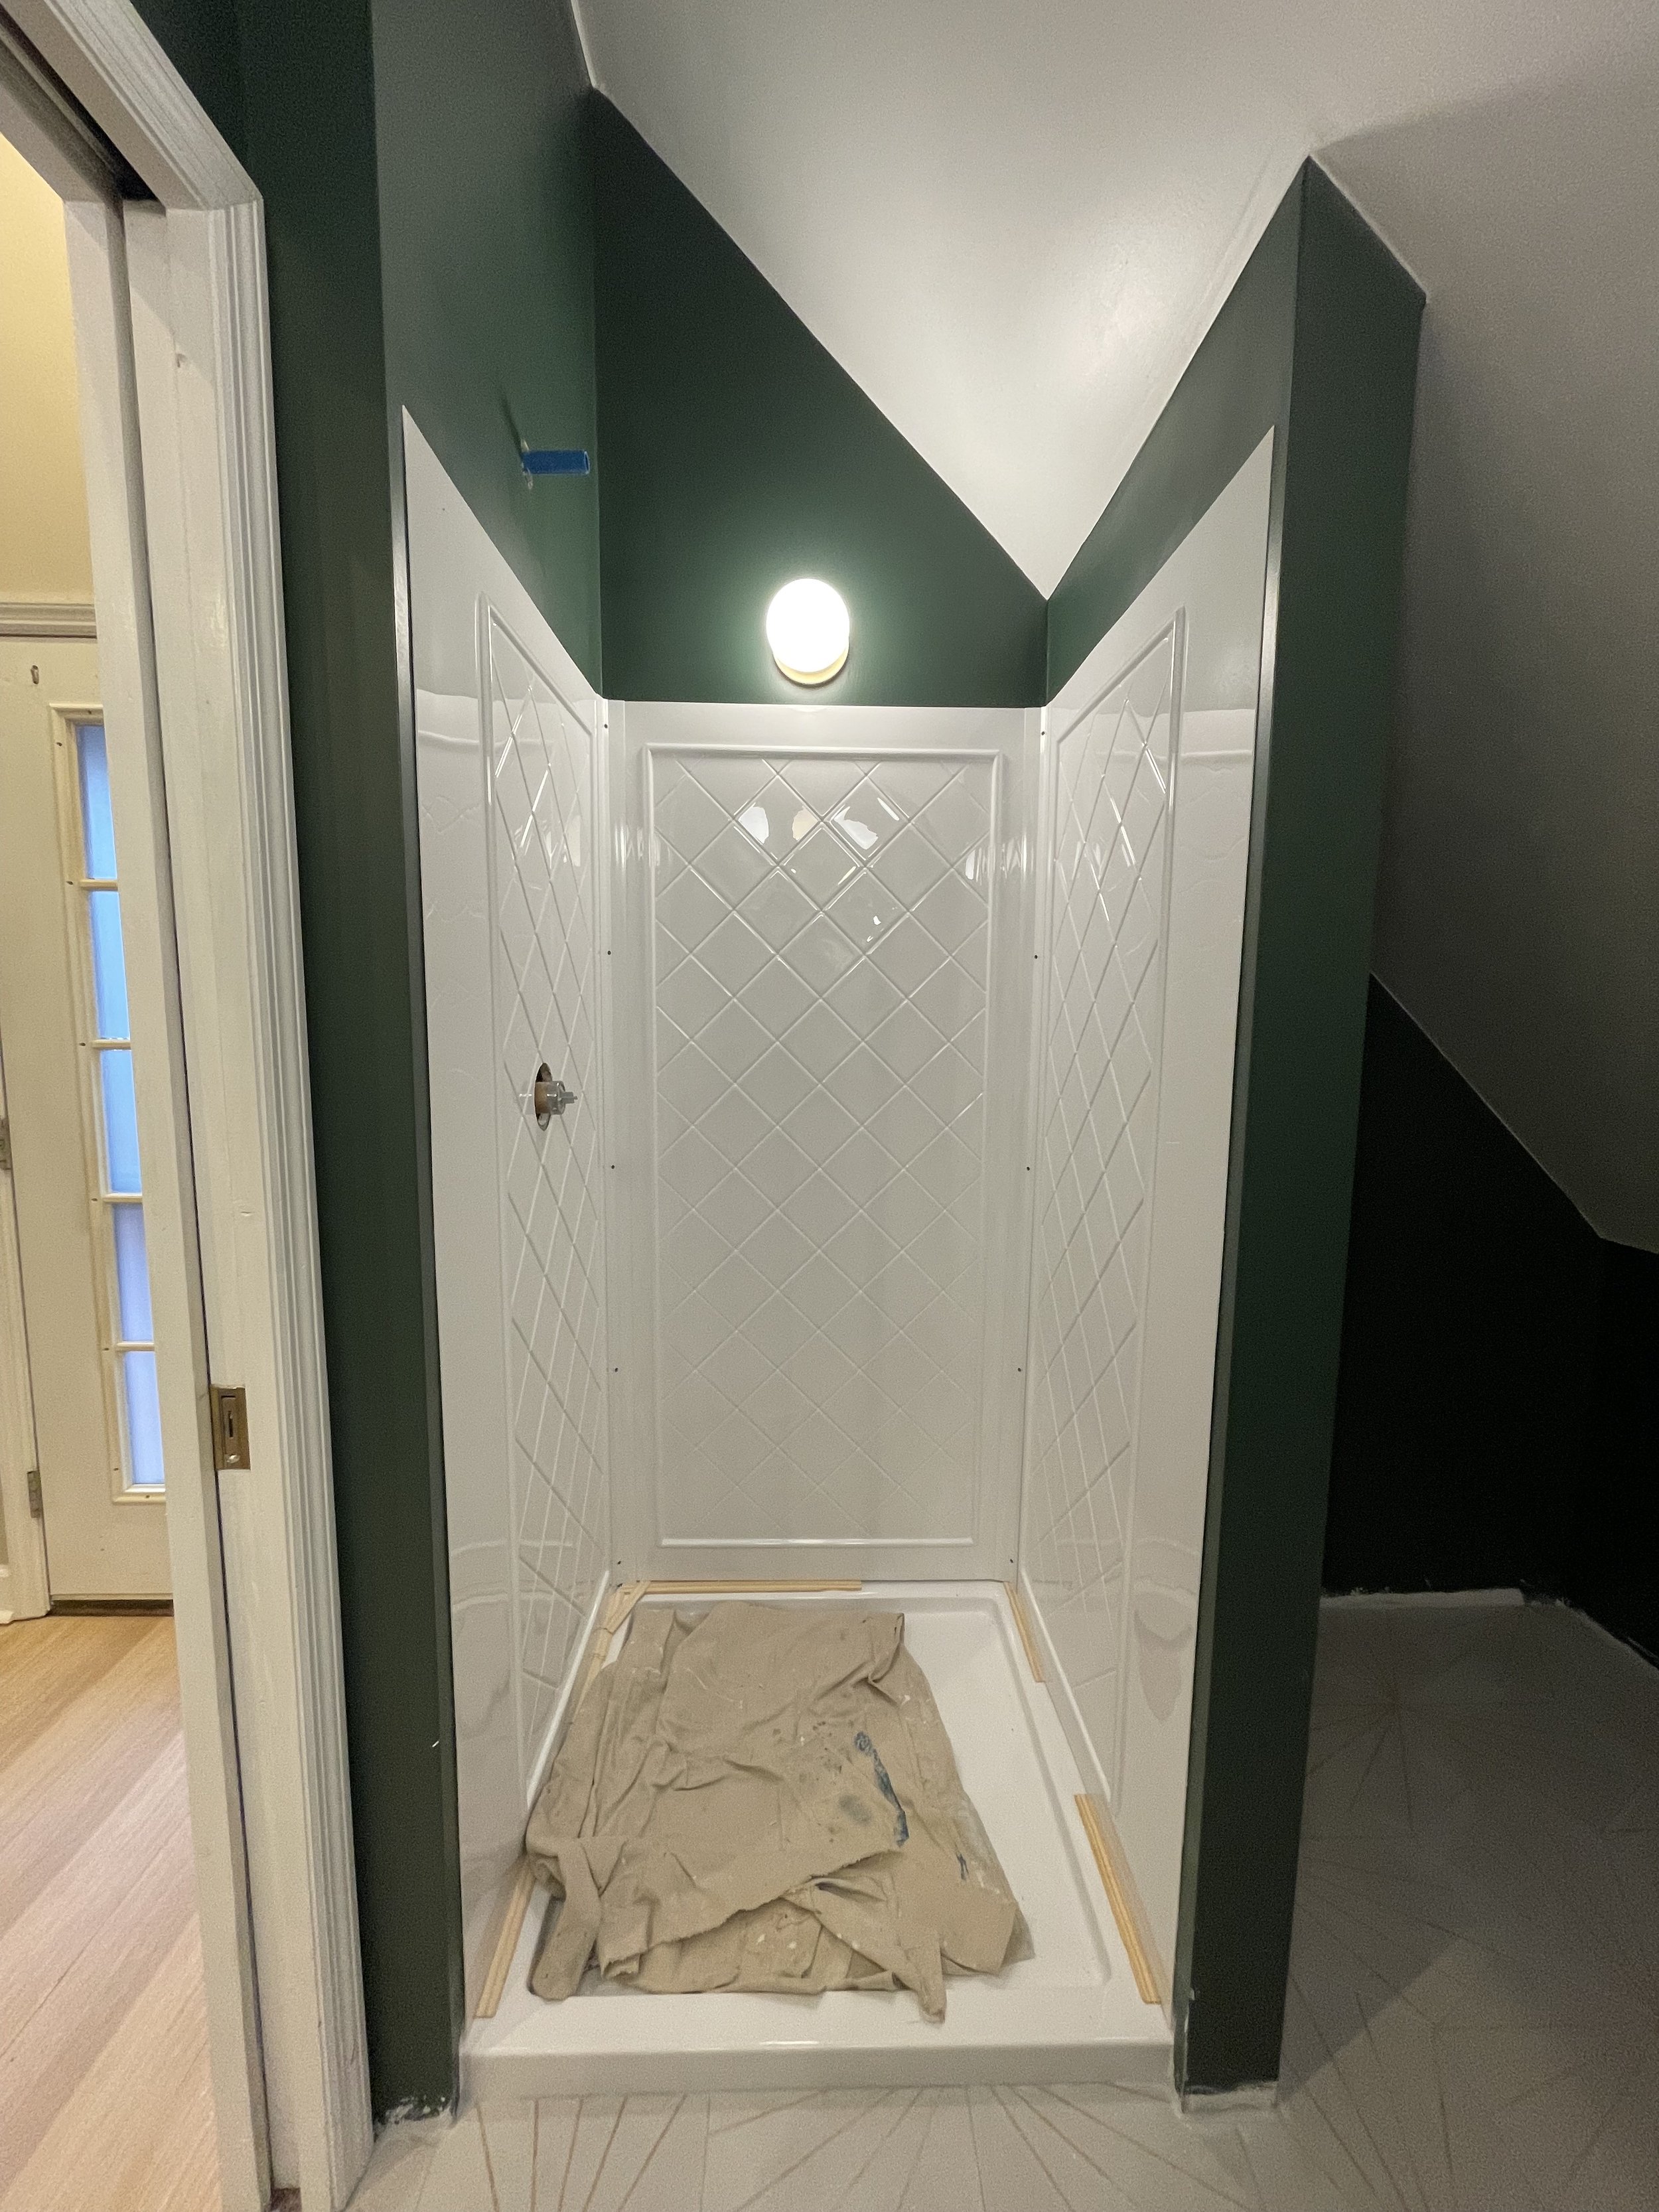
To get you oriented, let’s start with the general floor plan. As you can see in the photos above, the plumbing to the shower head was free-floating. The reason appears to be that the bathroom was built with just a soaking tub, and someone decided to add shower functionality after the fact.
Would you believe me if I told you that this was meant to be a low-intervention project? It was supposed to be easy! Pull up some of the tile, add a plumbing wall, install a pre-fab corner shower, paint the walls, done.
But, you see, I’m a designer.
As we started to work through our options for the space, I pretty quickly realized that I was falling prey to the renovation trap: like any homeowner, I wanted this project to be inexpensive and quick. But I’ve see it dozens of times on my projects: once you put new things in, the old things look even worse than they did before you started. We don’t want to revisit this bathroom in a few years to upgrade, so we decided to do it all now.
Our goals:
A functional shower with plumbing properly done
A less cluttered sink elevation with a recessed medicine cabinet
Improved lighting via a vanity sconce with more bulbs and a better sconce above the shower
Additional storage and a home for a laundry hamper
An exhaust fan to prevent moisture issues from steam
New tile floors
Keep the sink and toilet, but swap in a new faucet and accessories to tie it all together
The Process
As soon as we made the decision to gut the bathroom and start over, I got to work putting together a little bit of a vision board (fully knowing that we’d be doing the budget version of anything I found). I didn’t have a clear idea of what the room should be. I didn’t have a color I was dying to use, but I knew I didn’t want a typical bathroom blue or greige. I wanted something kind of special.
Here are some of the inspiration images I found, and as you can see, I very quickly decided on a color direction:

Image via Vincent the House

Image by Camille Lai via Clare Paint
I typically agonize over my design decisions, but this process was fast. I chose almost everything in 2 days and confirmed once the samples arrived. I’m not sure if it’s because I’m feeling progressively more confident in my abilities as I get more projects under my belt or if I was feeling inspired or if — since this isn’t something I’ll have to look at every day— I just felt more freedom to choose what I like. It’s very possibly a combination of all three!
After some browsing and online shopping, here’s what I came up with for the room:
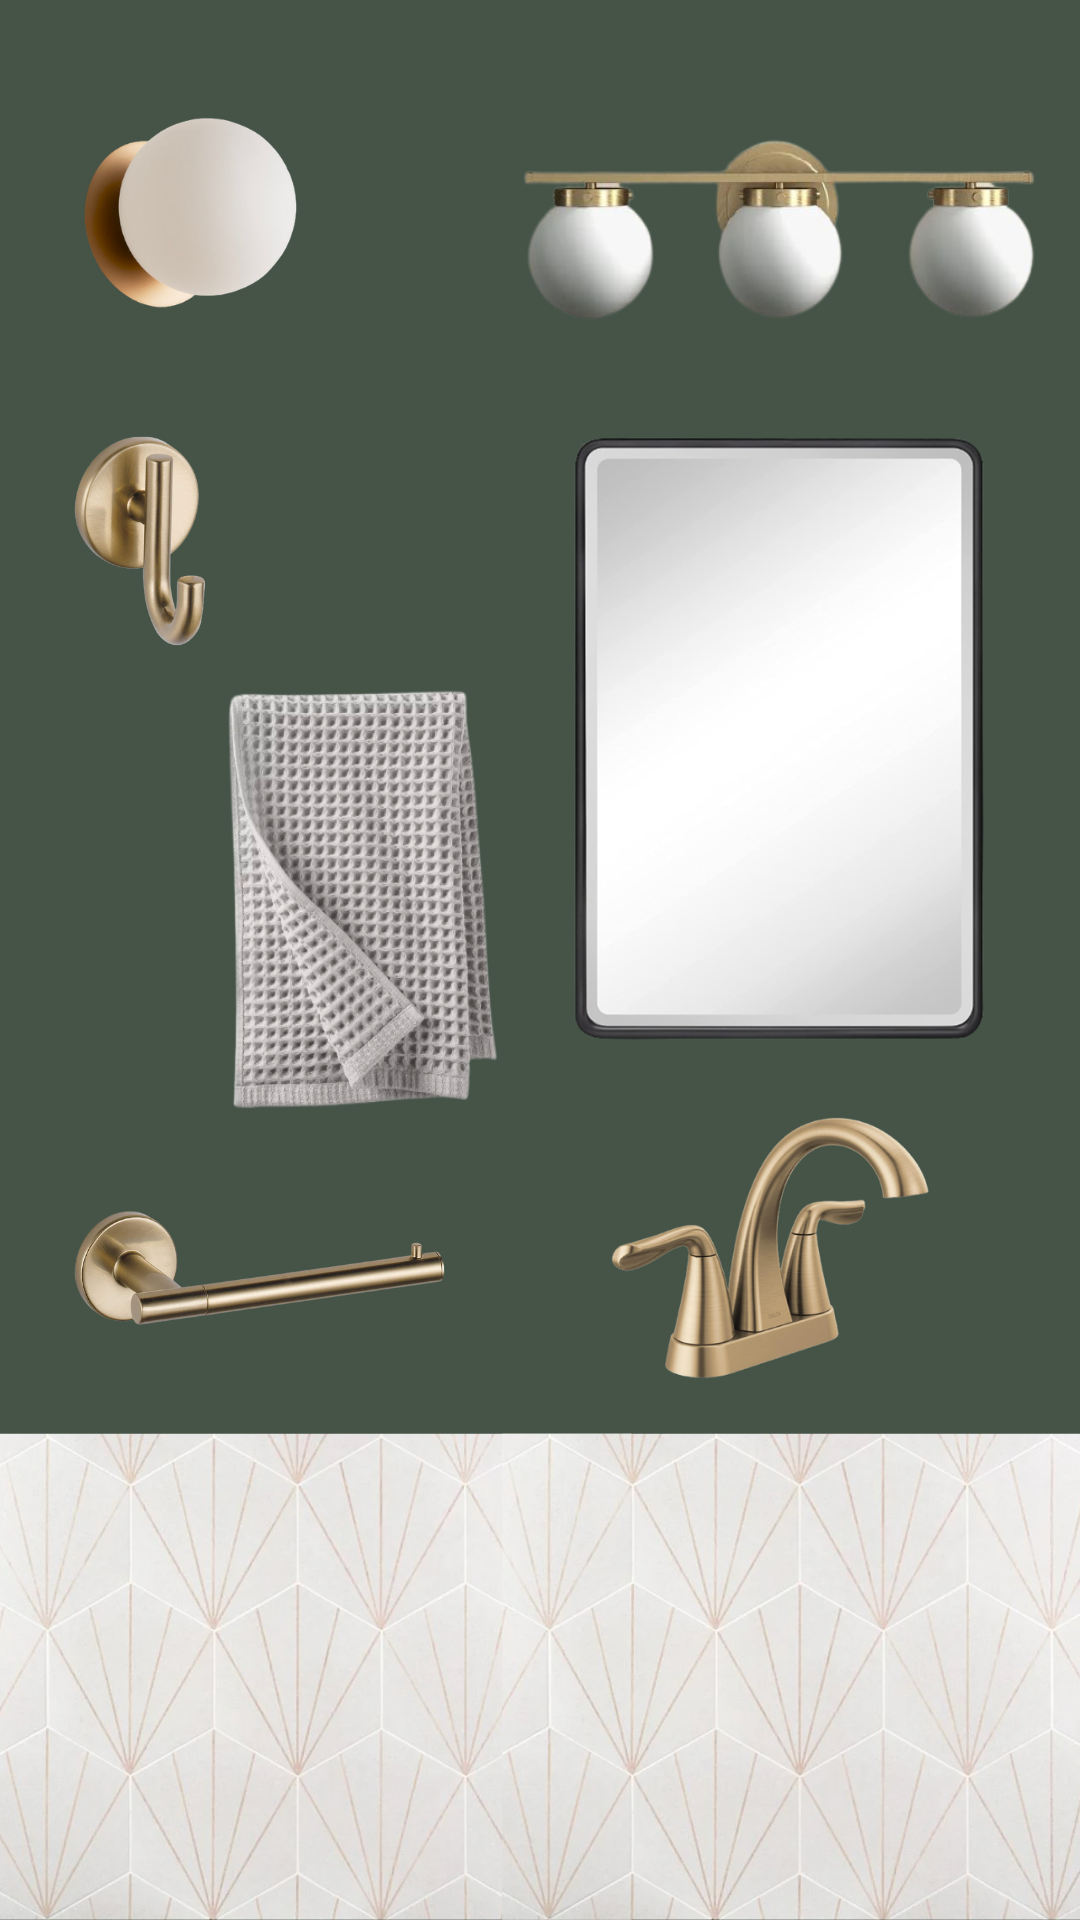
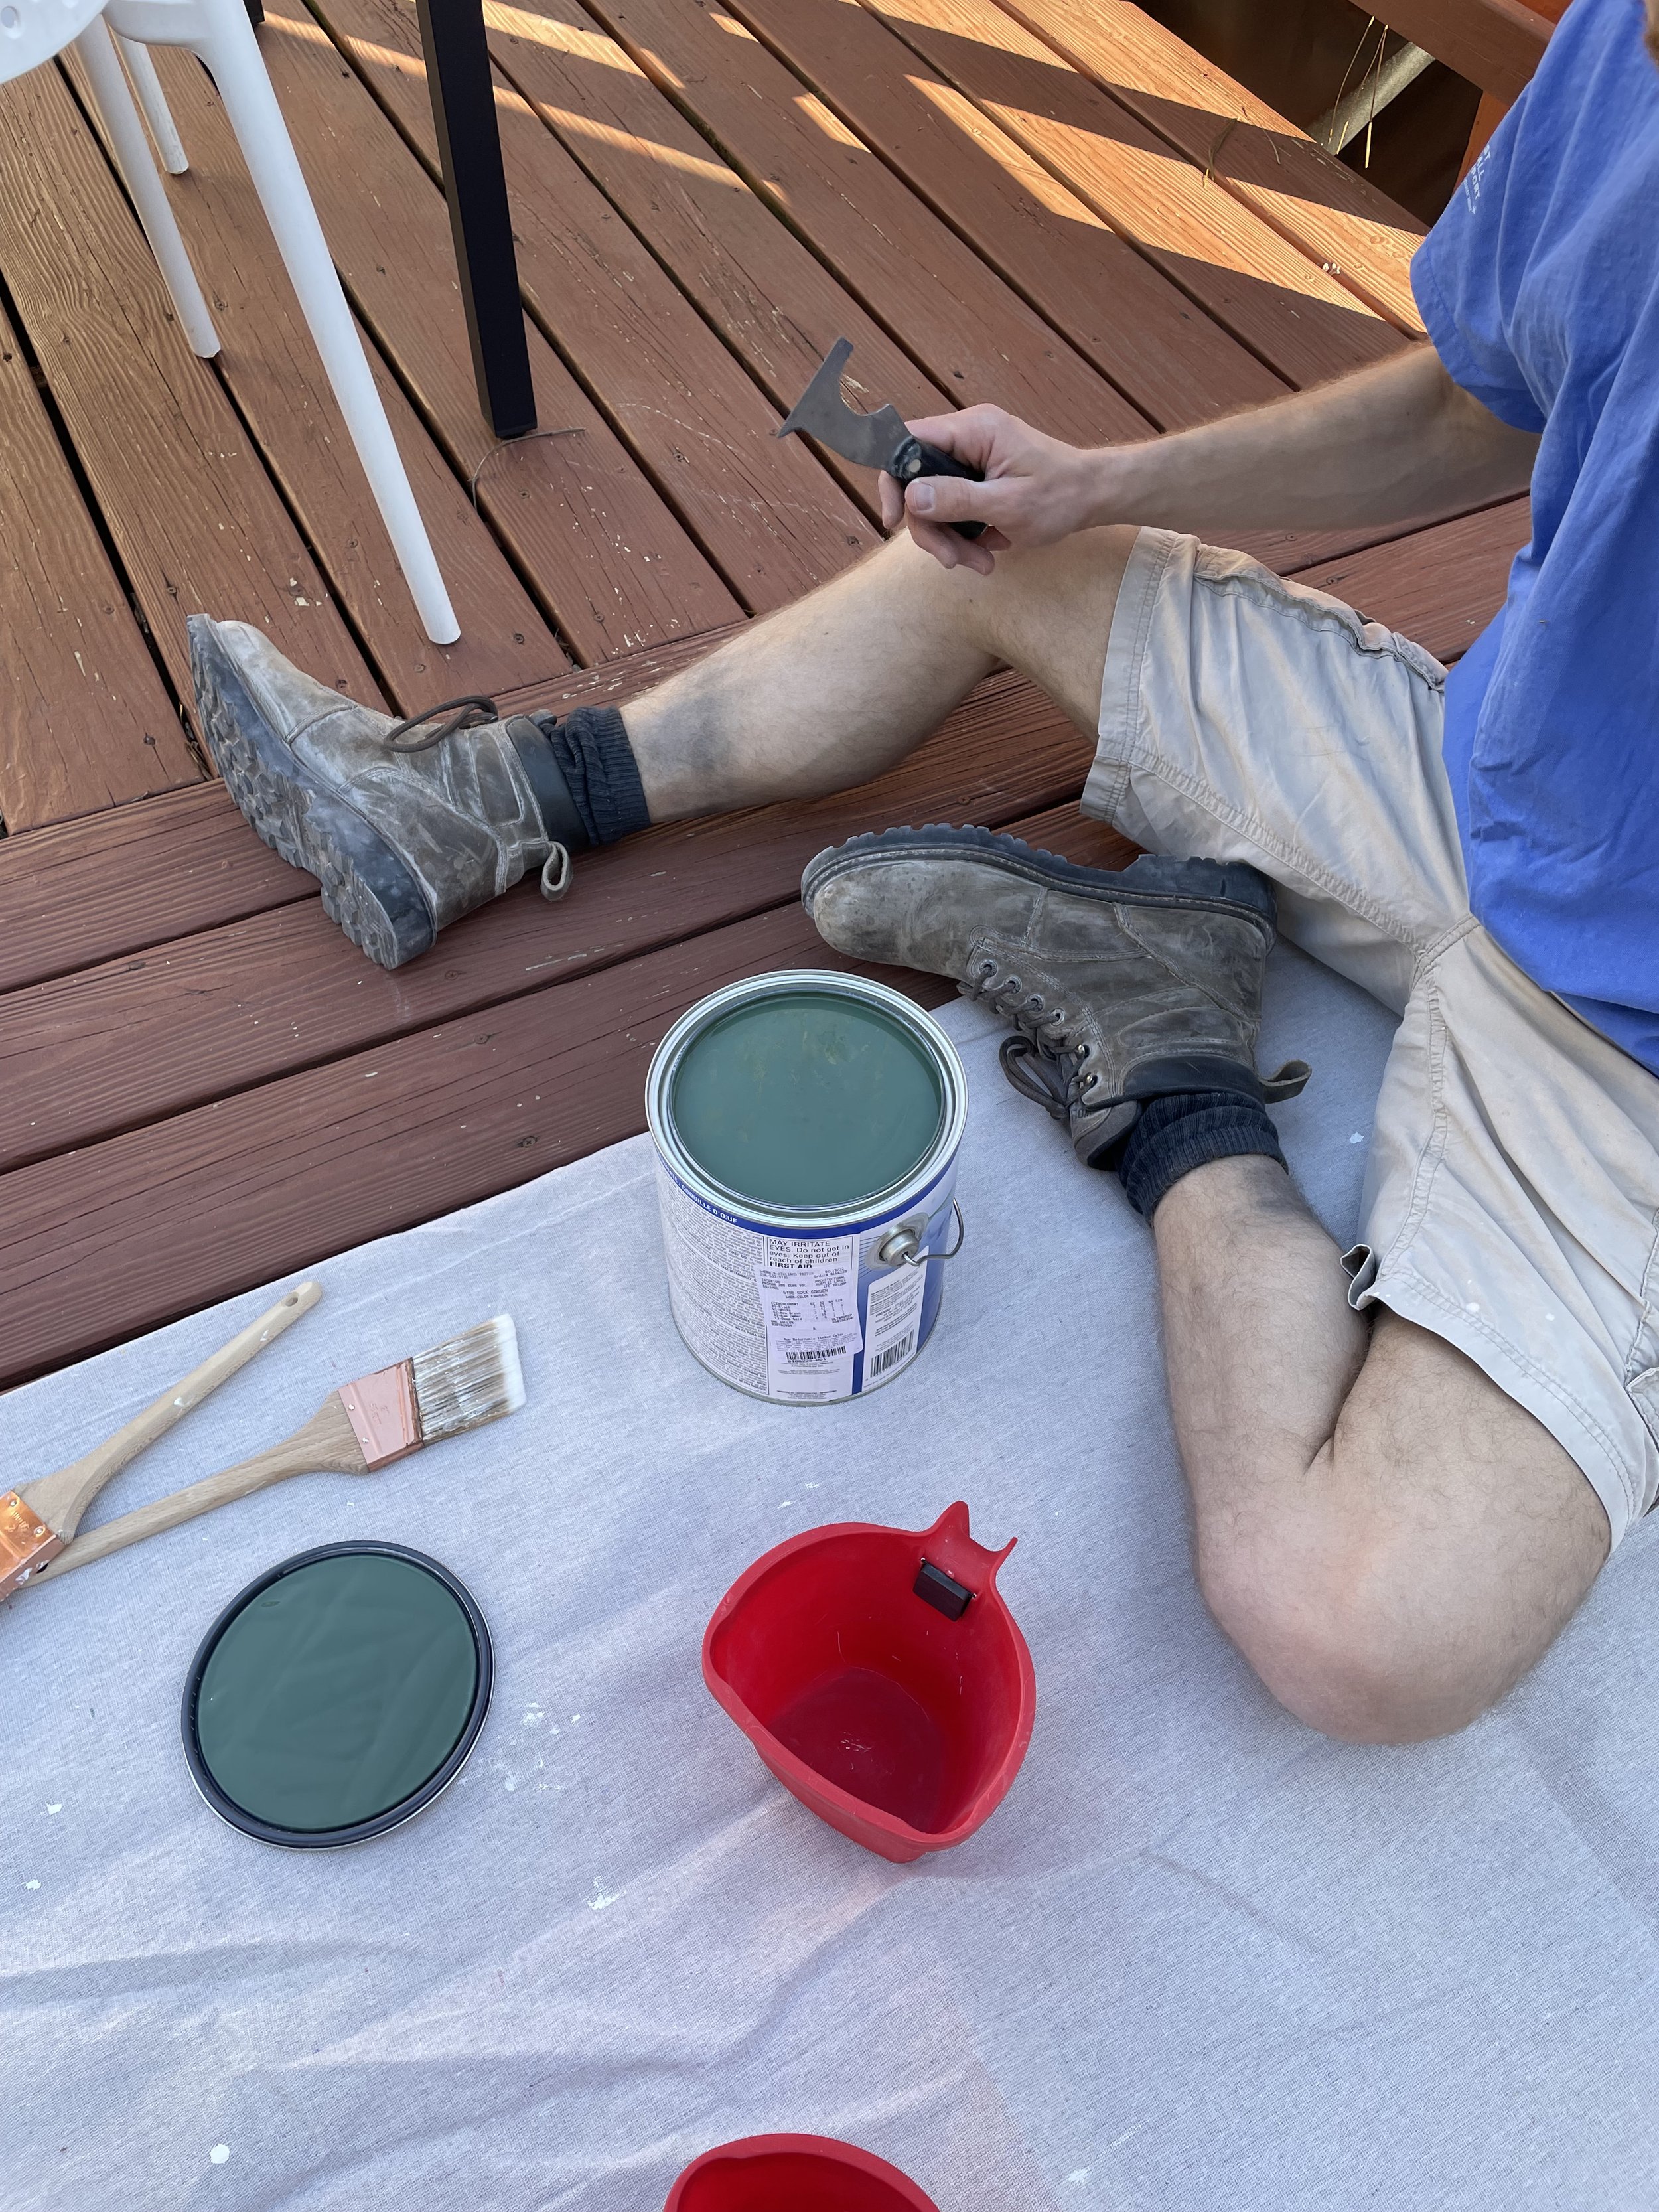
Sources Paint: Sherwin Williams Rock Garden | Single Sconce | Triple Sconce | Robe & Towel Hook | Recessed Medicine Cabinet | Bath Towel | Toilet Paper Holder | Centerset Faucet | Floor Tile
At this point, I’d raced way ahead of Joey, who was busy demolishing the bathroom and trying to figure out how to properly frame a plumbing wall properly. The lumber for the framing and the finishing touches all landed in the guest house at the same time, se we had the decorative items stacked in the corner for almost six weeks of the eight-week project.
But I couldn’t help myself! (And besides, you never know when things will disappear from stock these days!)
While I was choosing the pretty bits, researching shower kit options, getting quotes from contractors, measuring for the tile order, coordinating with our plumber, and keeping track of the budget spreadsheet, Joey was hard at work making visible progress.
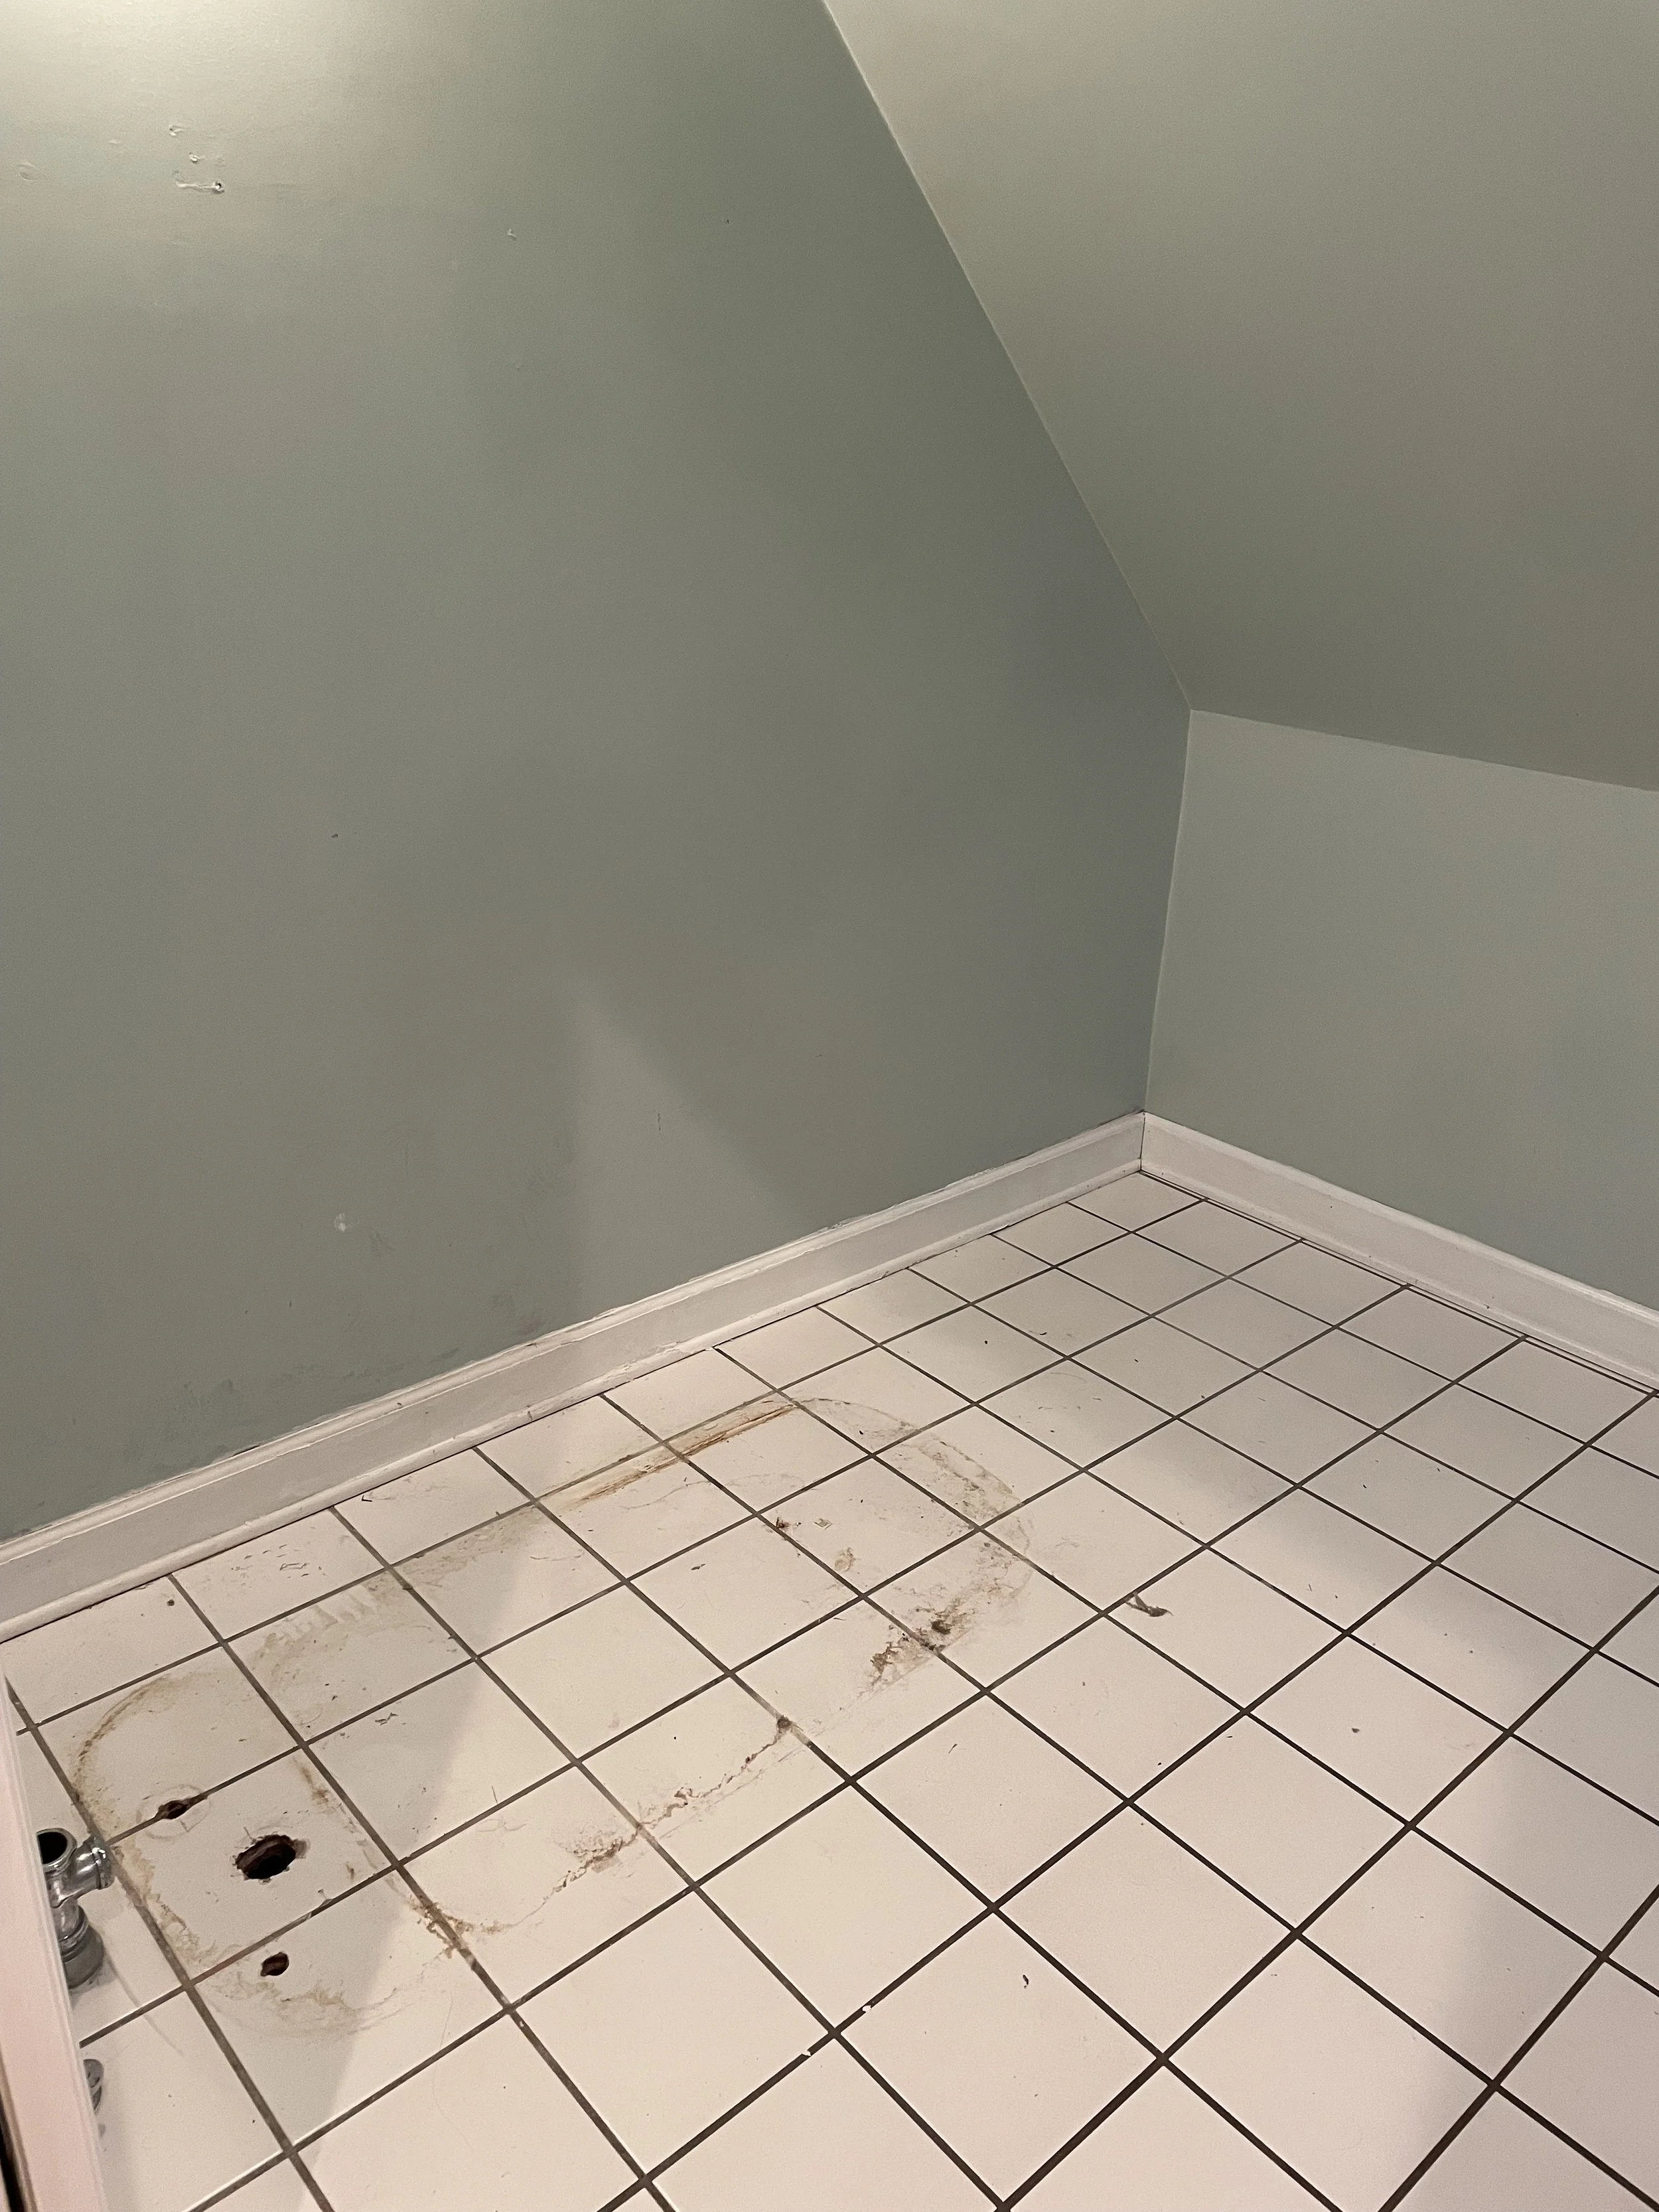
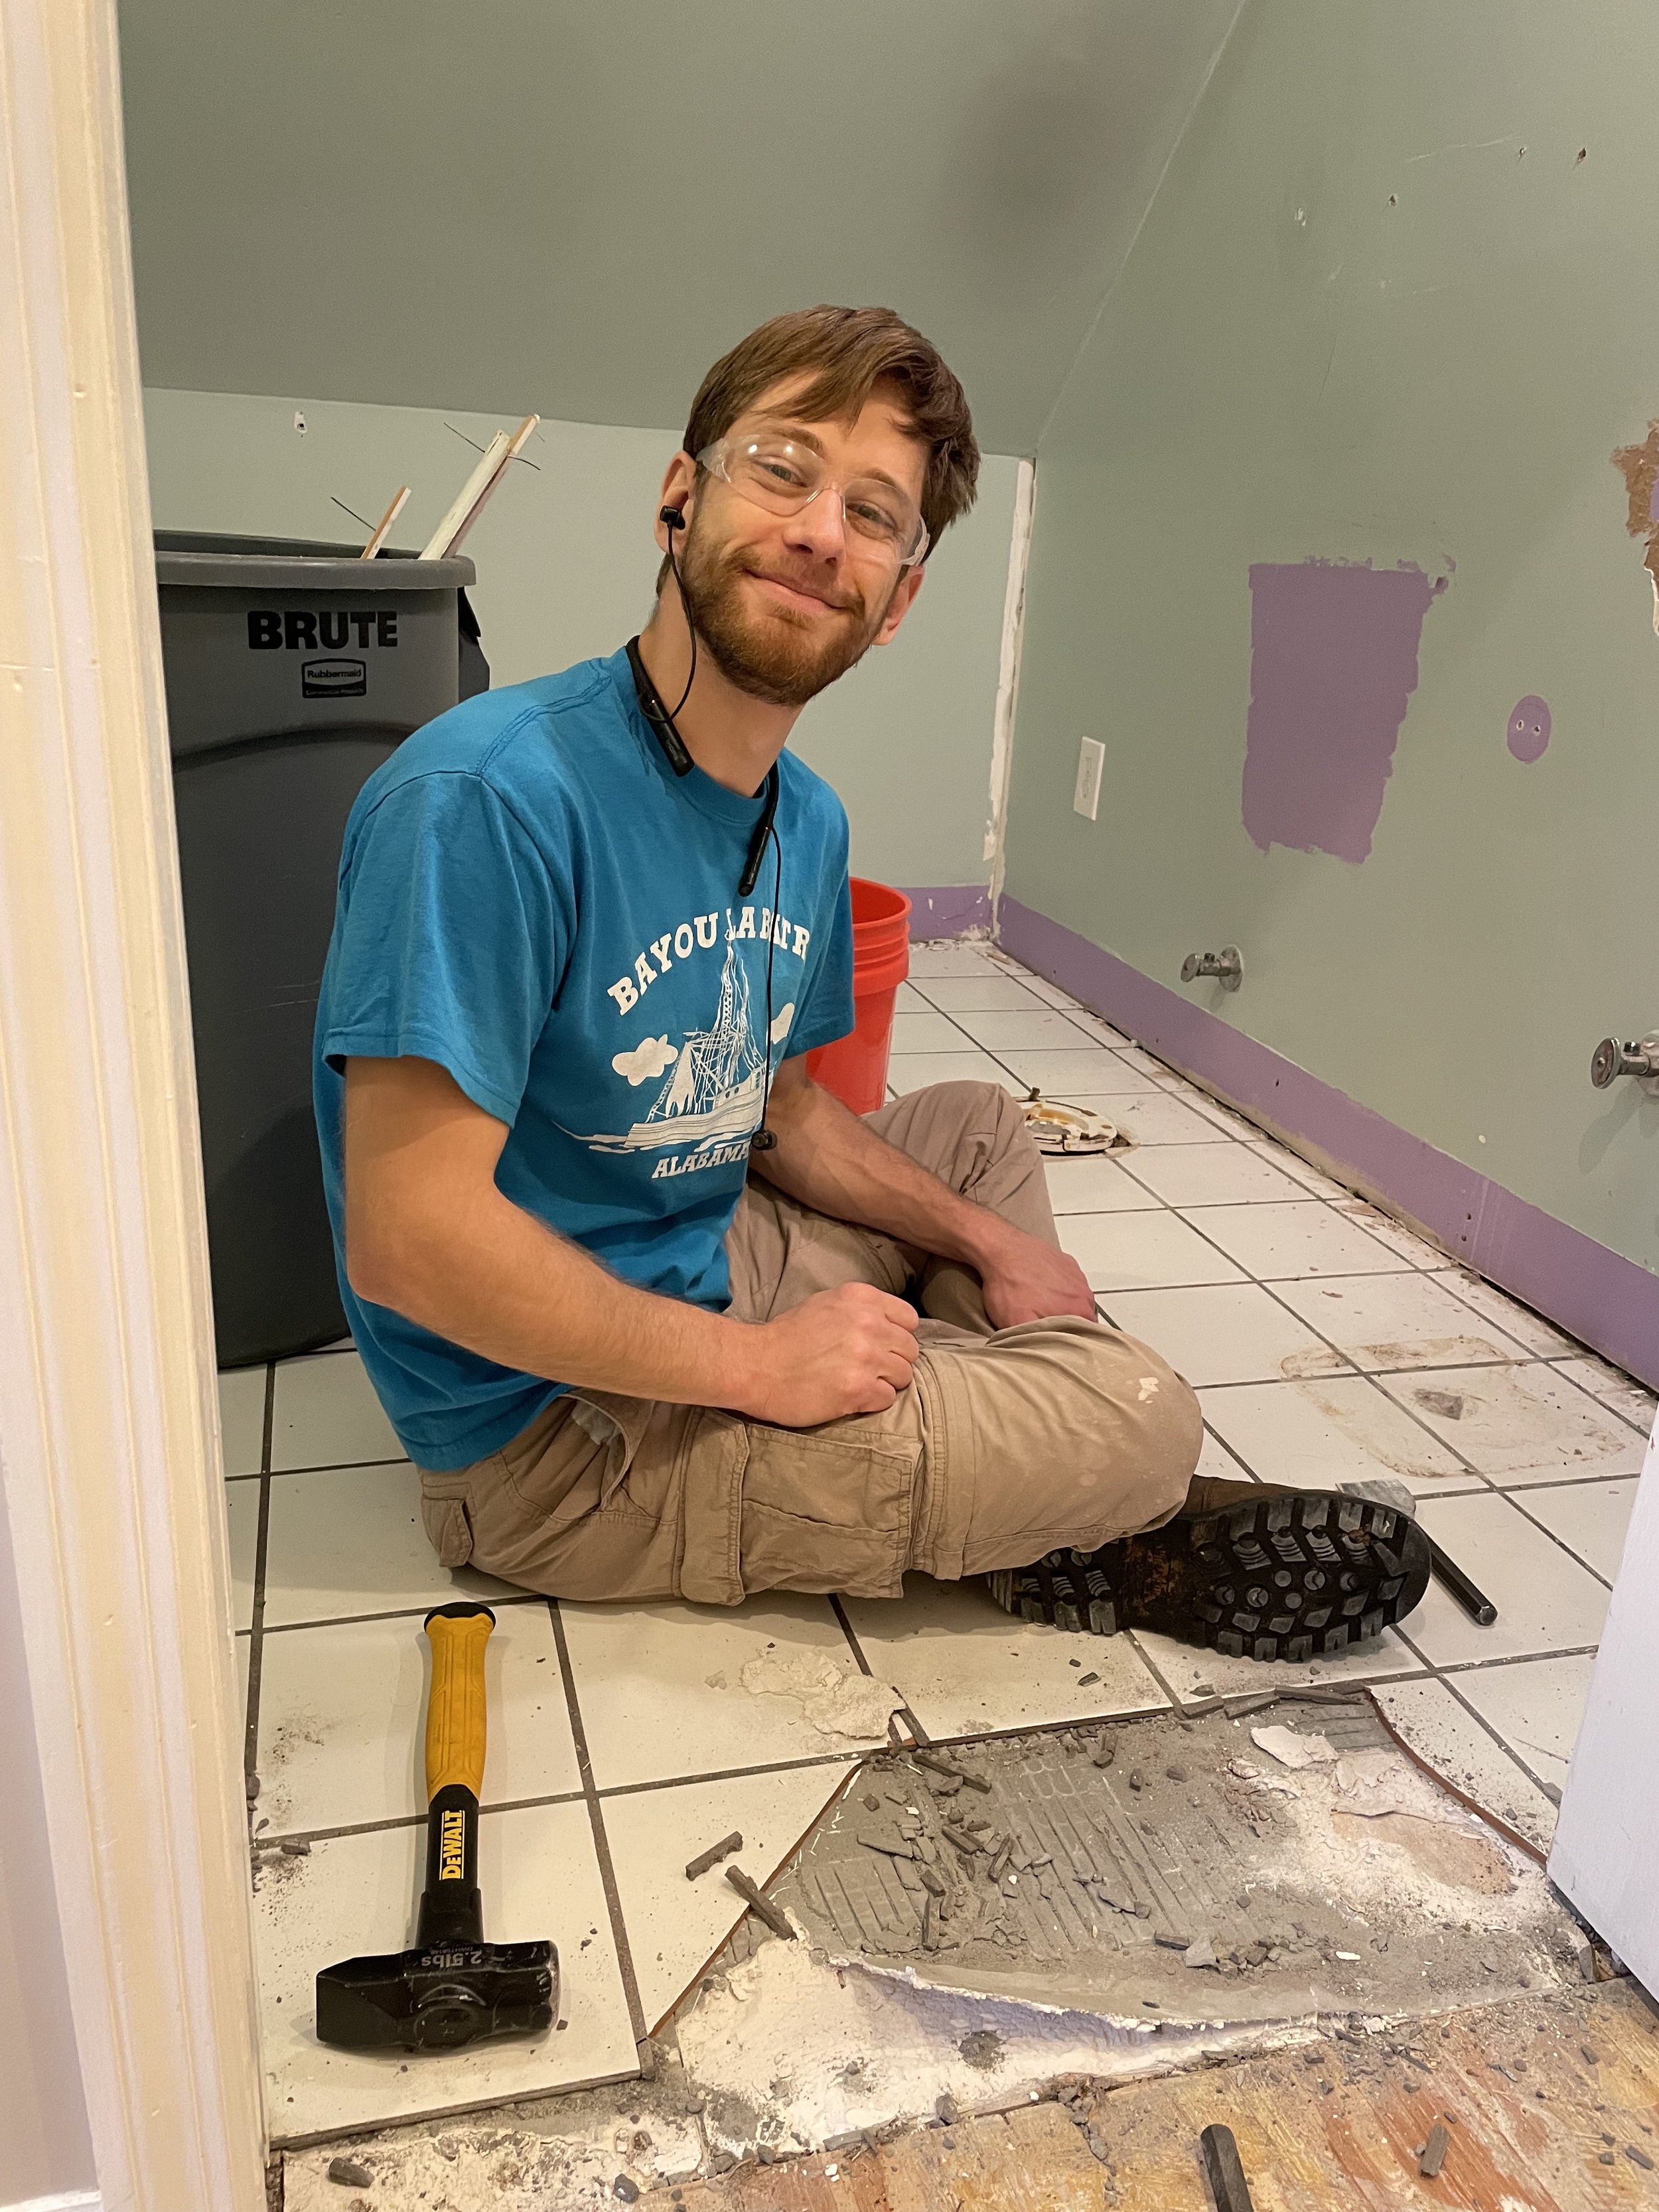
Demo:
First we sold the bathtub to someone local, then Joey removed the sink and toilet and set them aside. He removed the base, demolished all the floor tile, and cleaned it all up for the project to really start!
Here’s a montage for your viewing pleasure.

Getting the Bones Right:
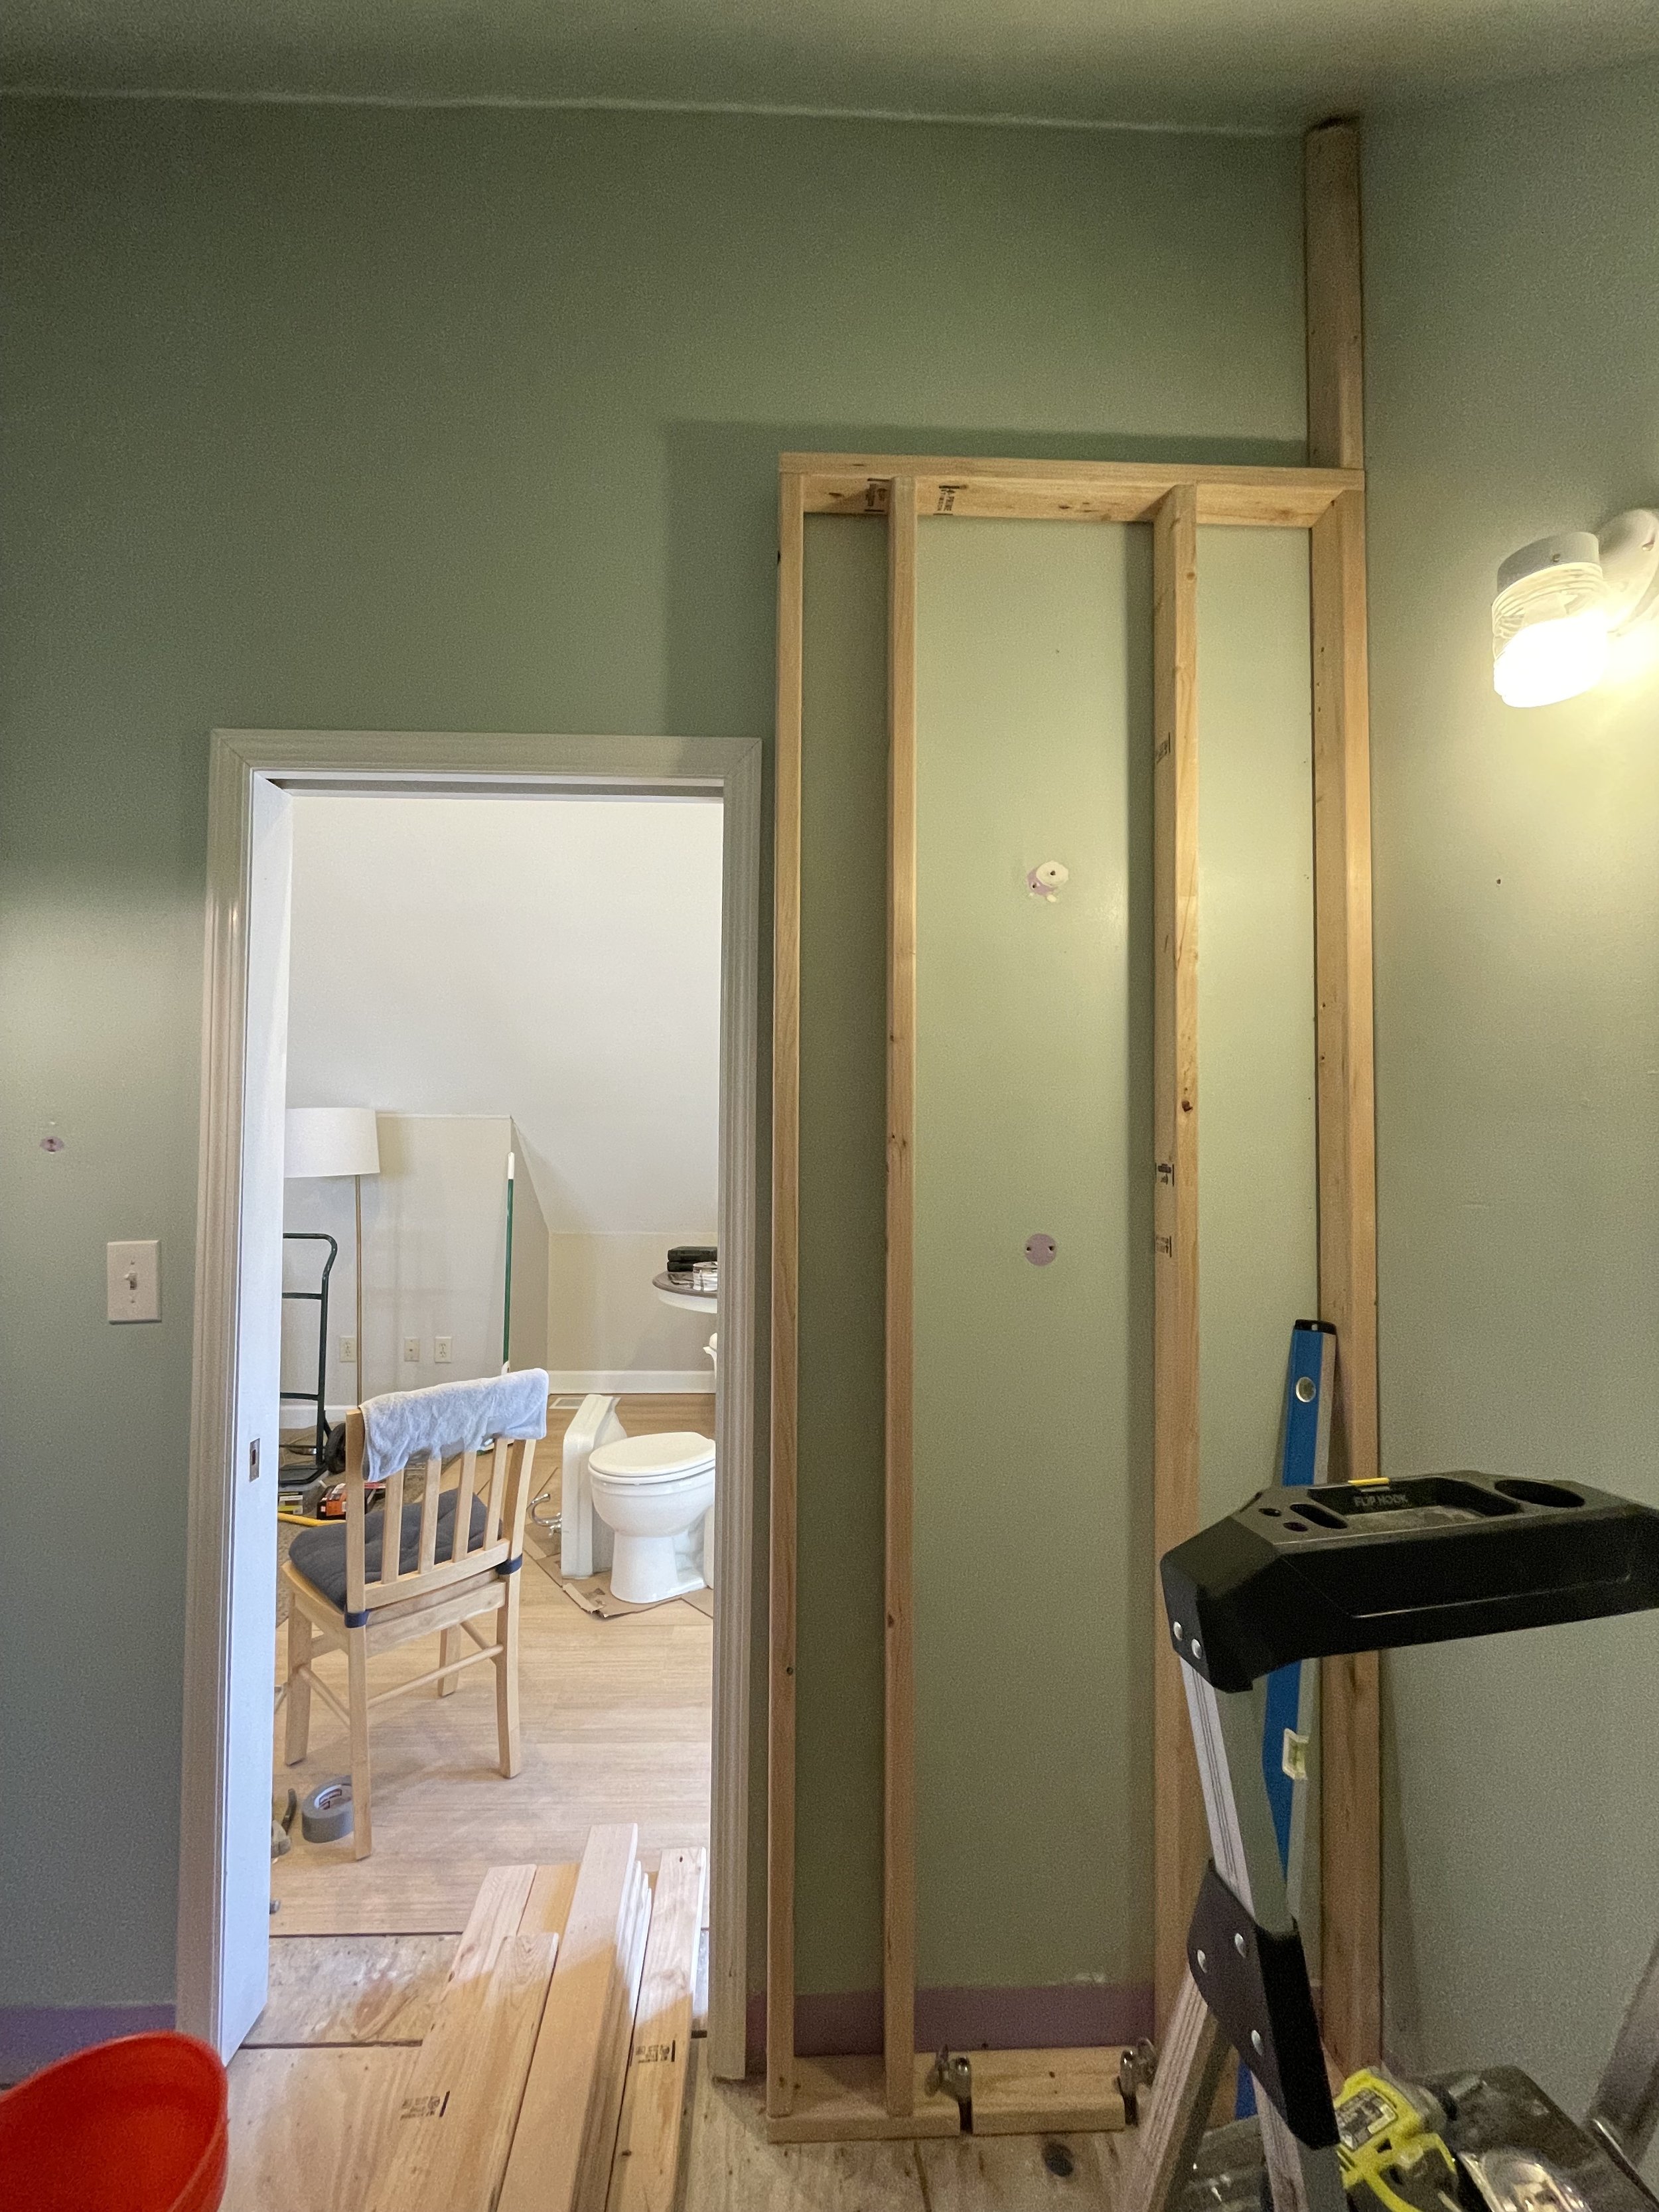
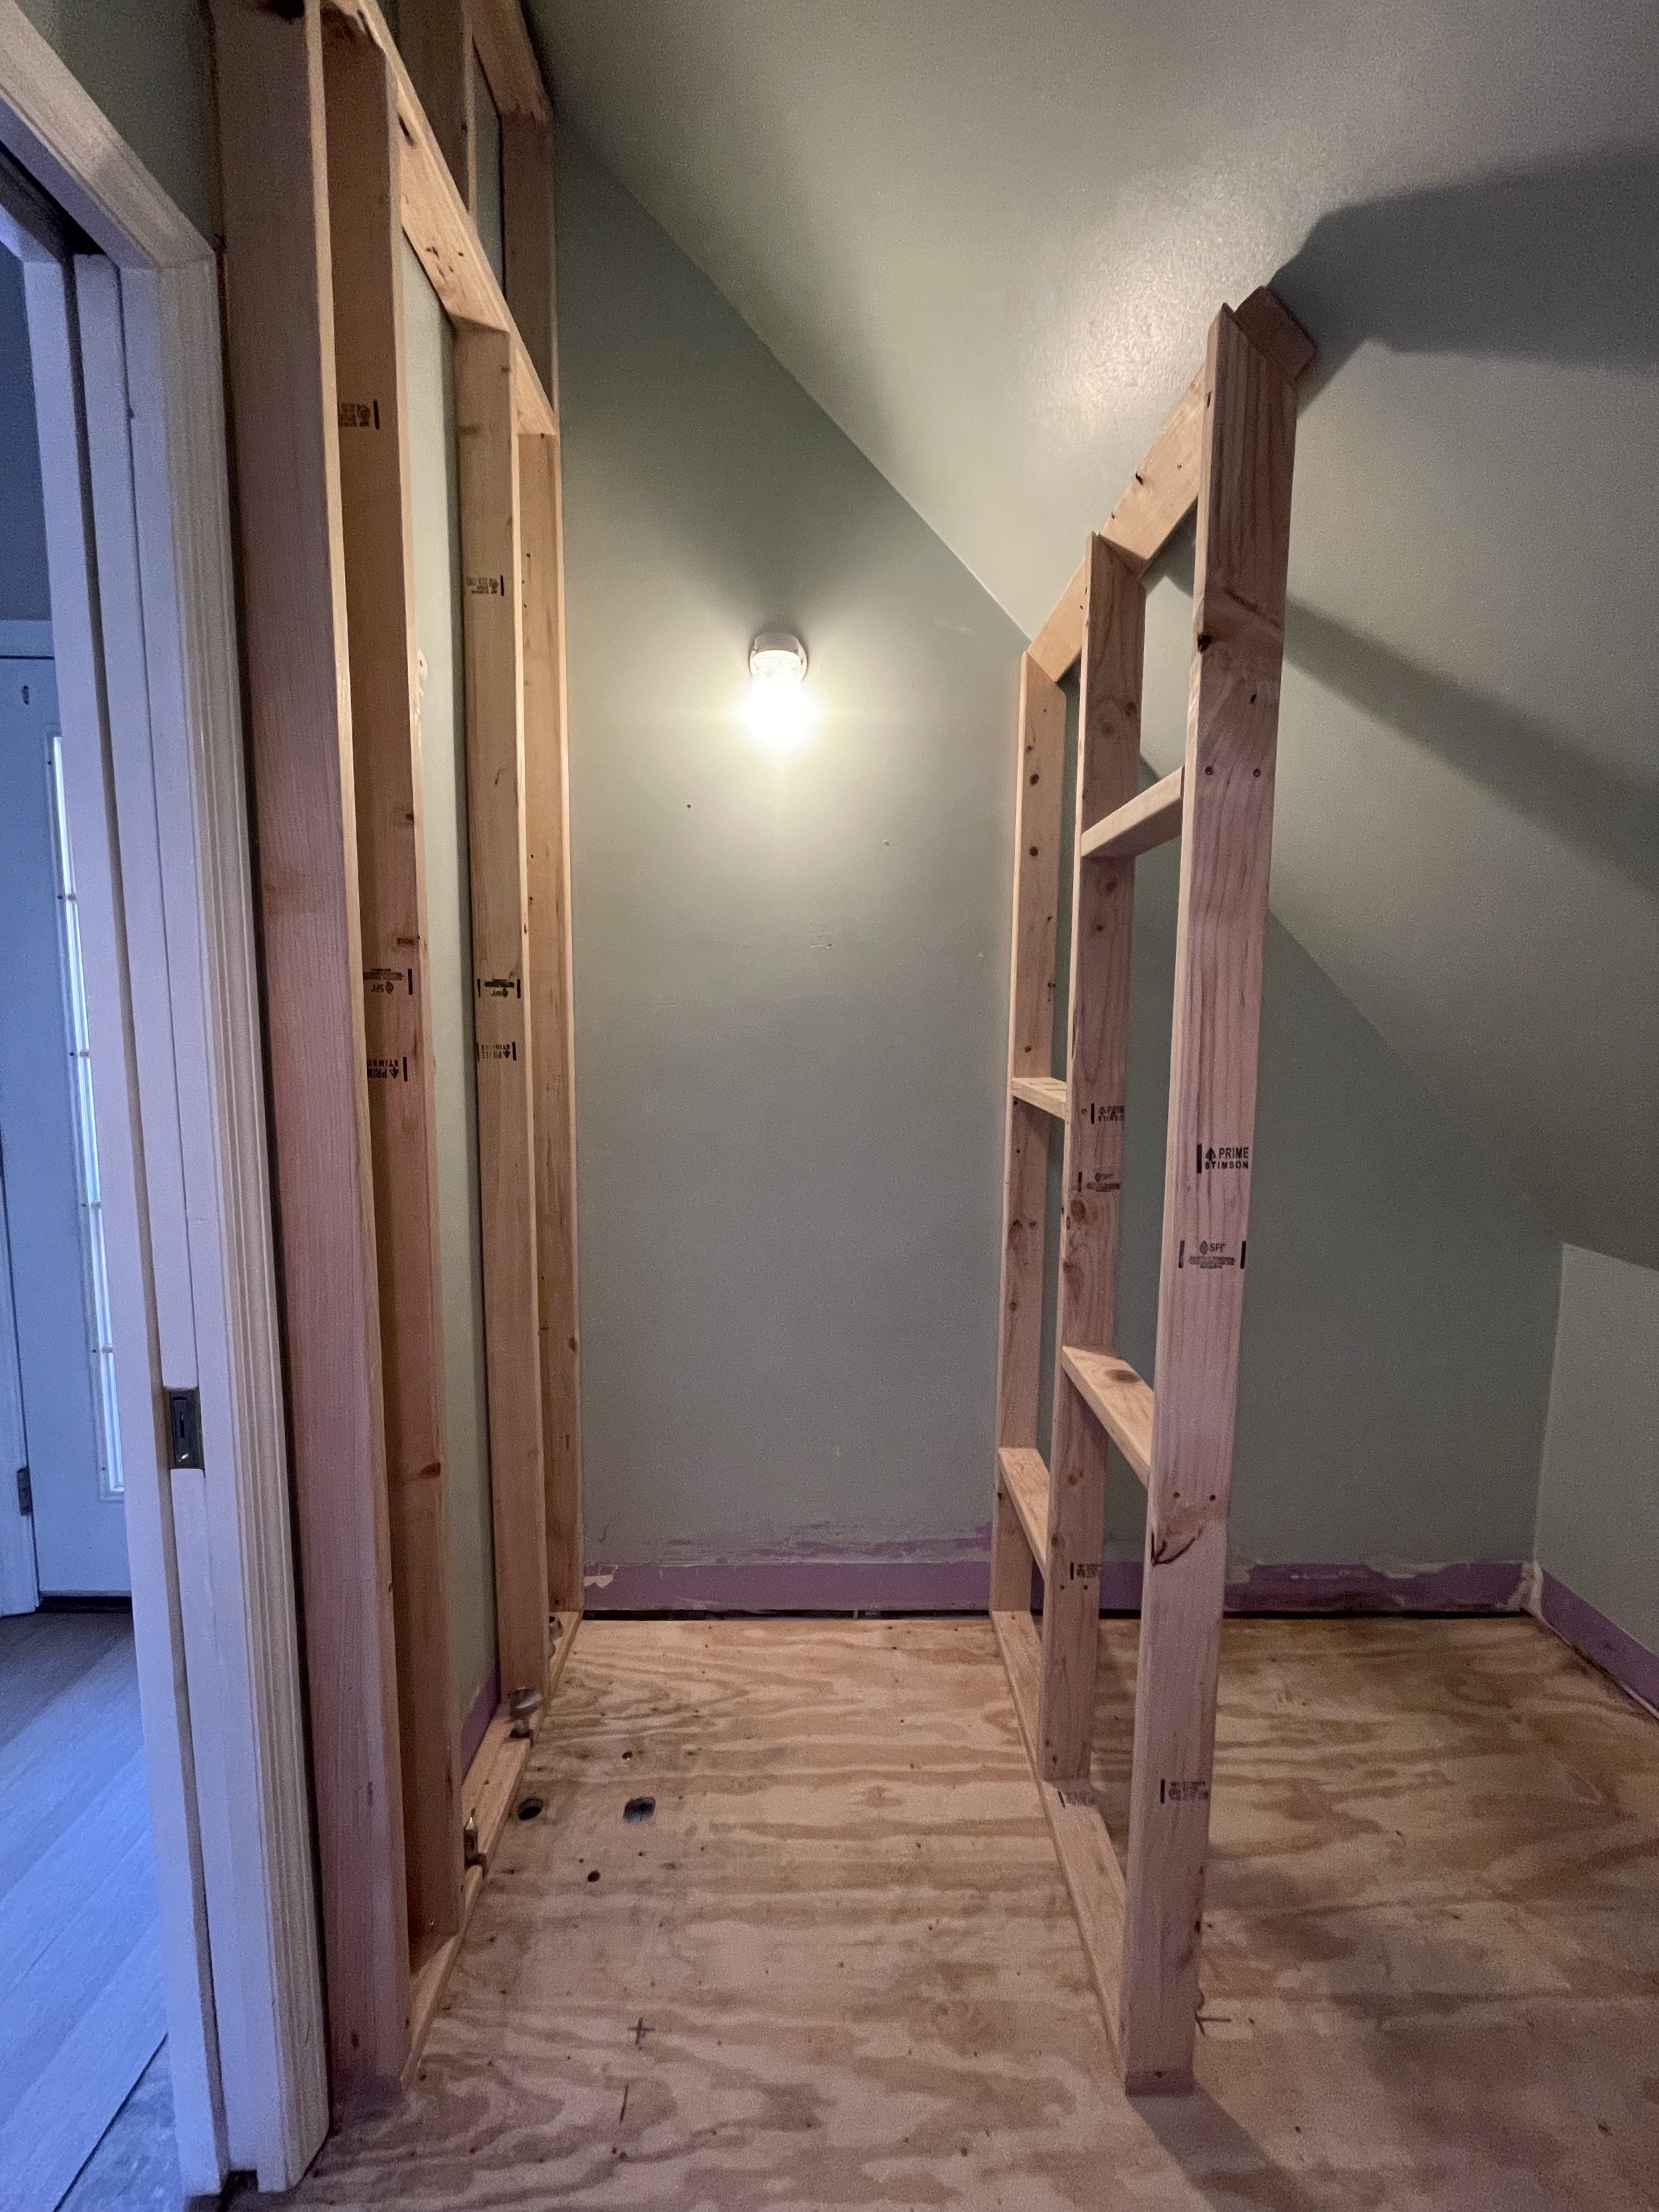
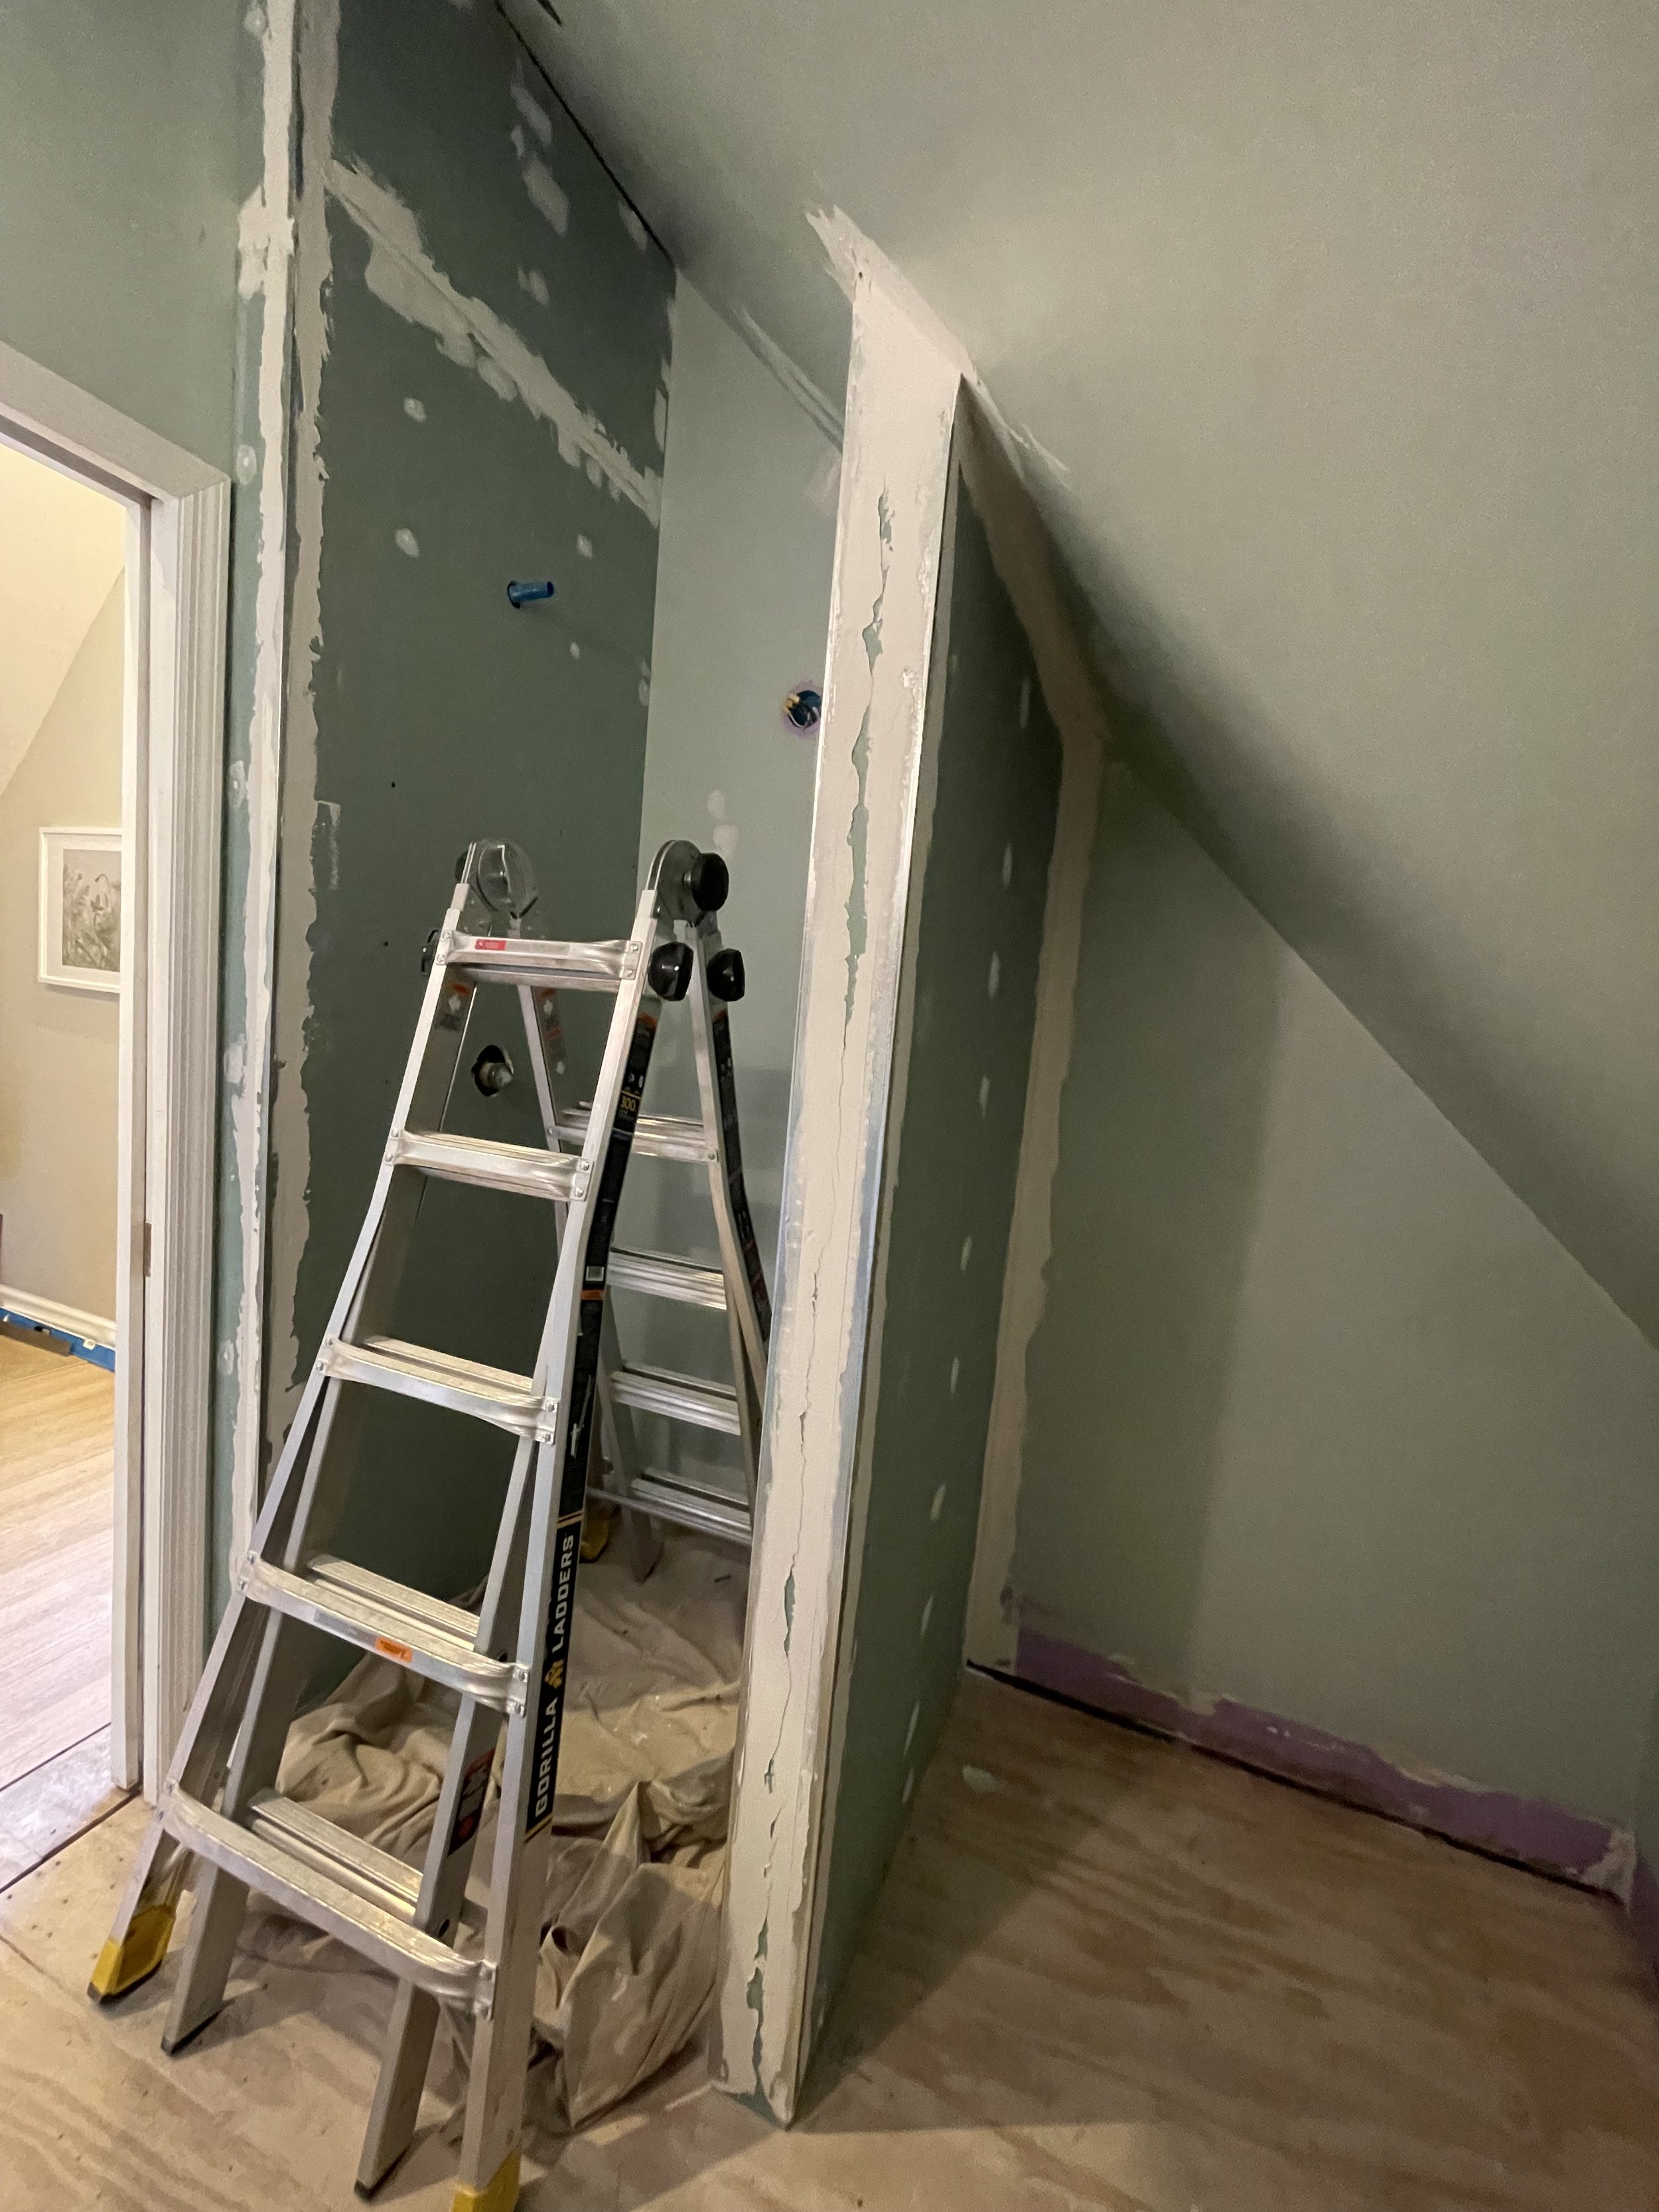
Next, we prepared for the plumbing. We talked to our plumber about what he needed in the wall; after a few pictures and sketches texted back and forth, we understood, and Joey built the plumbing wall.
At this point, I’d figured out what shower kit we would be using, and we built the opposite wall to the exact dimensions. The shower pan screws directly to the studs, then you sort of rest the drywall on top of it, and the shower walls get glued to the drywall (more on that part later). So precision is important here, and Joey did a great job!
The plumbing went into our new wall and Joey installed the drywall over it. While drywall work was happening, he installed the ceiling exhaust fan, which was vented out through the roof, leading to some very questionable clambering over the roof. (Don’t worry, climbing is his sport of choice! He’s certified and everything.) He wired the new fan to the same switch as the lights so that it will always be on when someone is using the bathroom. While he was messing with electrical, I had him move the outlet by the sink to right under the switch. This helps keep that sink elevation clean and has the added bonus of not knocking toothbrushes over while you’re using a blowdryer.


Making it Pretty:
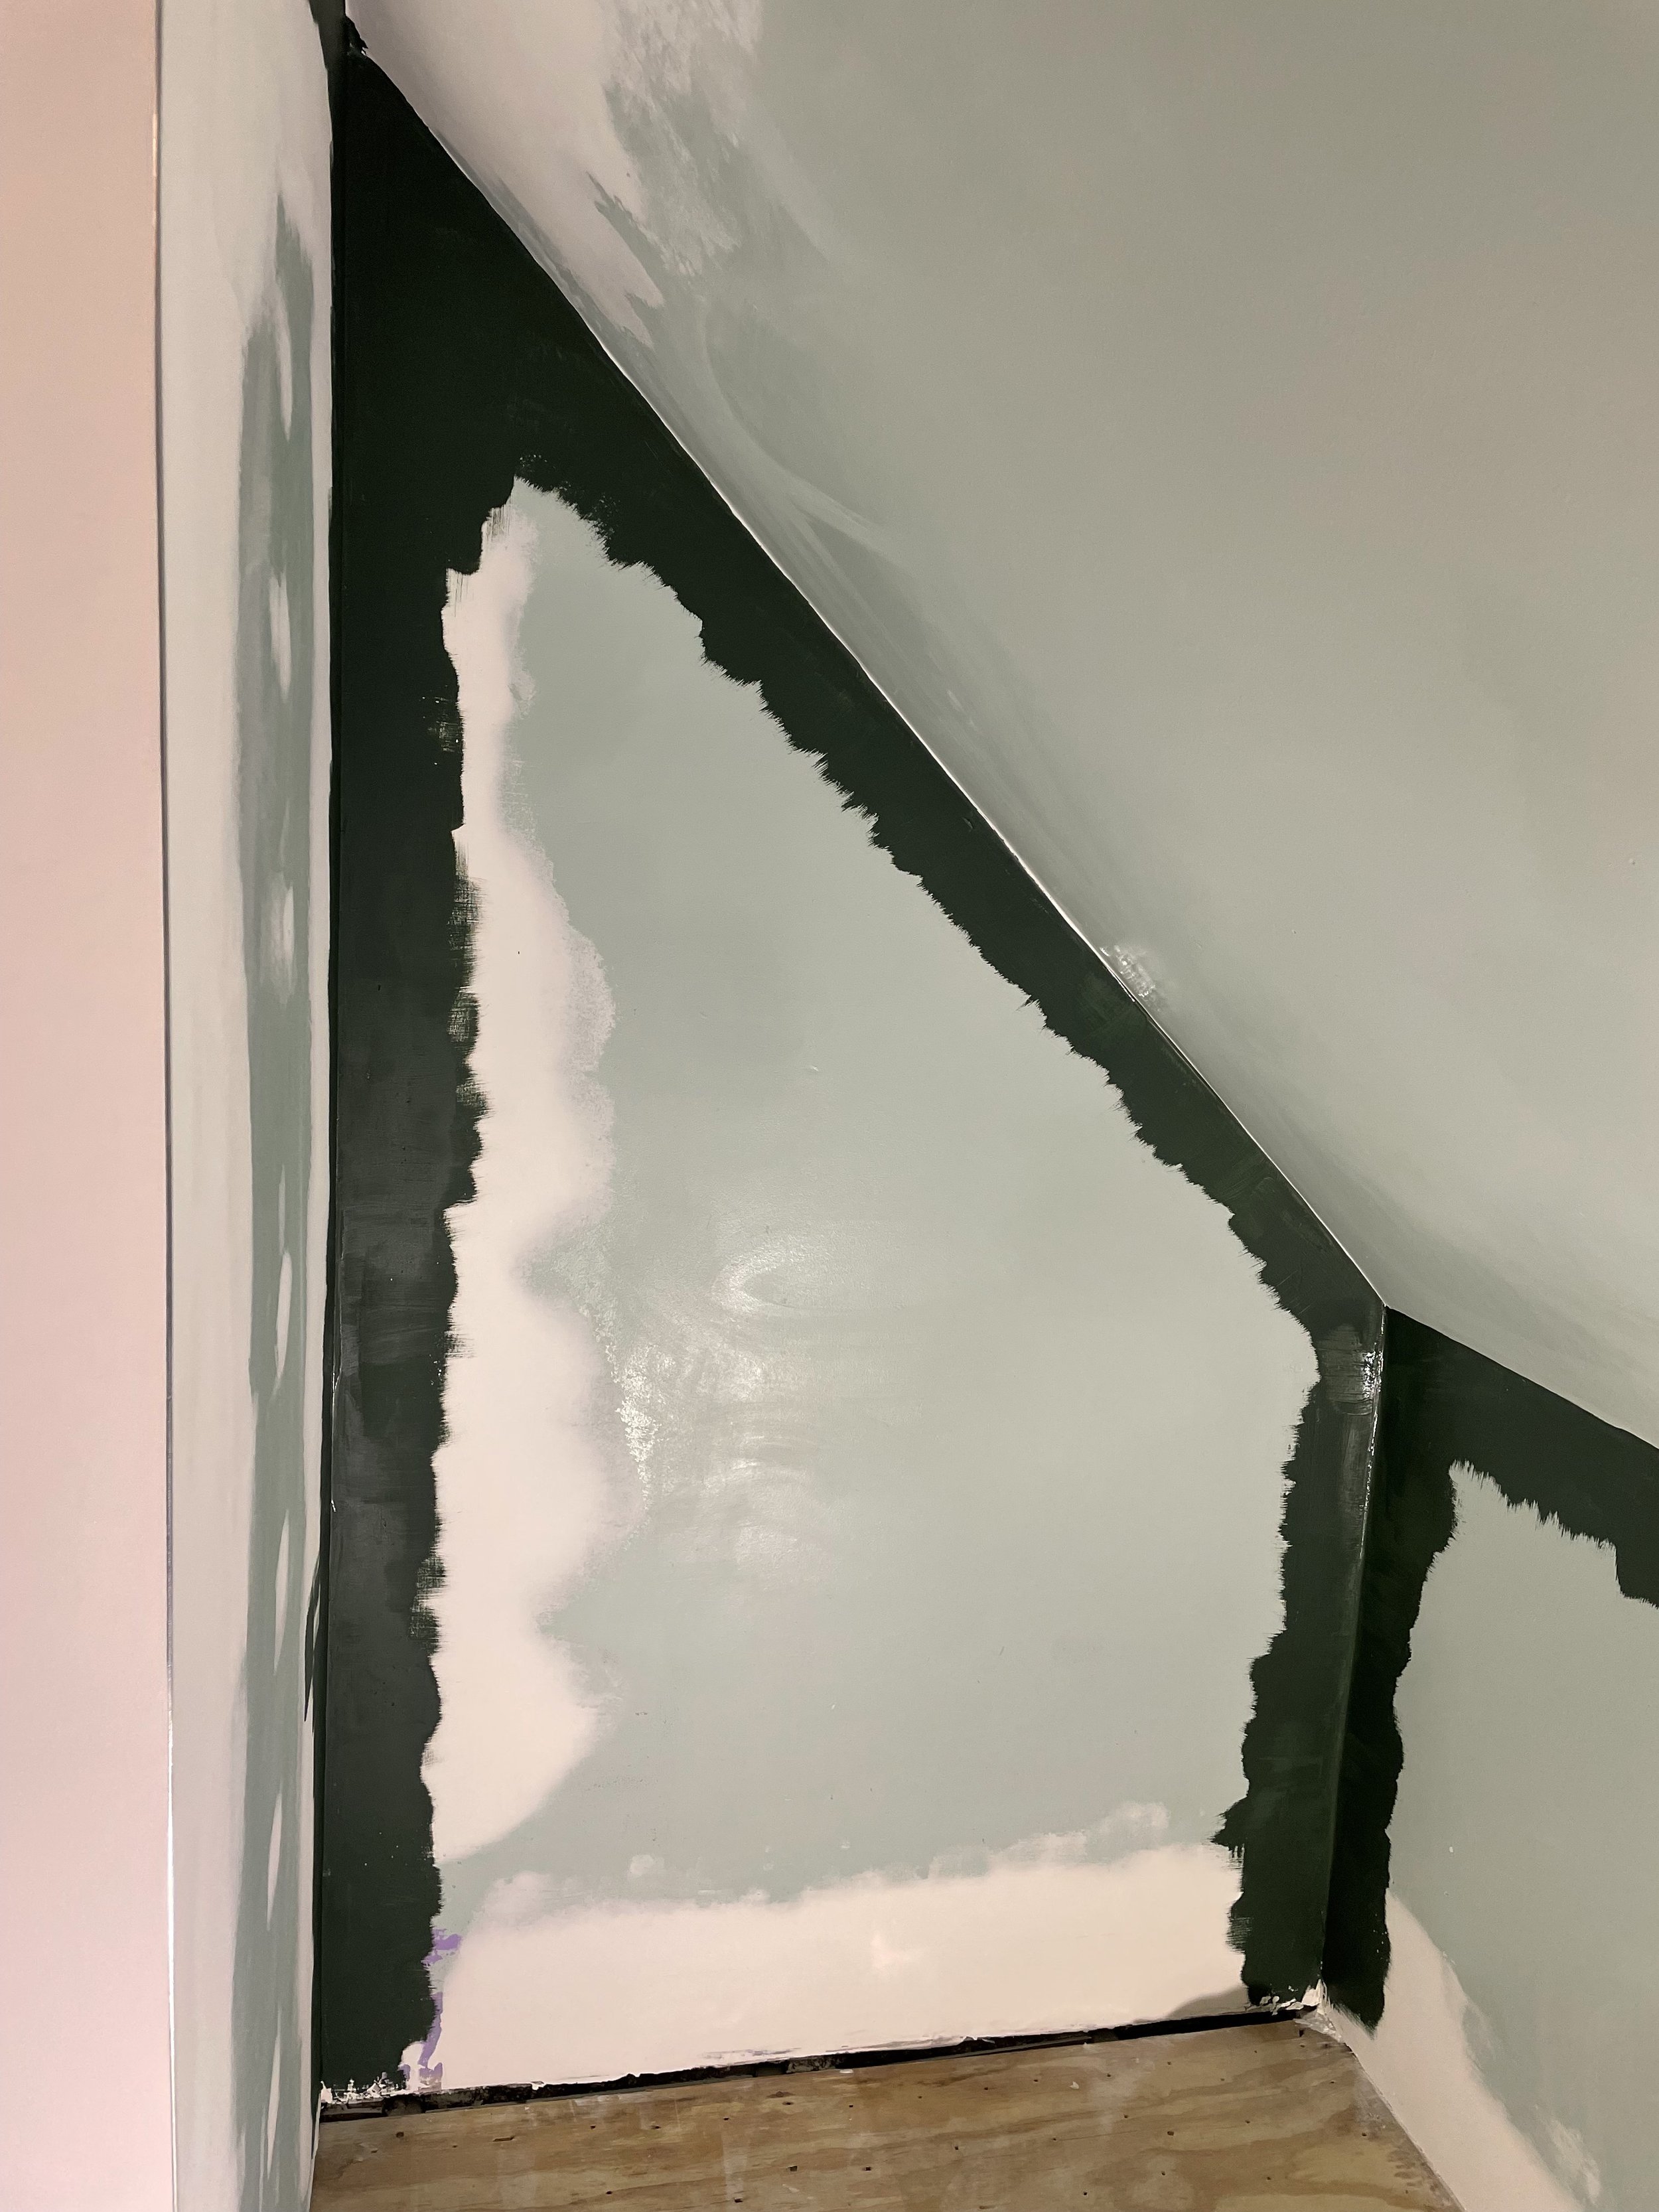
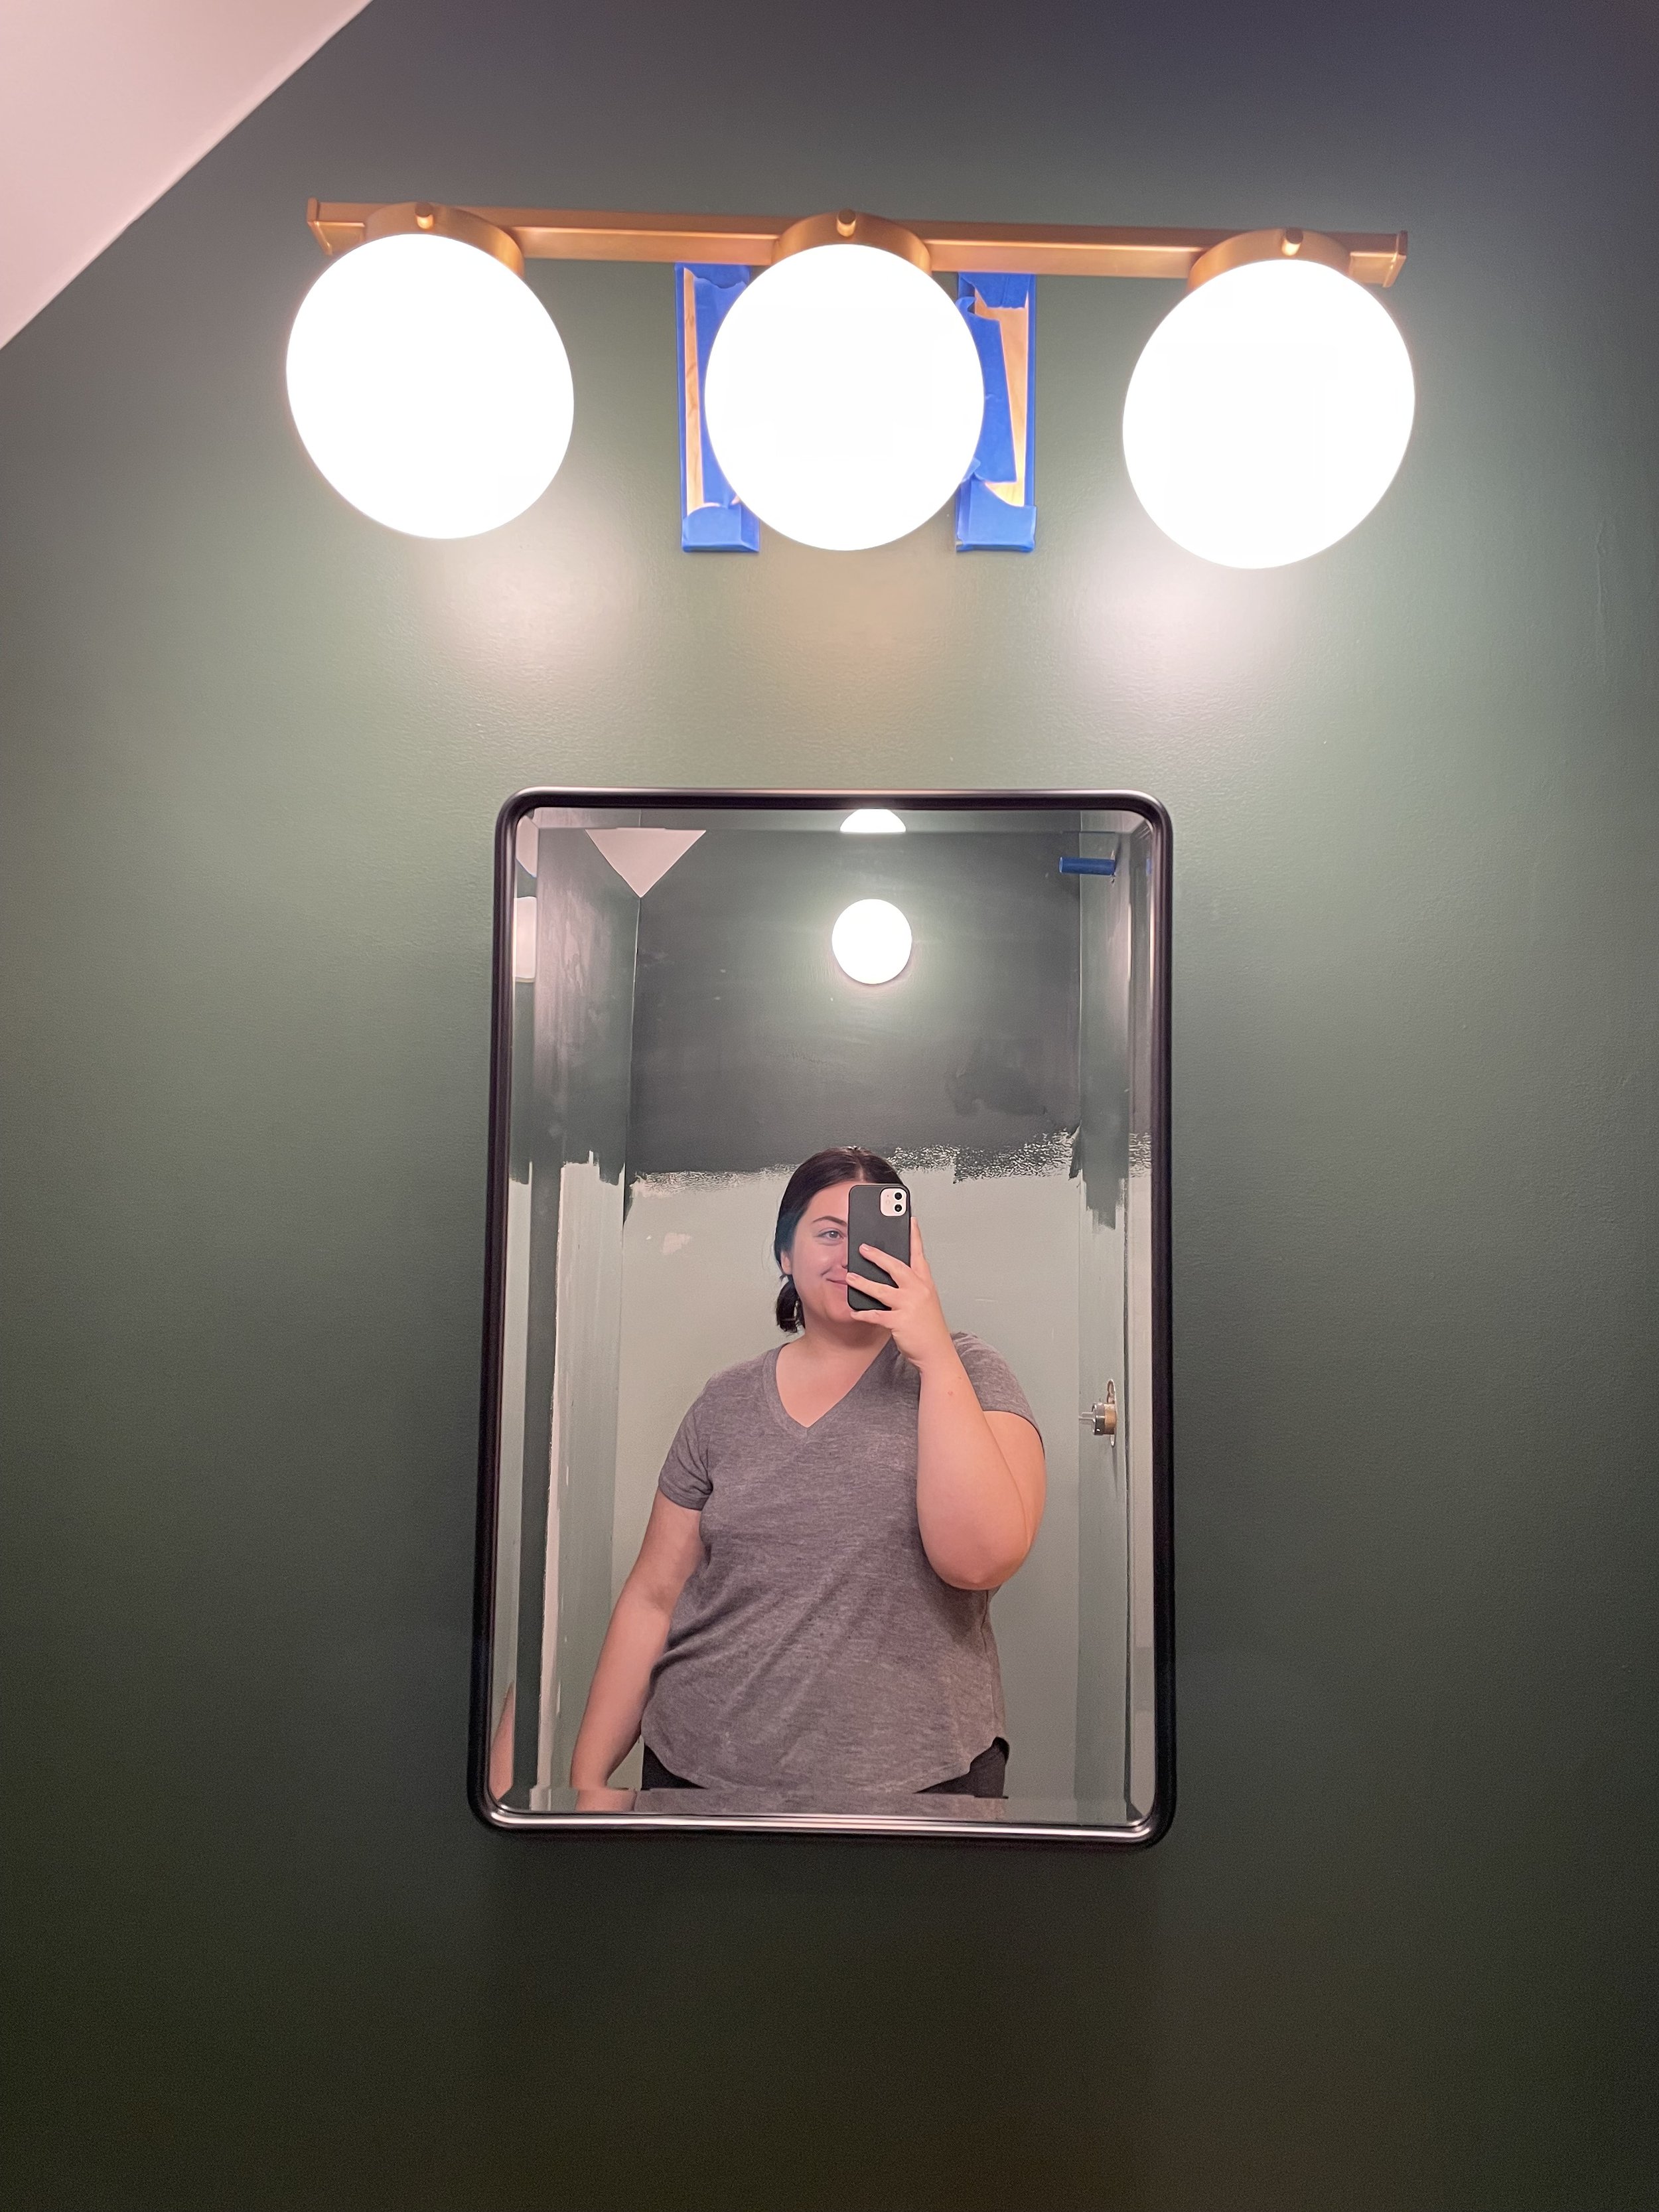
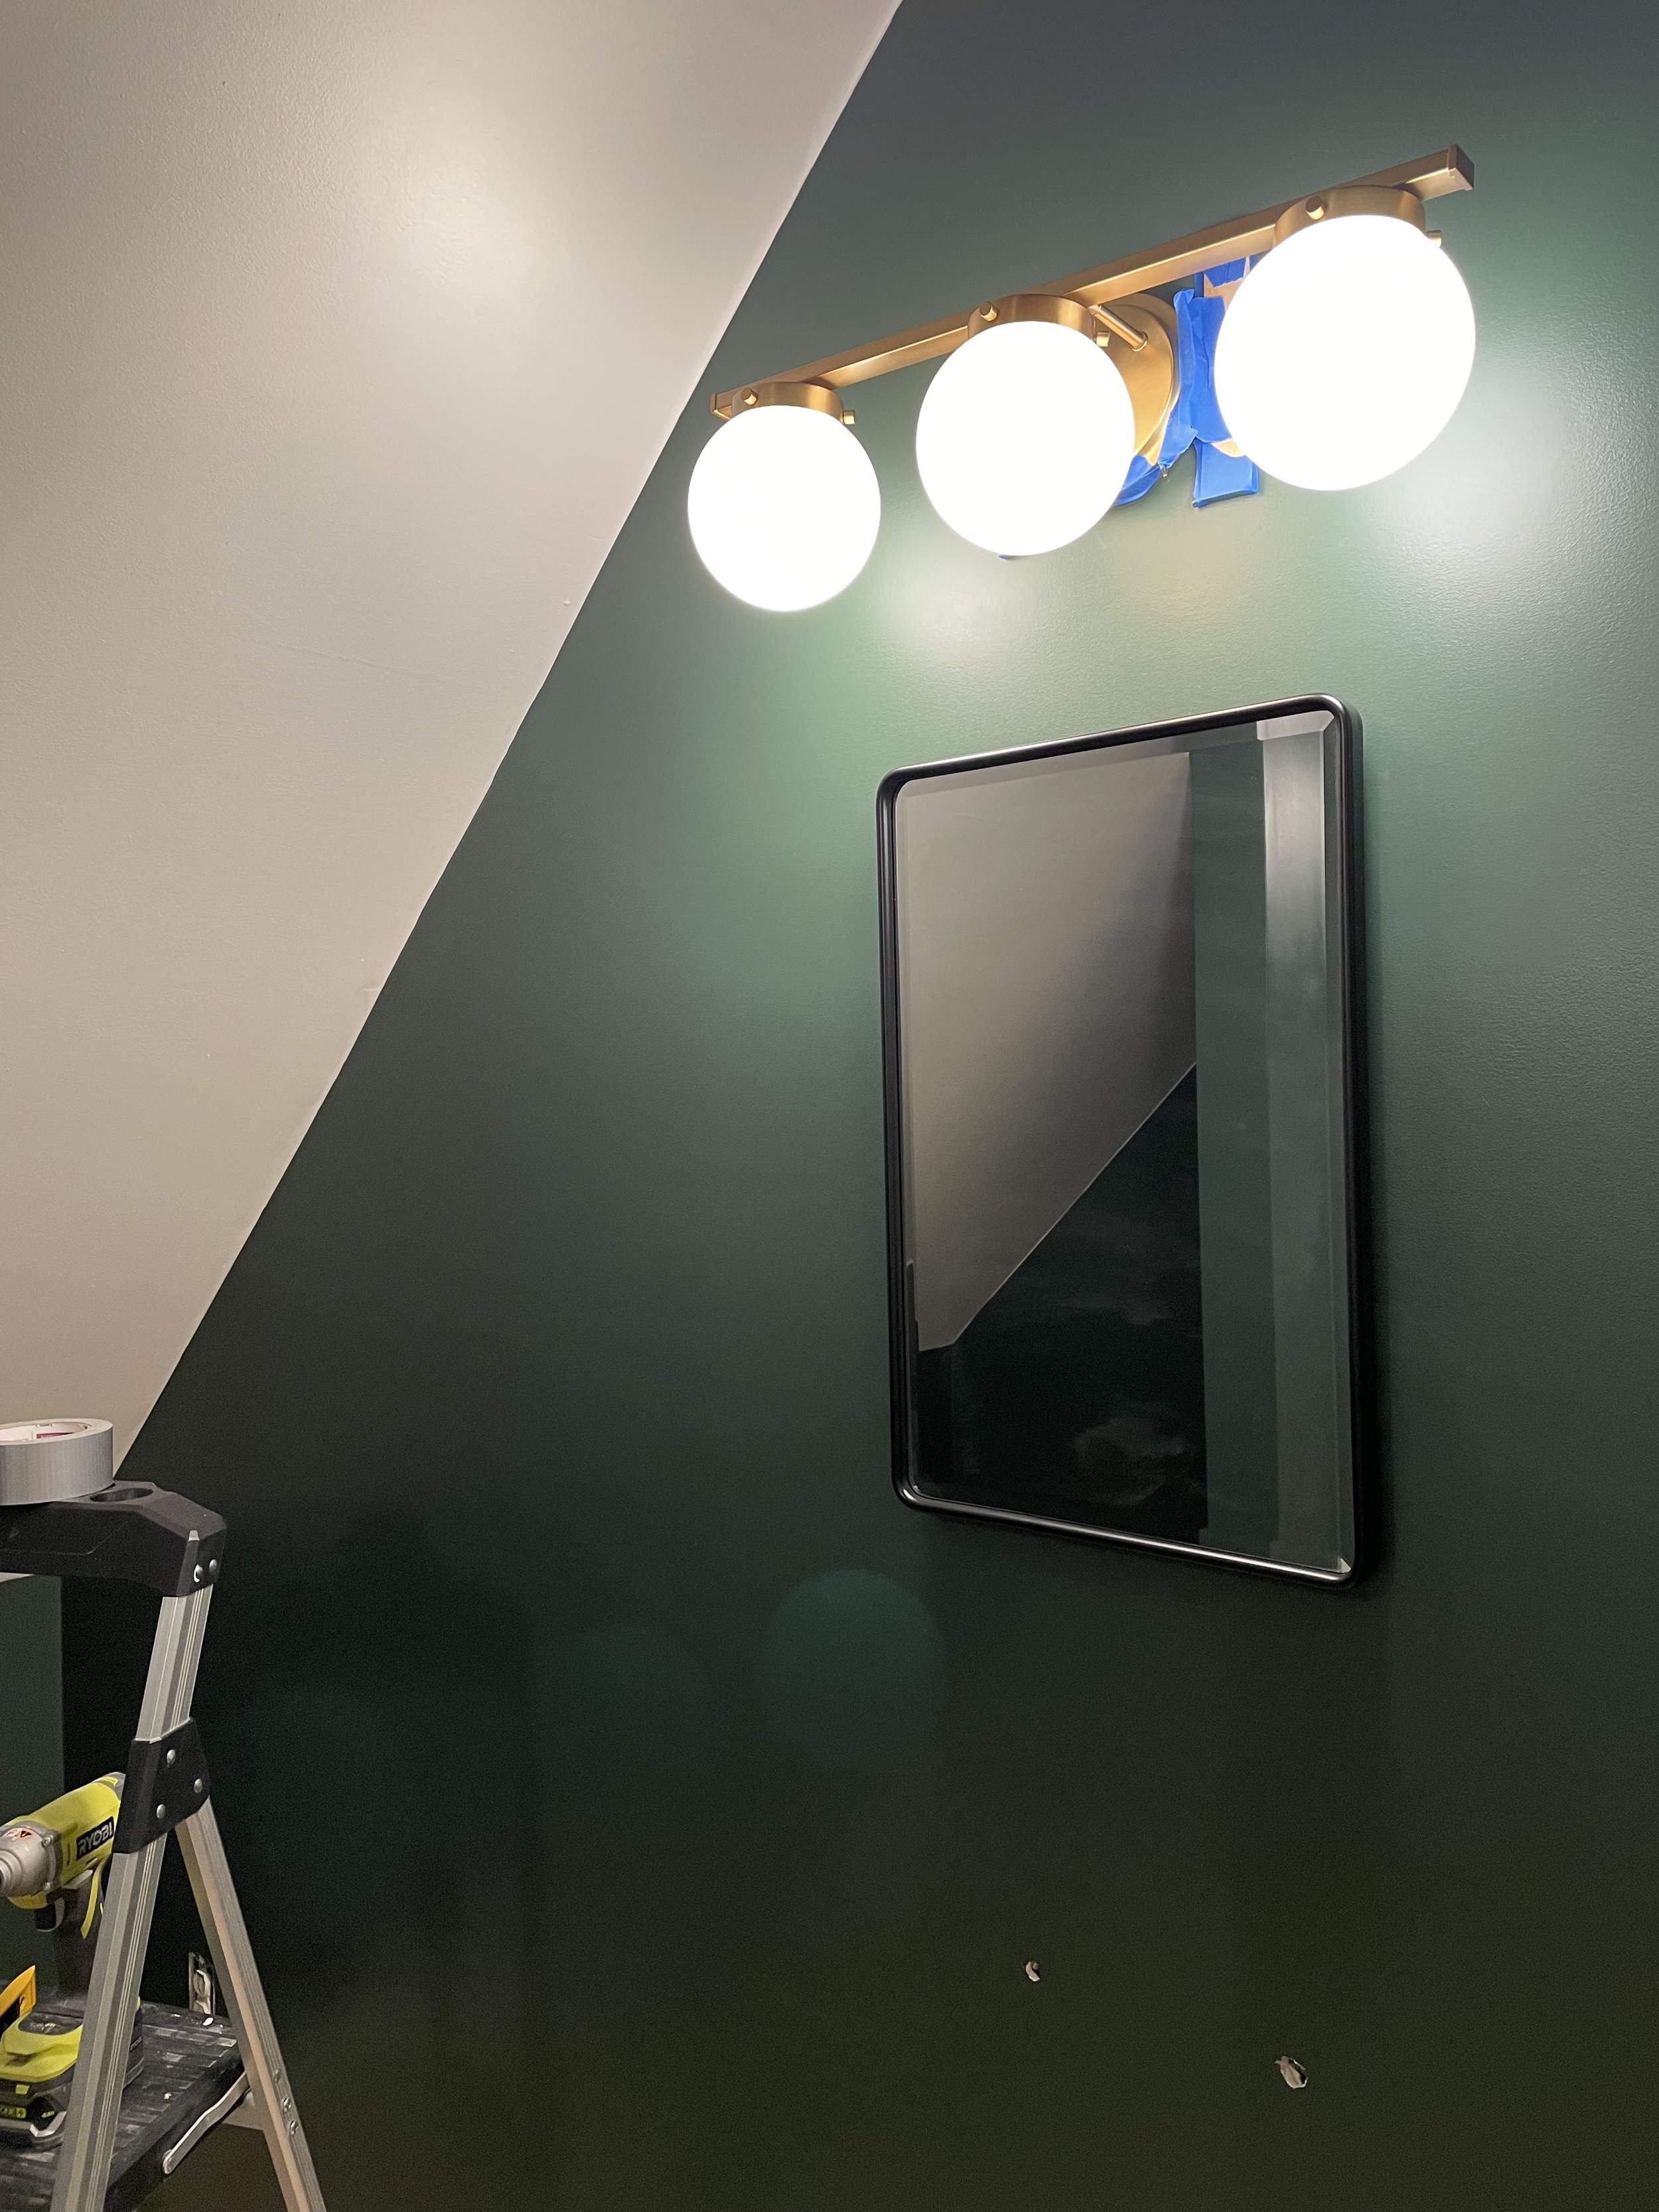
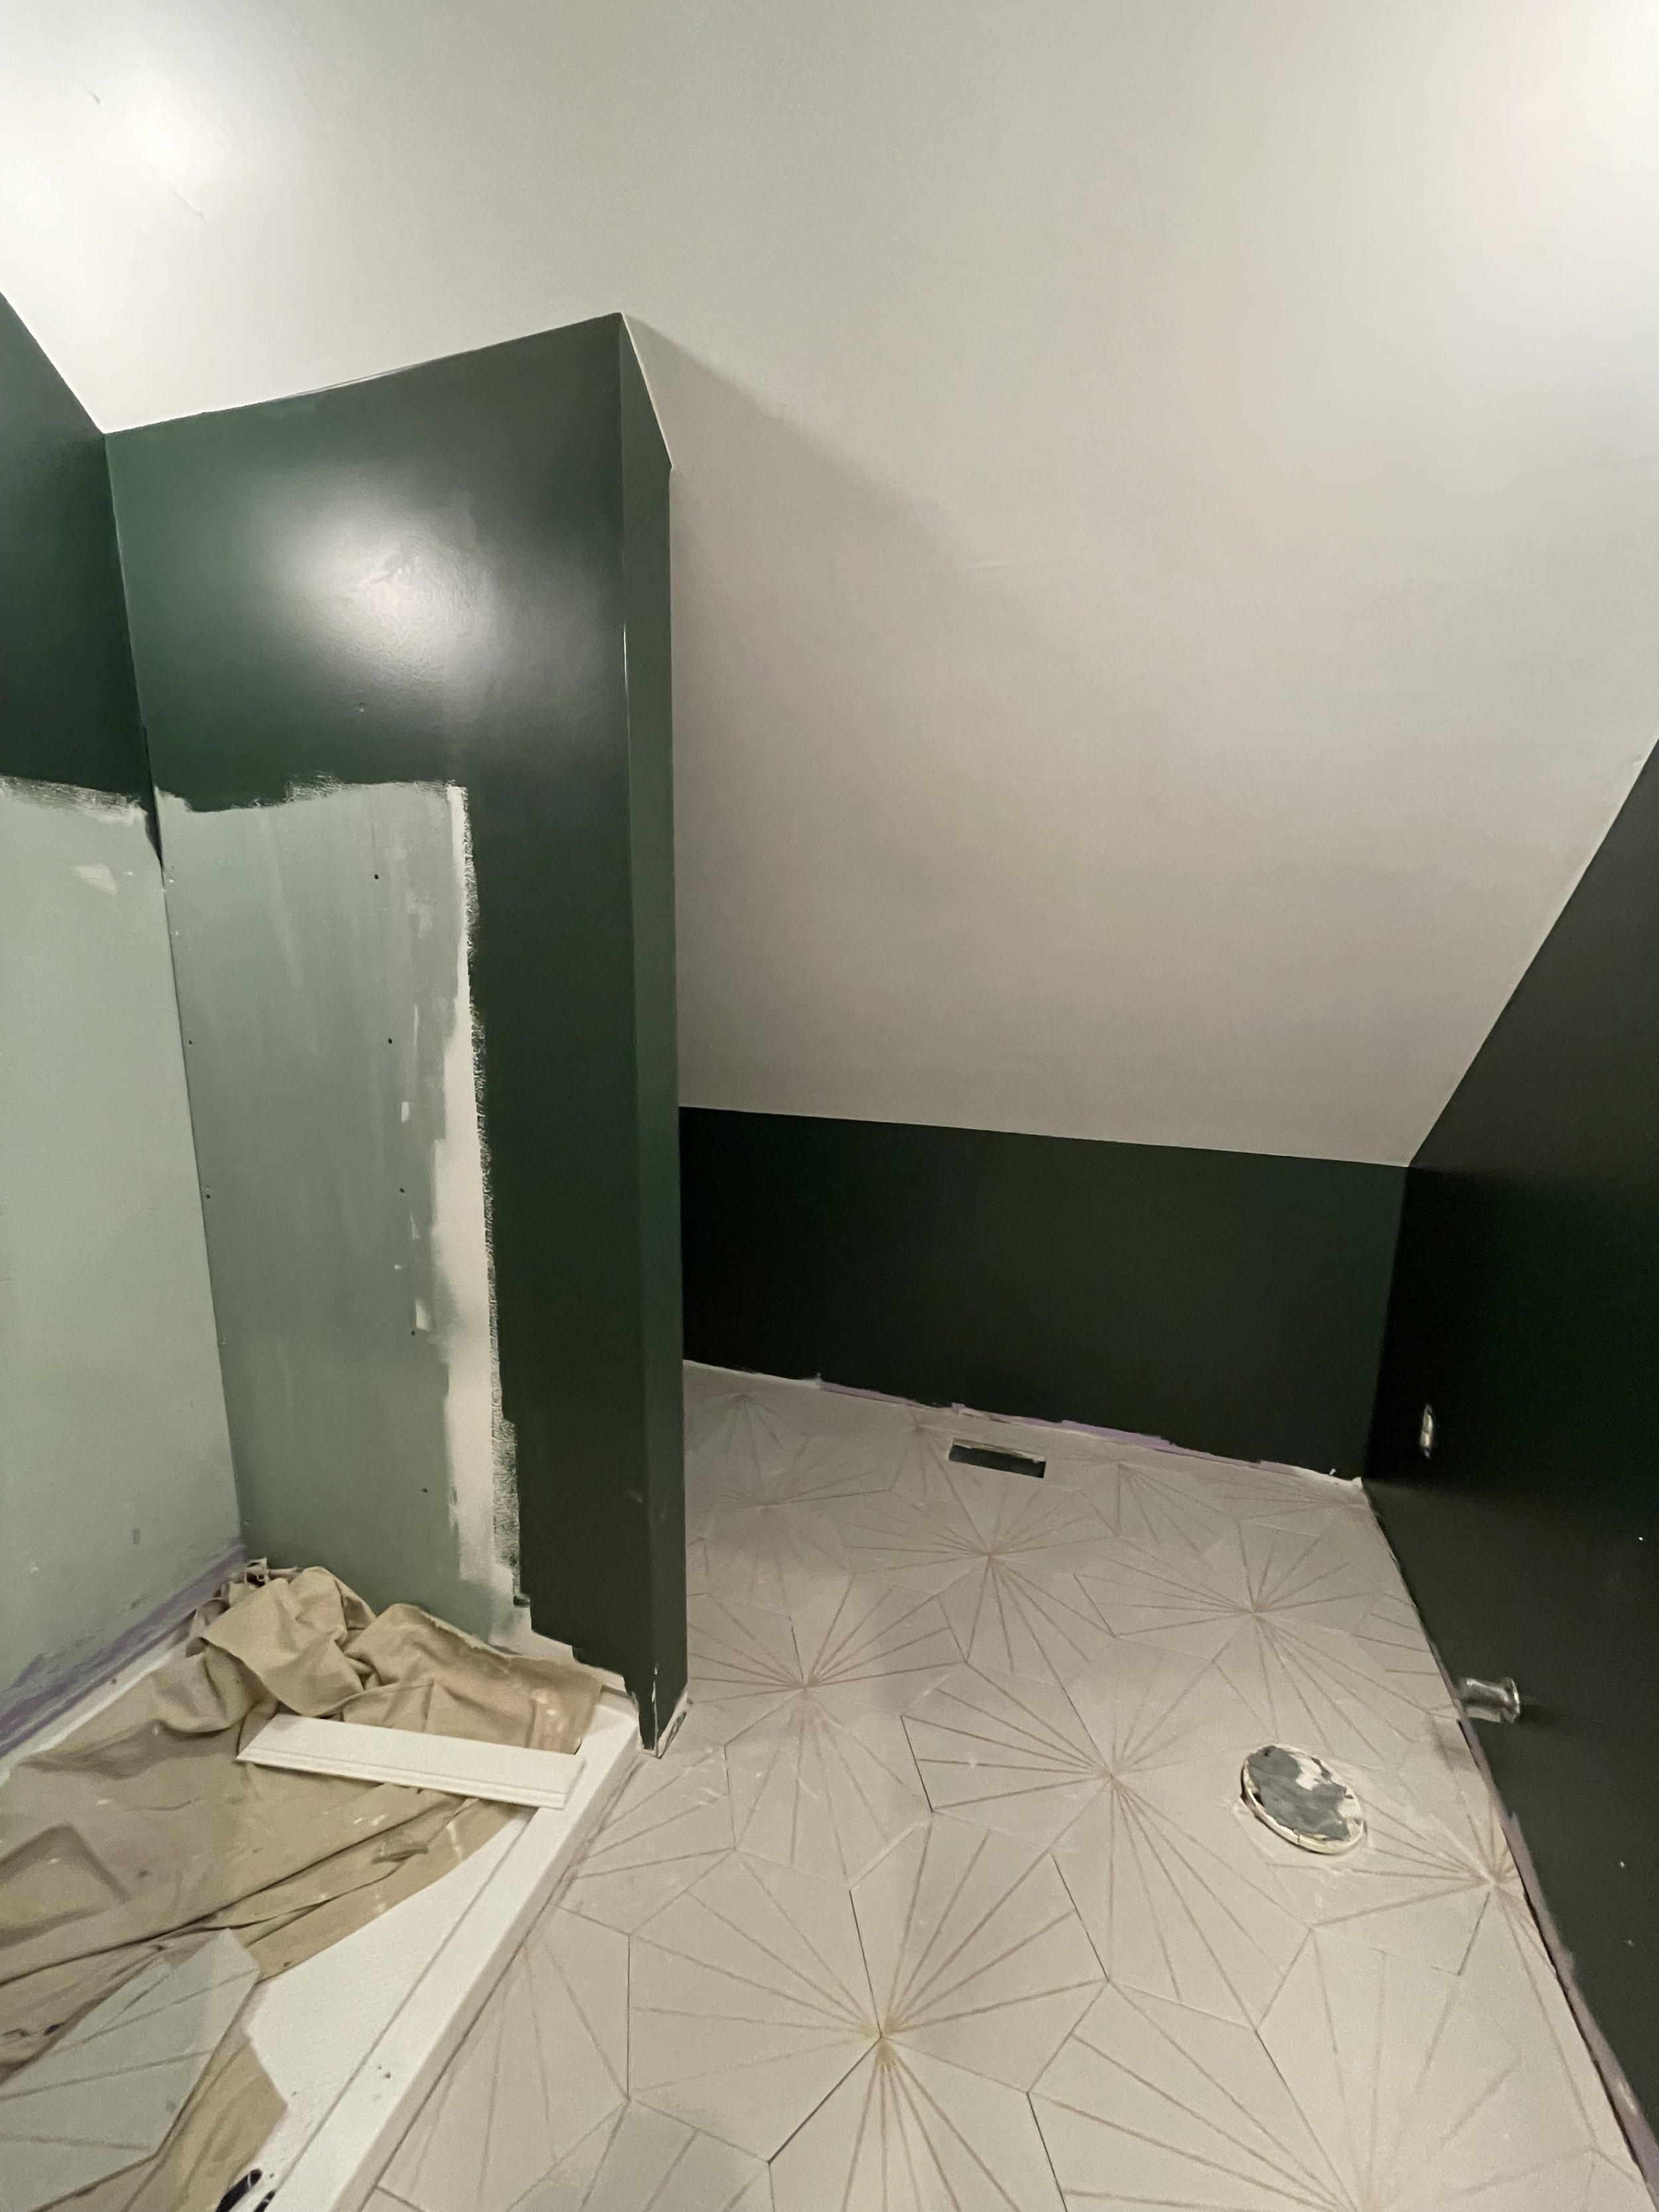
With the bones of the room the way we wanted them, we decided that we’d rather do the bulk of the painting before the tile was laid, knowing that we’d have to do touchups afterword. Because of the slope of the room, I figured it would be a tricky painting job, and I was correct! I didn’t want to worry about paint splatters on the new tile, and it was such a relief to just paint and not worry about the floor. We ended up doing a ton of touchups, but it was the right call.
This was the most miserable painting experience of my life. The angled ceiling - 12’ at its highest, and 3’ at its lowest! So many corners! Attempting to get a crisp transition line on questionably taped corners! It was a long weekend. But it was very exciting, because the wall color felt exactly right. As soon as the paint was dry, Joey installed the light fixtures so we could see better while we worked.
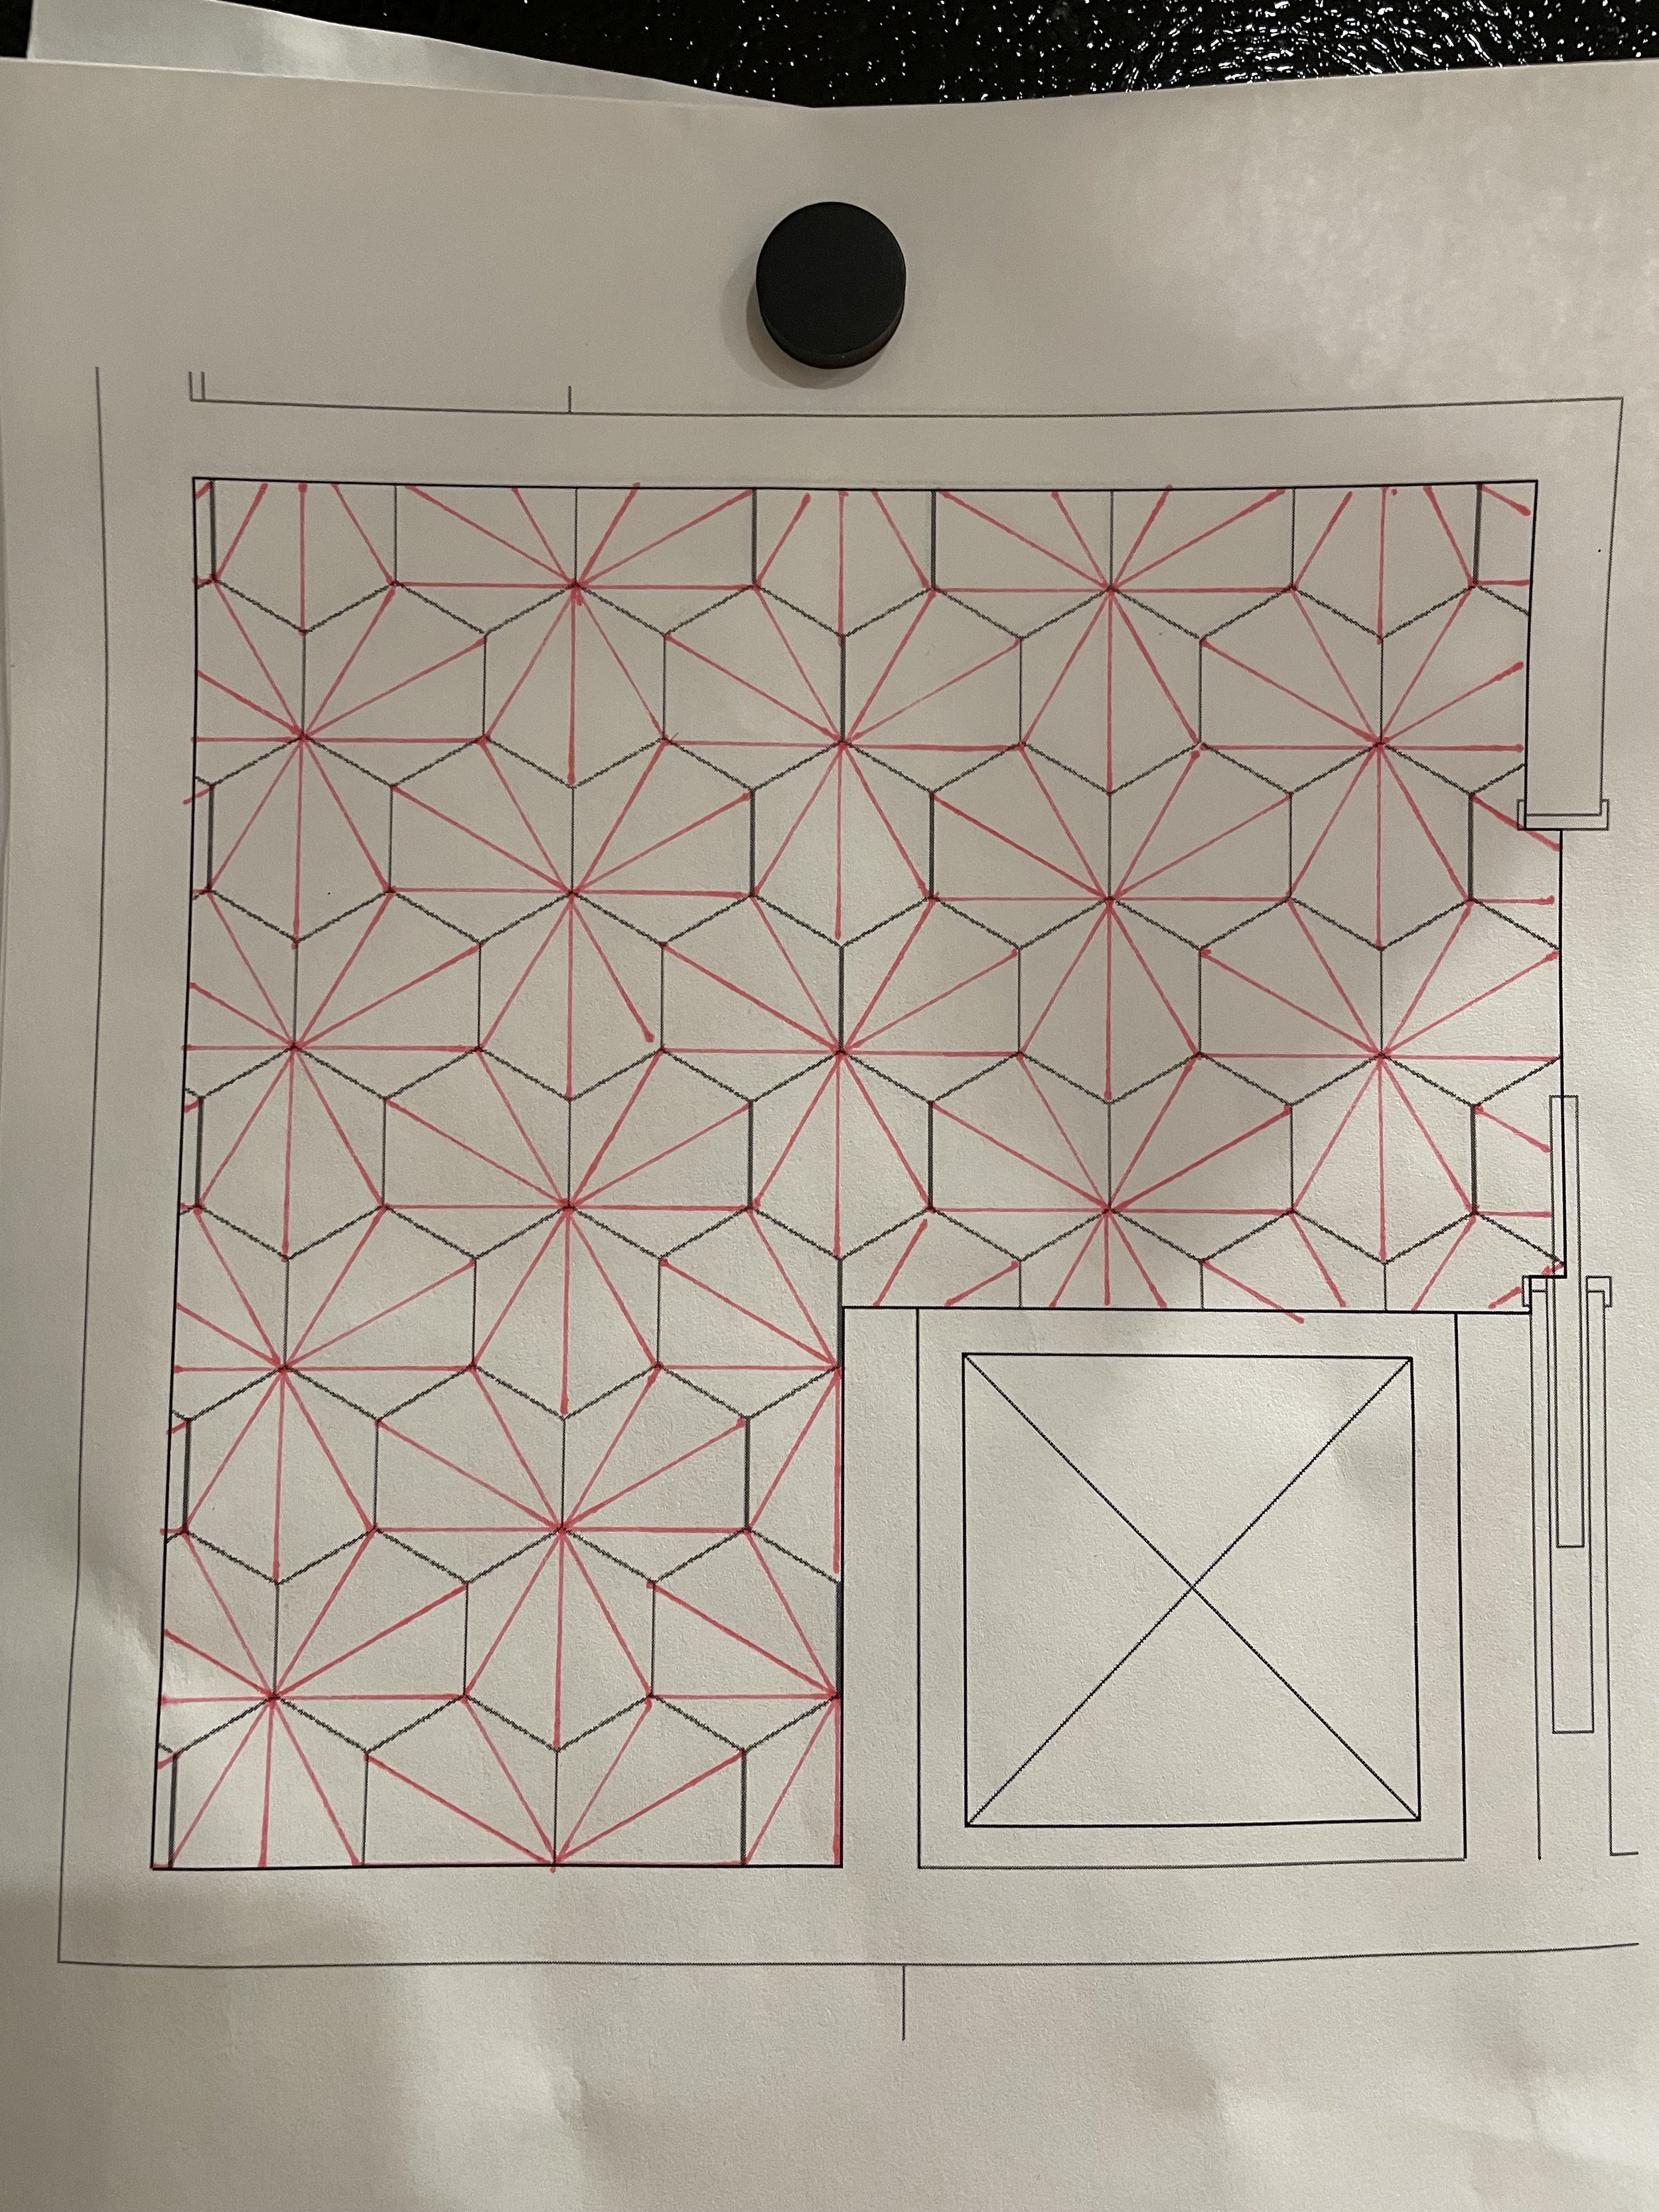
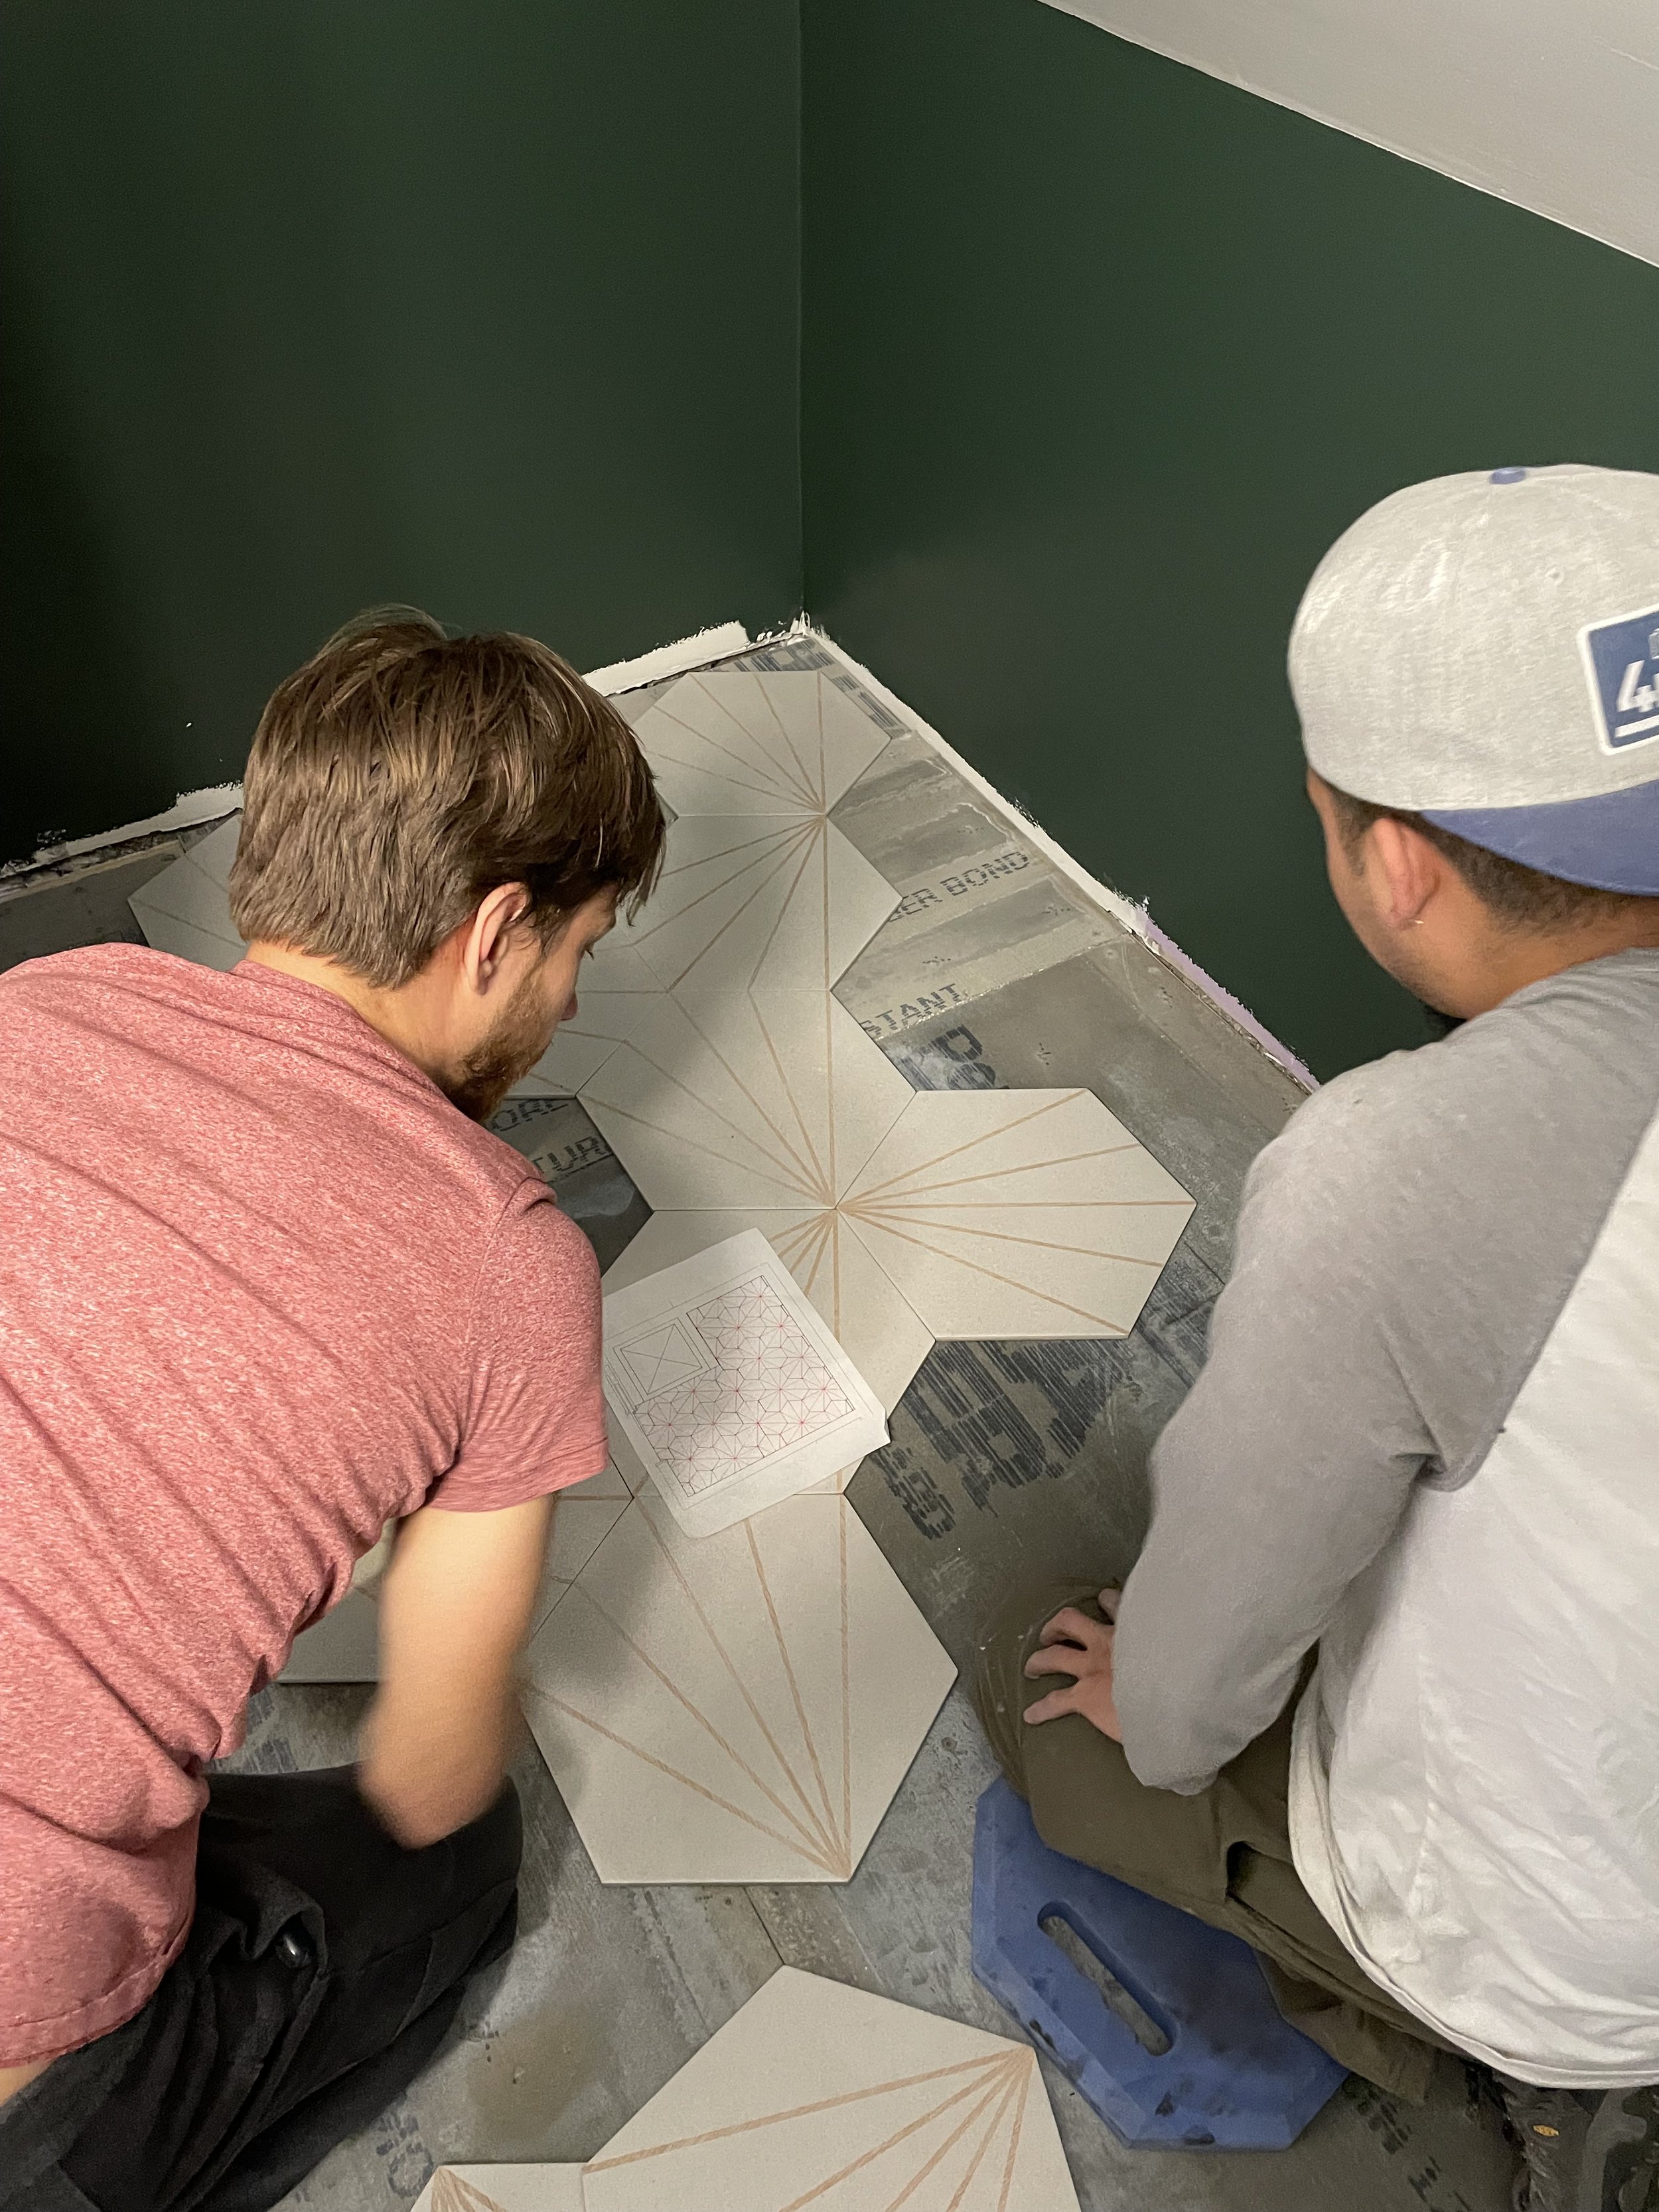
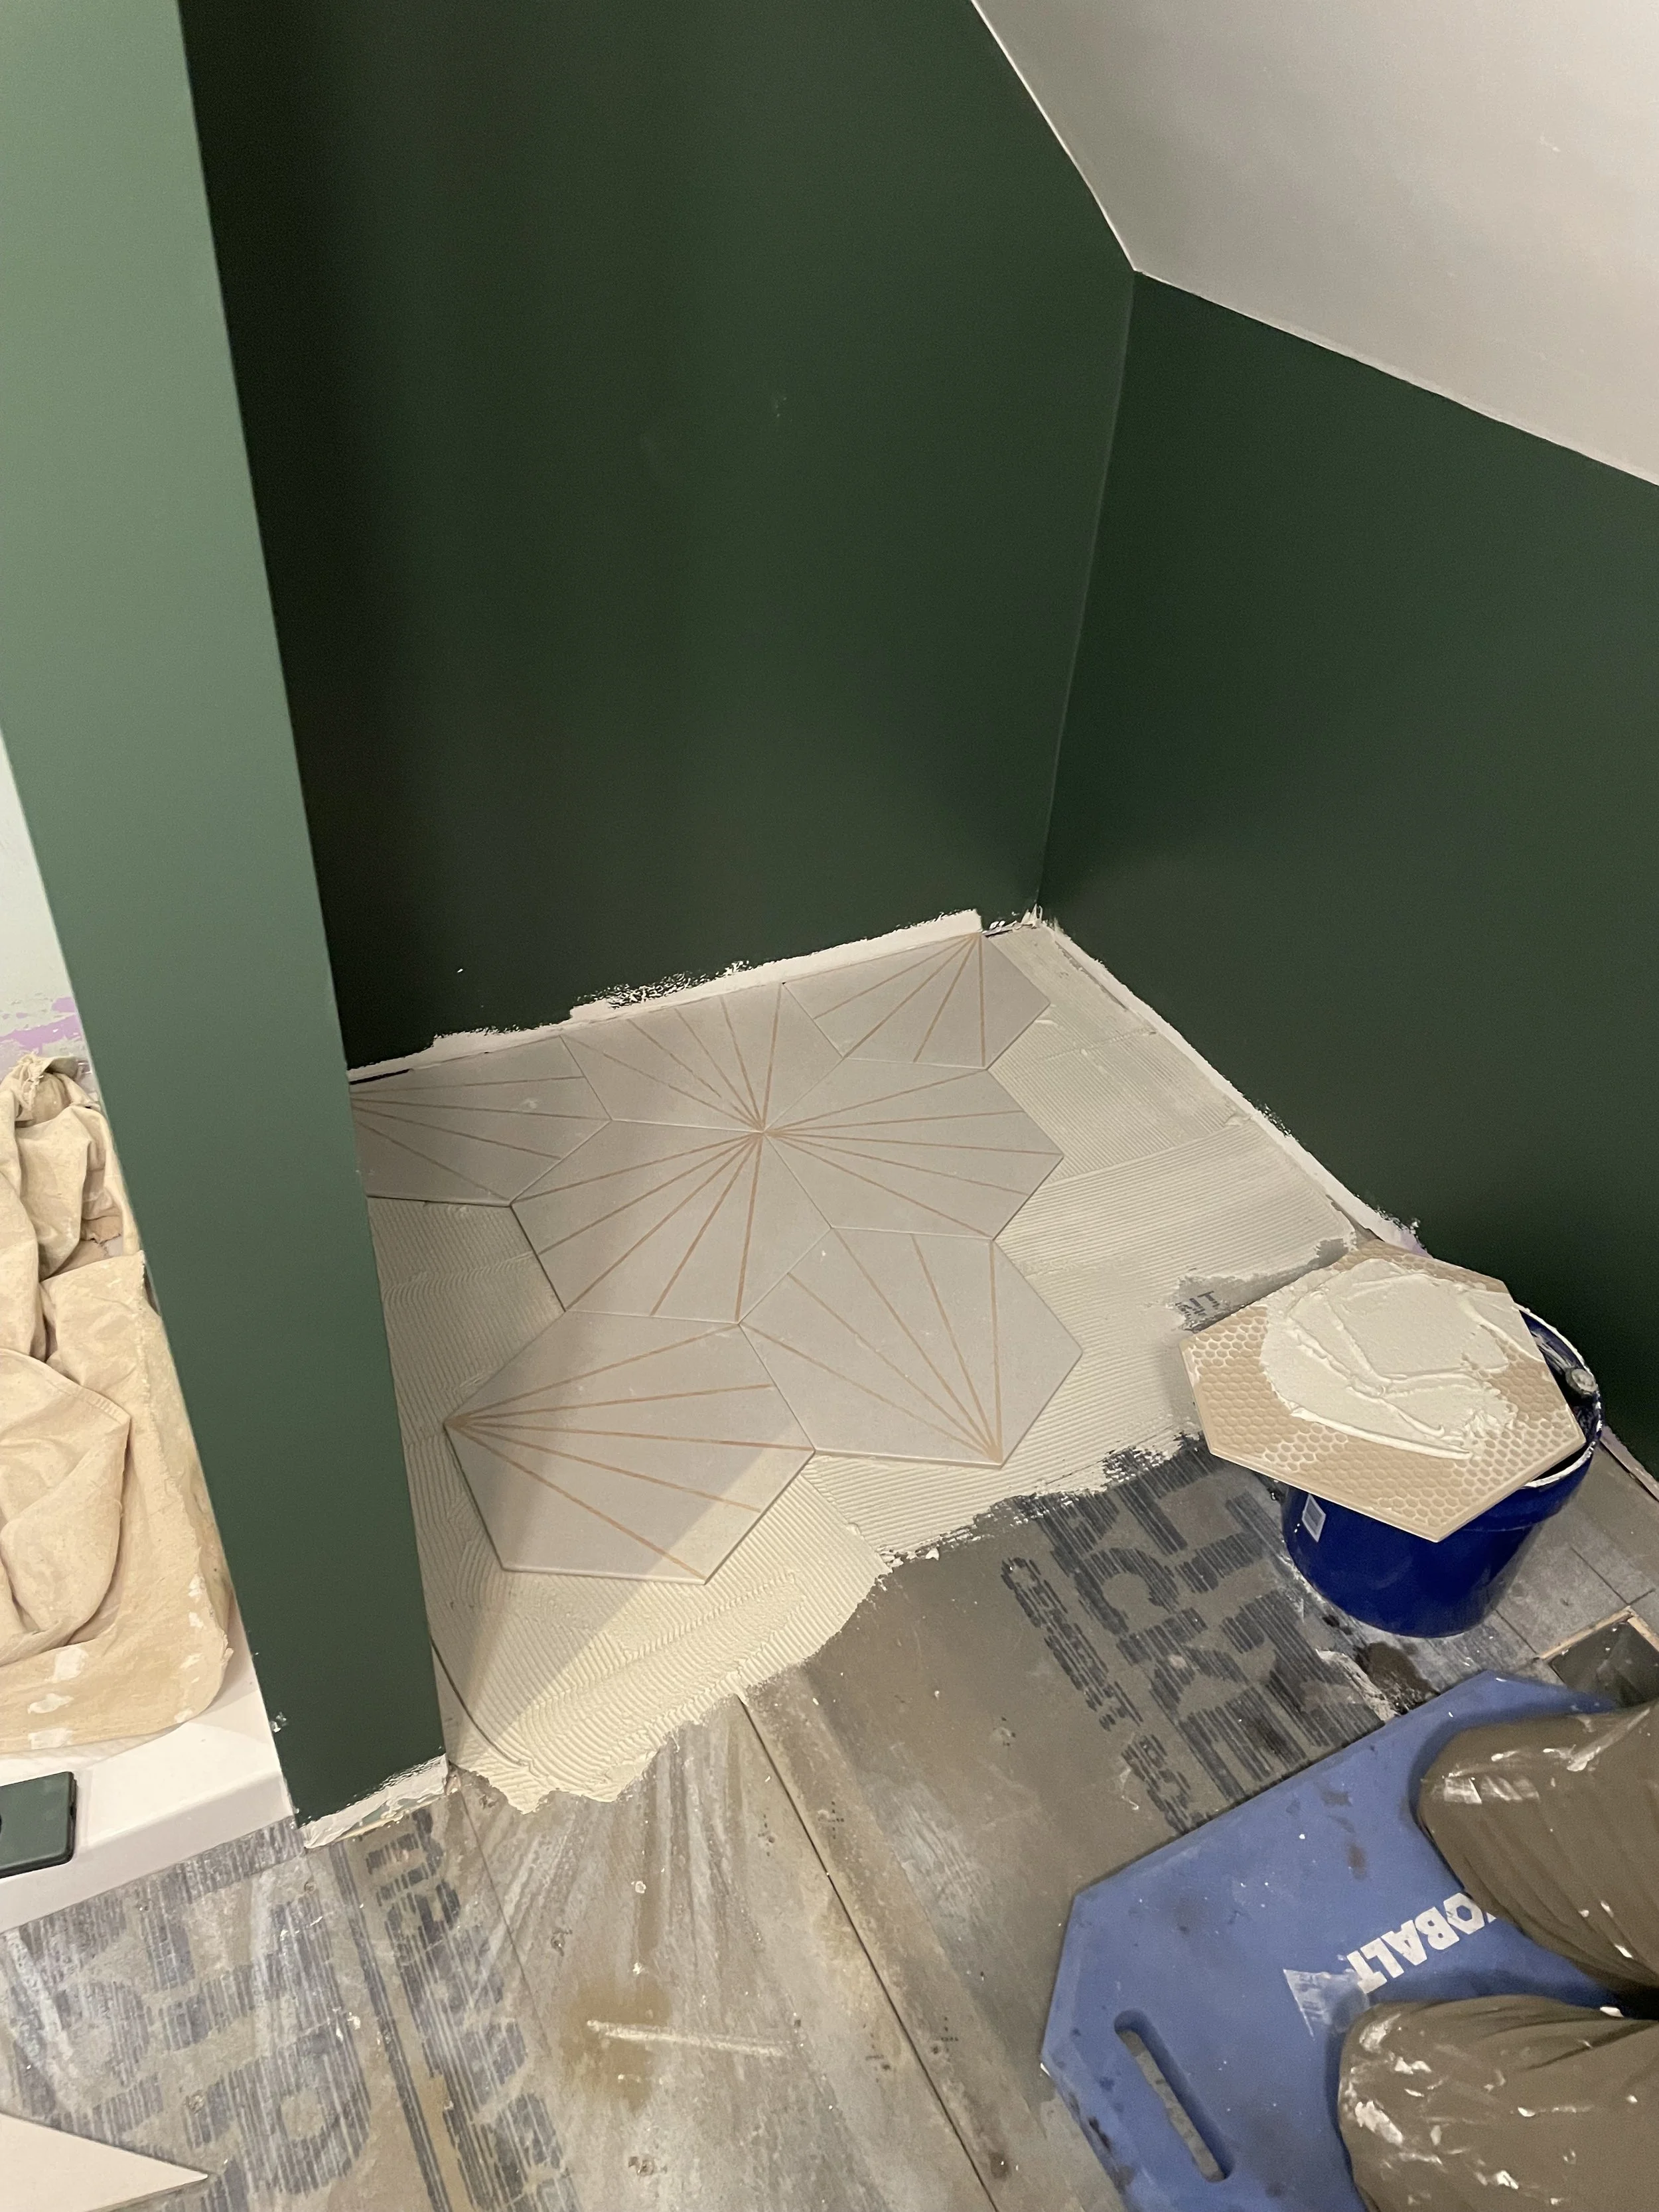
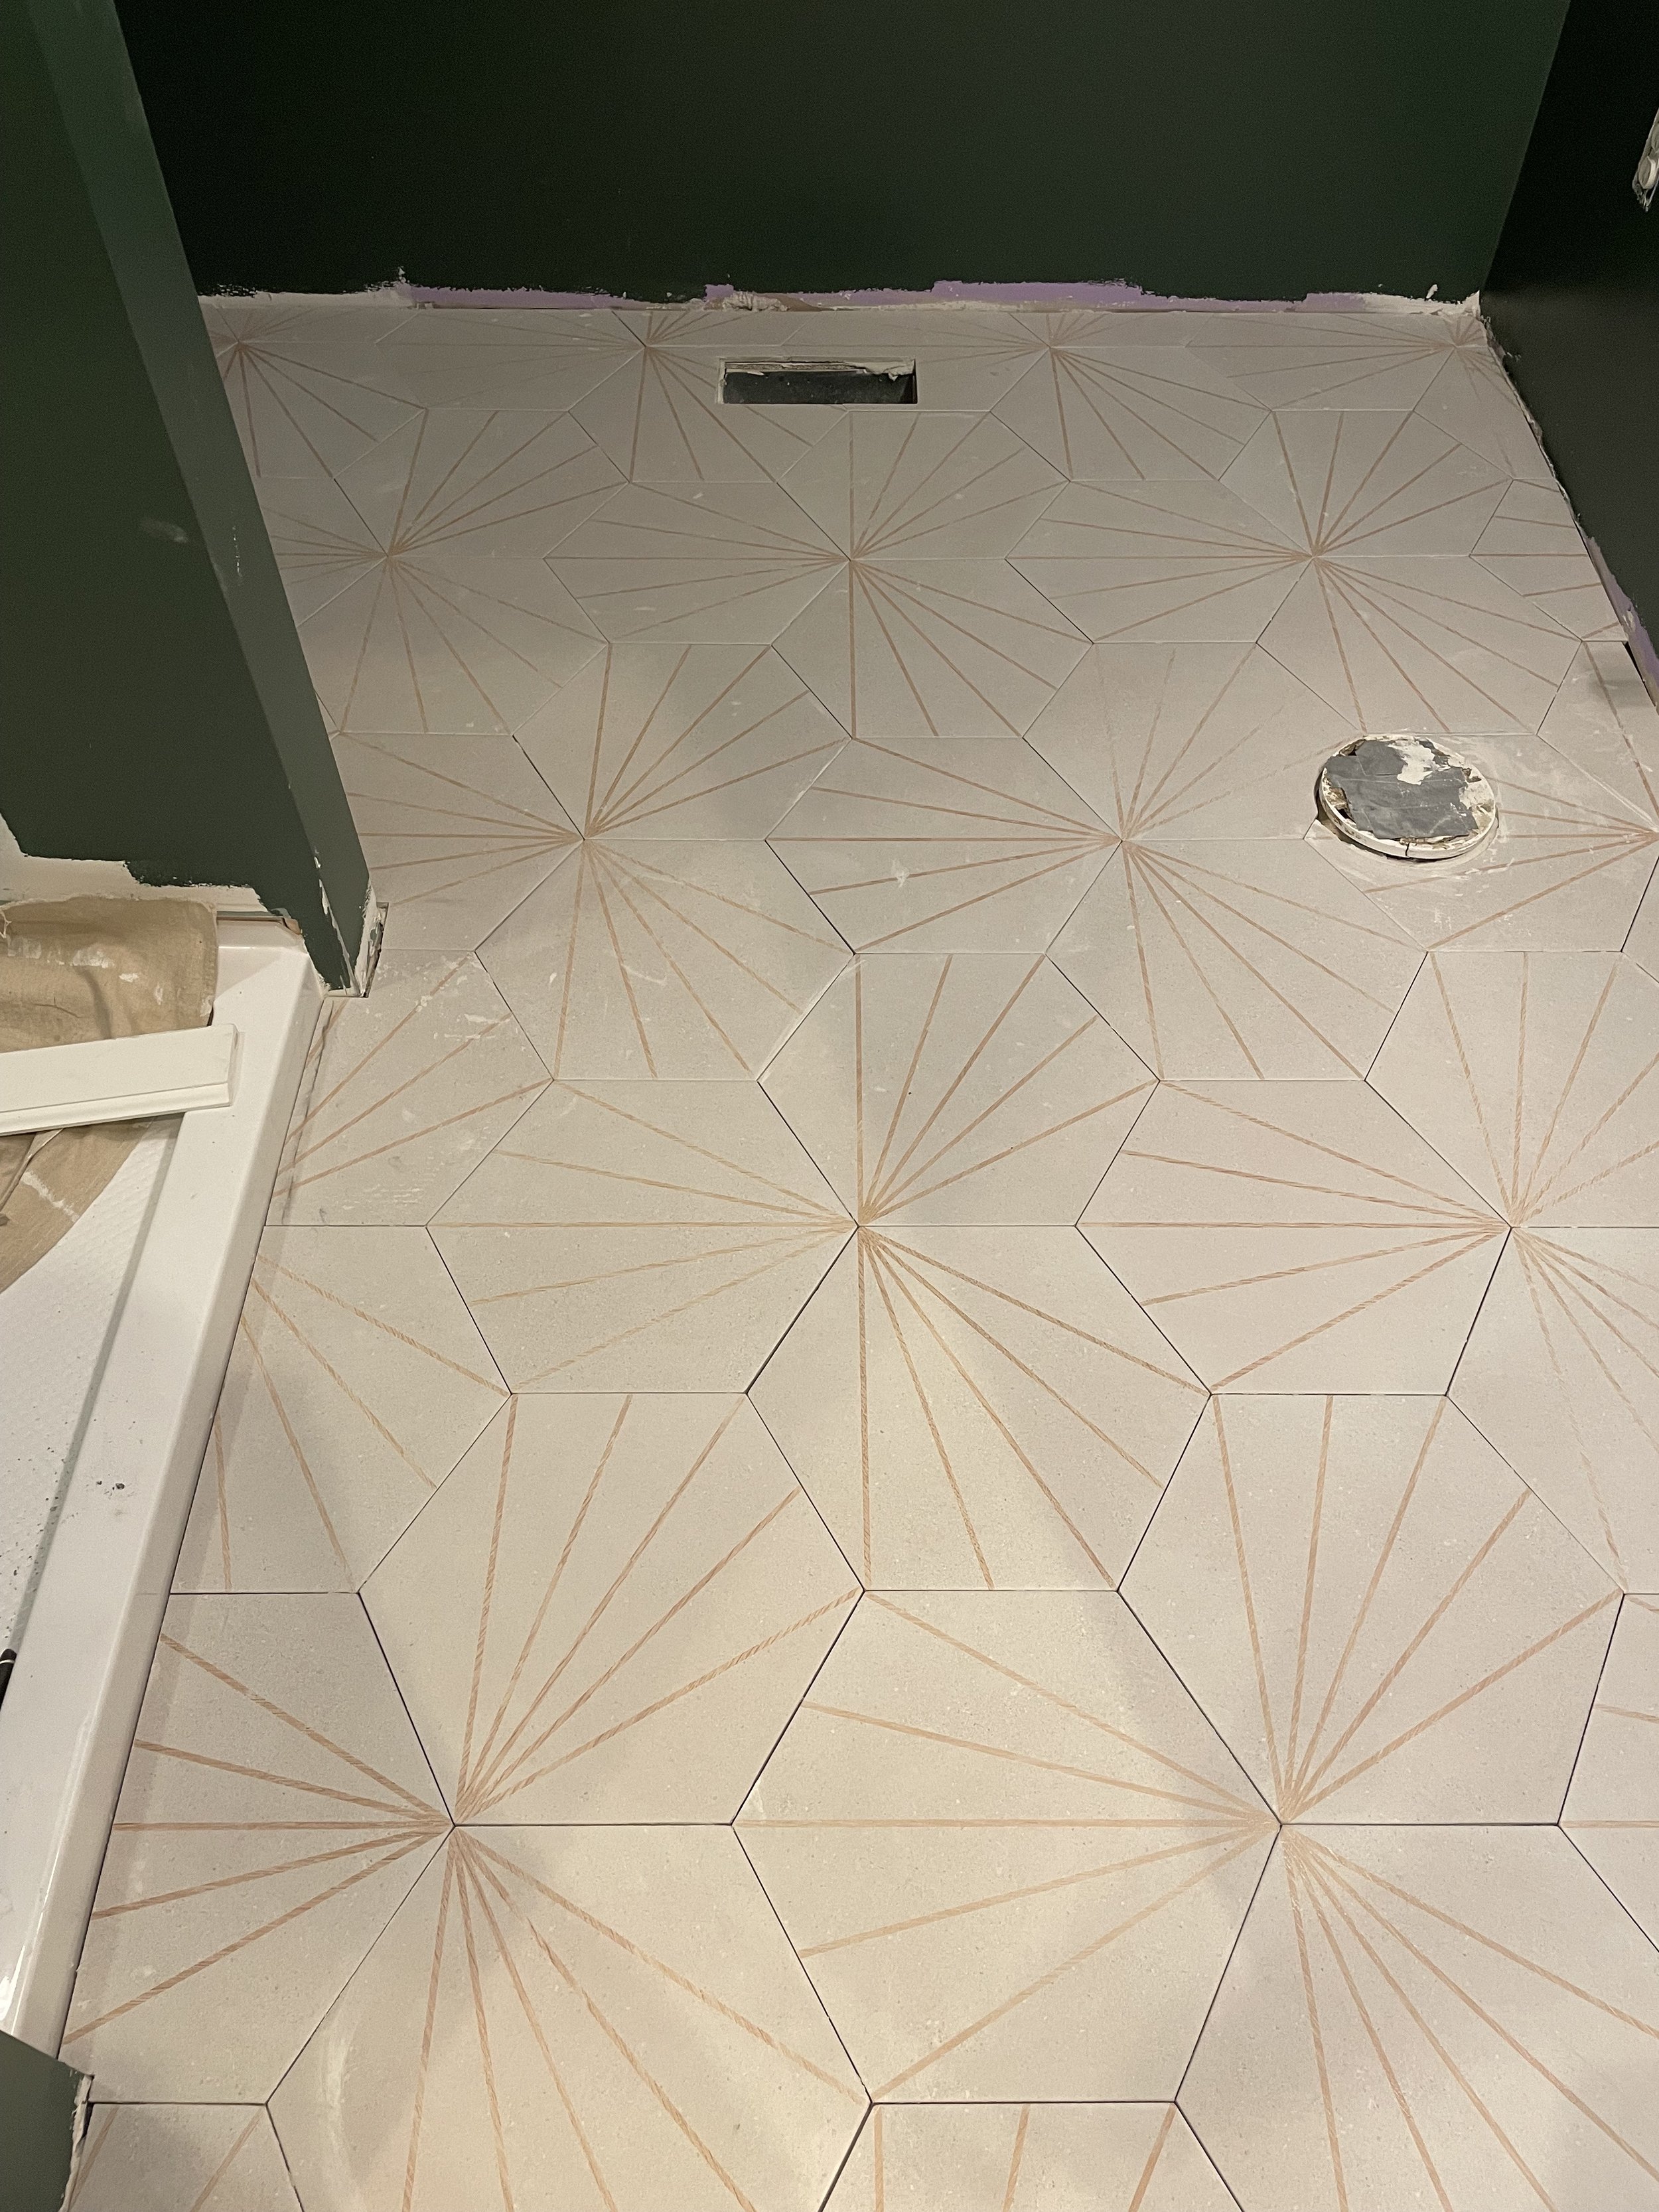
The next week, the tile installer came, and we coaxed him through the tile install I wanted, which was not intuitive. We drew up a diagram and it was still a struggle, but we got there! I only wanted this tile if we could tesselate it in a starburst pattern, and I’m so pleased with how it turned out. I couldn’t love it more.
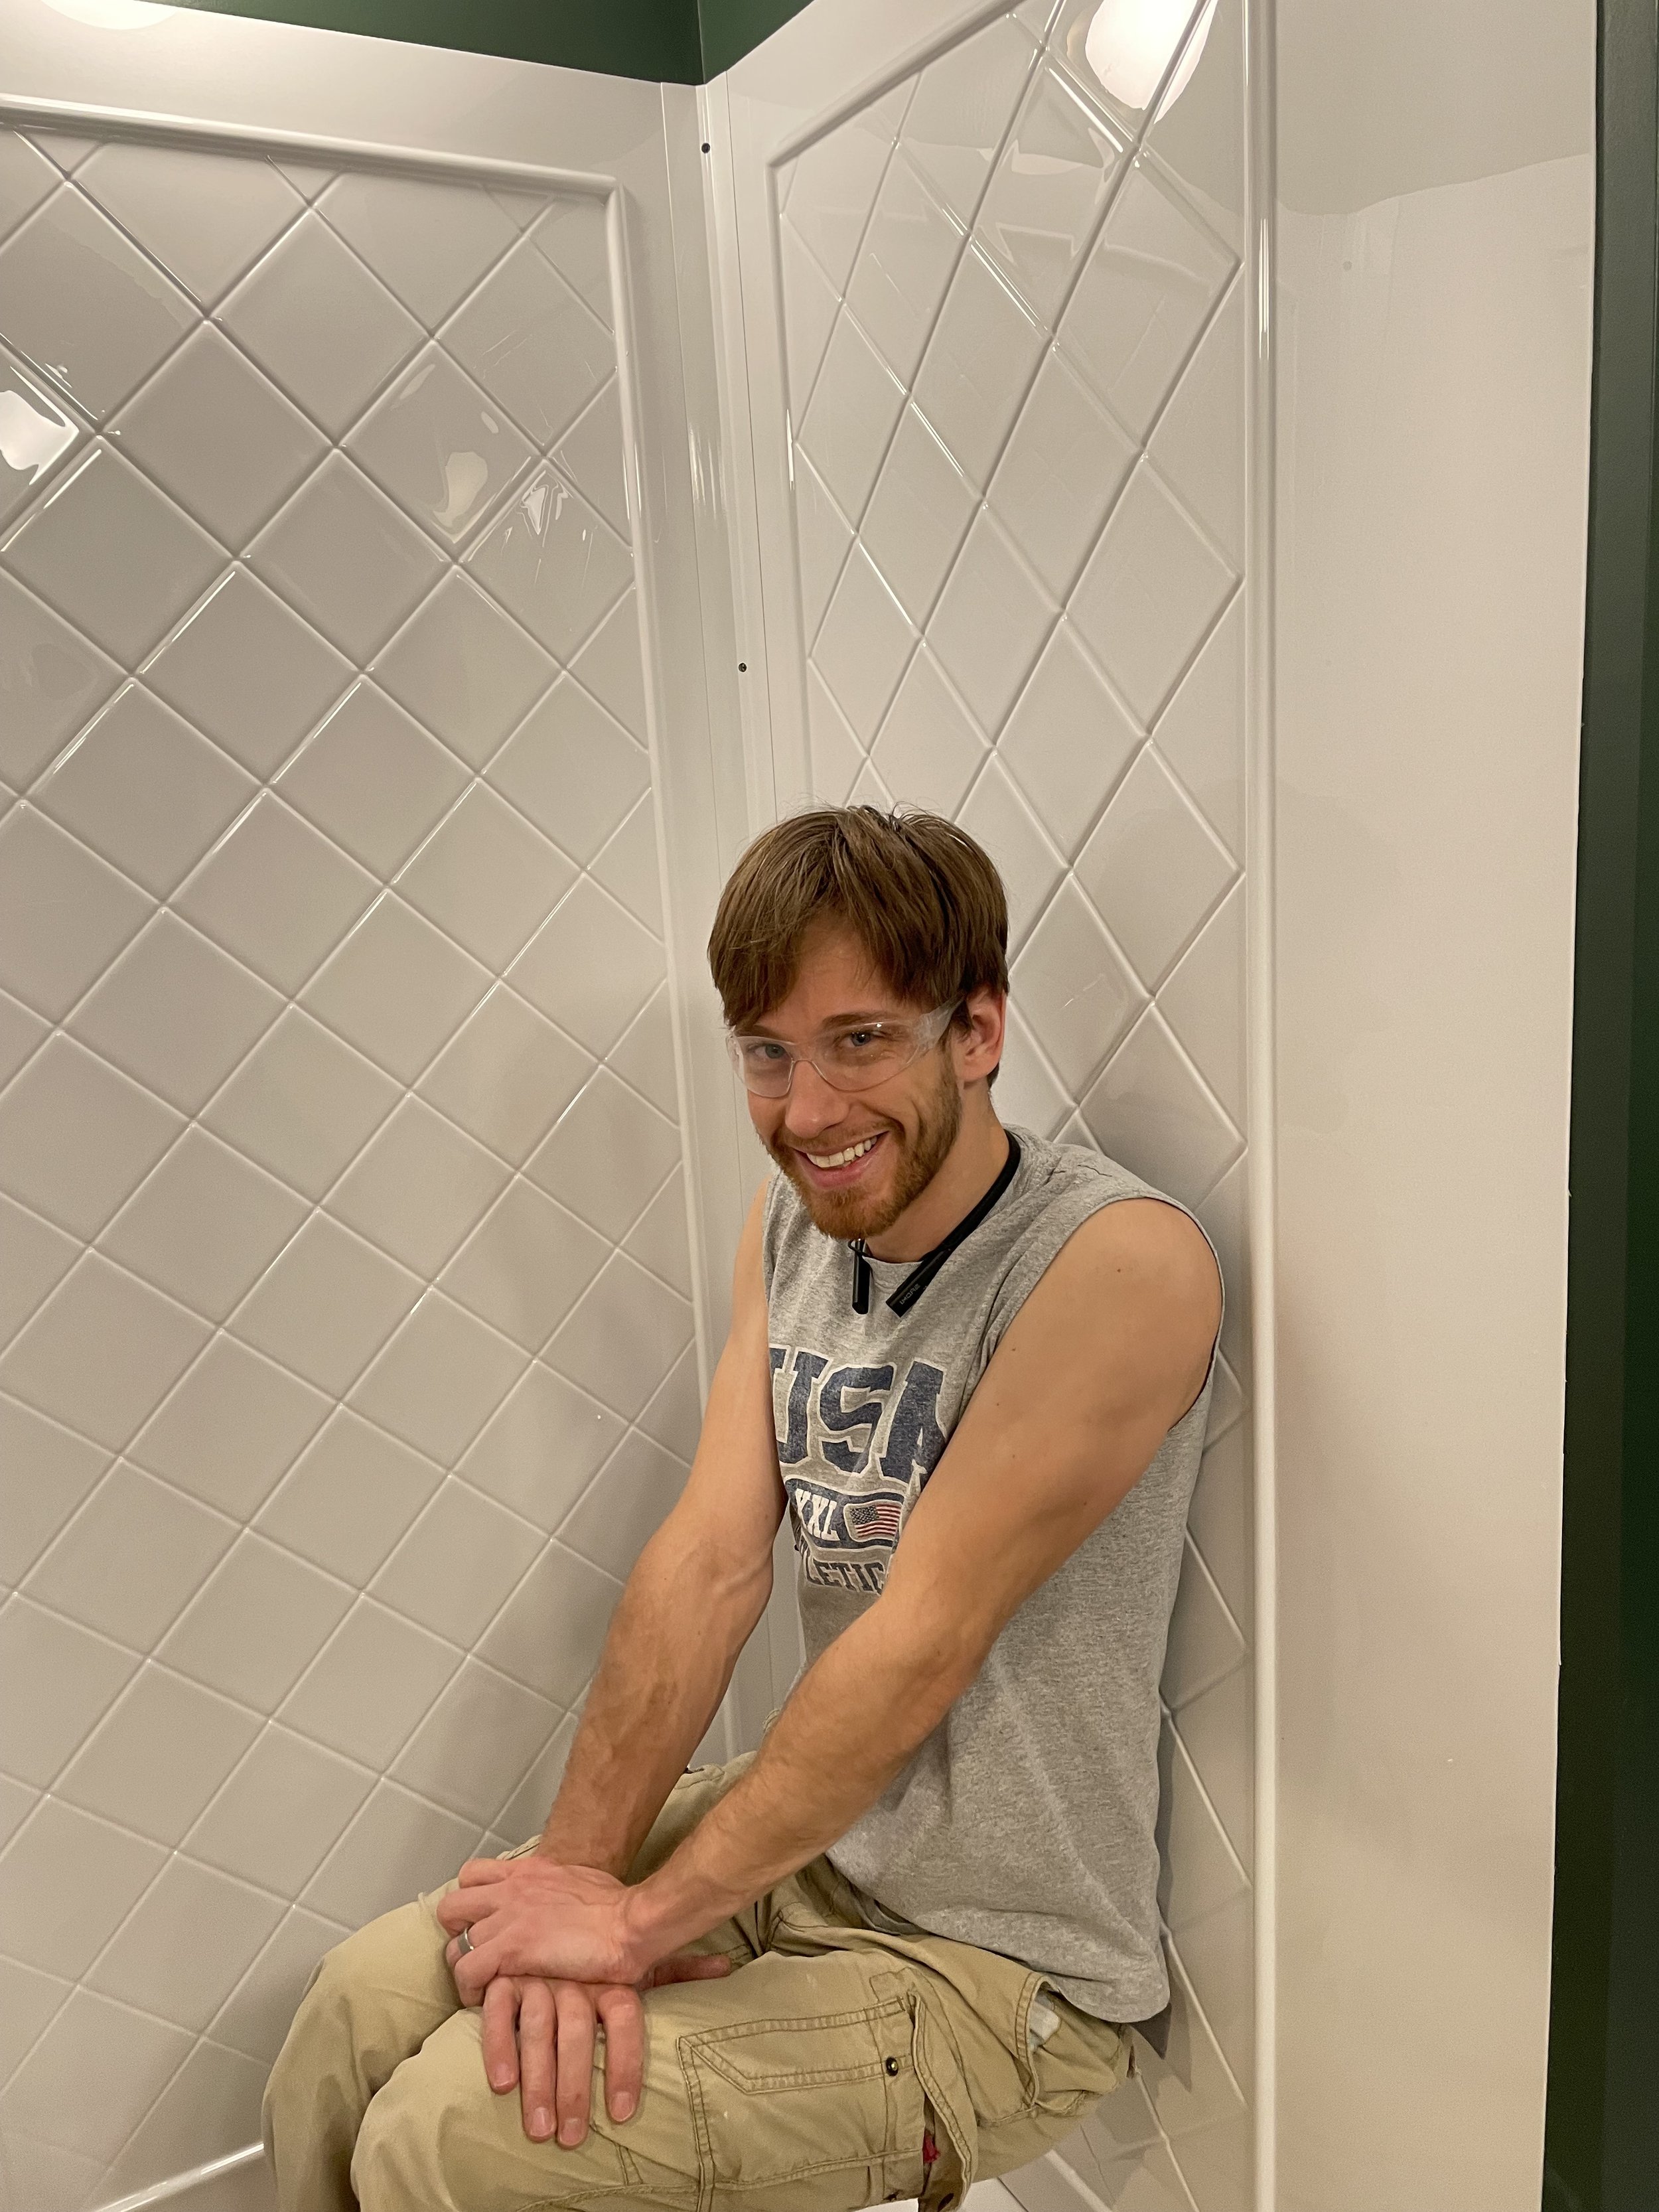
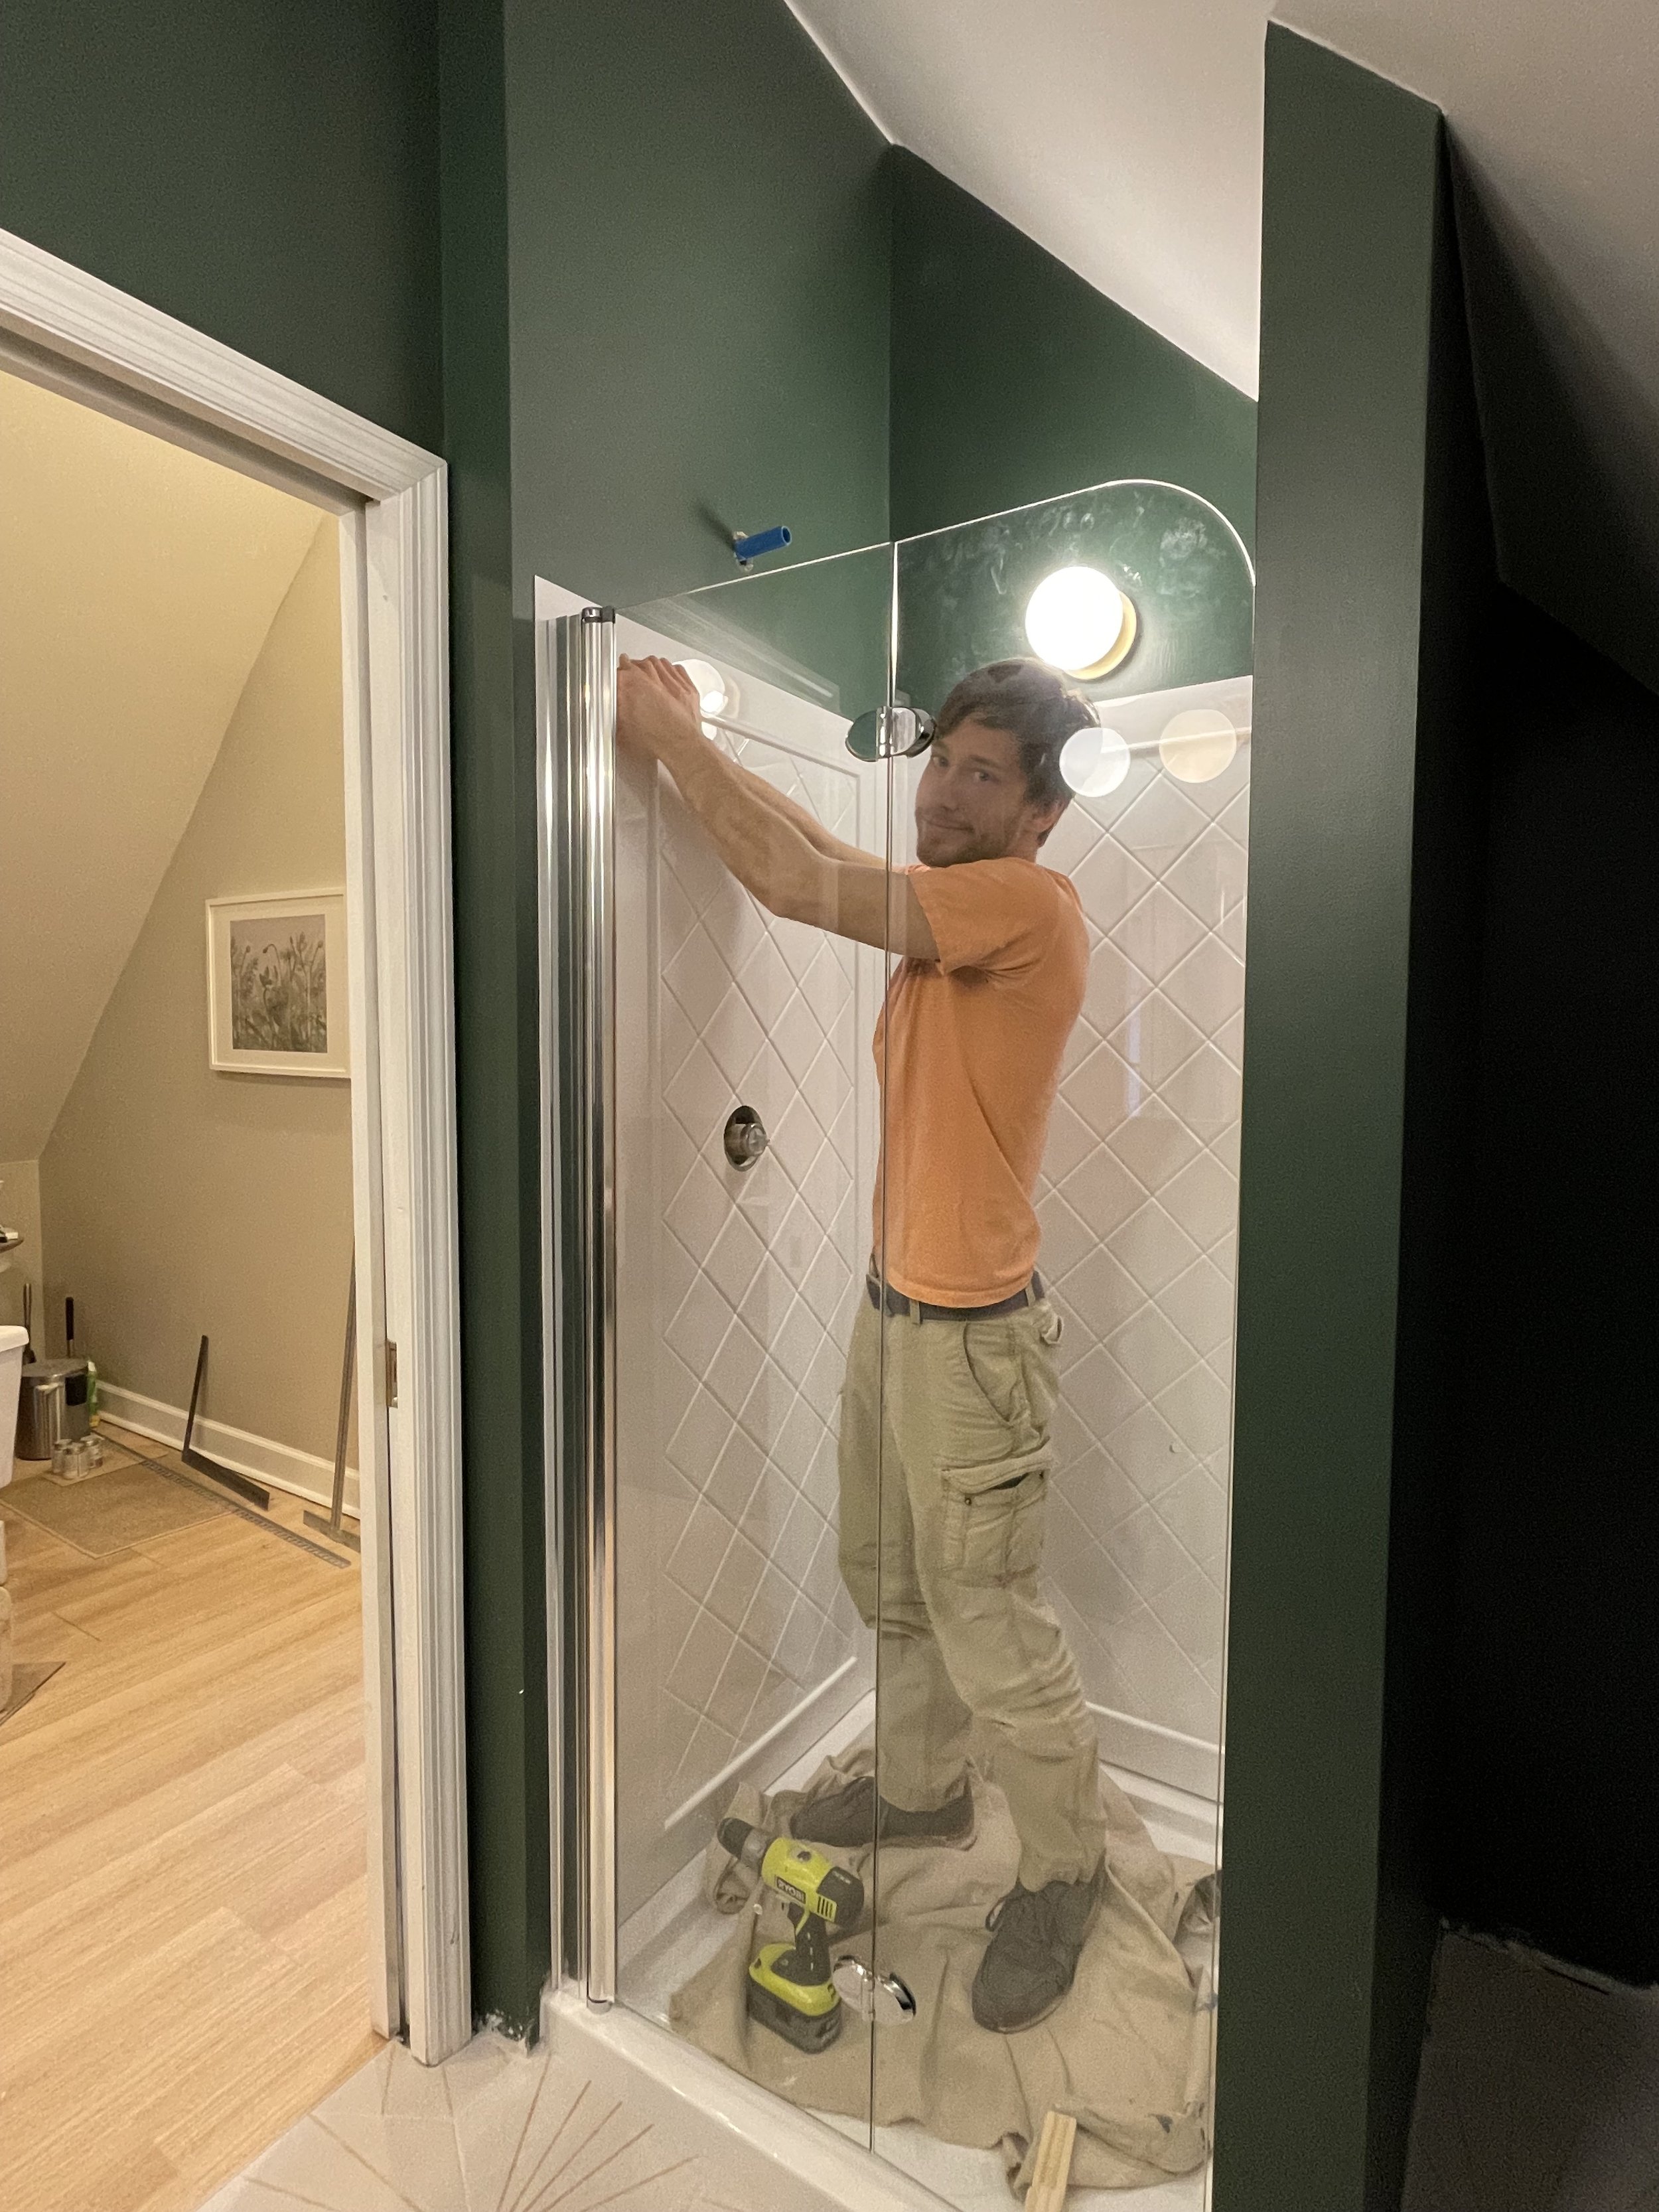
After the tile was grouted and dried, Joey and I installed the shower walls and door. It wasn’t a particularly difficult task, but it was tedious. I was initially surprised at how flimsy the walls were, but things seem to be functioning well now that it’s up! We had a mid-installation freakout that they weren’t adhering to the wall correctly. The directions for the shower kit said to apply consistent pressure, but how? After a while of wall sits and pressing ourselves against it, Joey had the genius idea of using an air mattress to apply pressure overnight. Worked like a charm! (And for what it’s worth, this was the superior adhesive.)
For an acrylic shower kit, I think this is exceptionally good-looking. I love that the door folds in the middle; it’s so great for a small space!
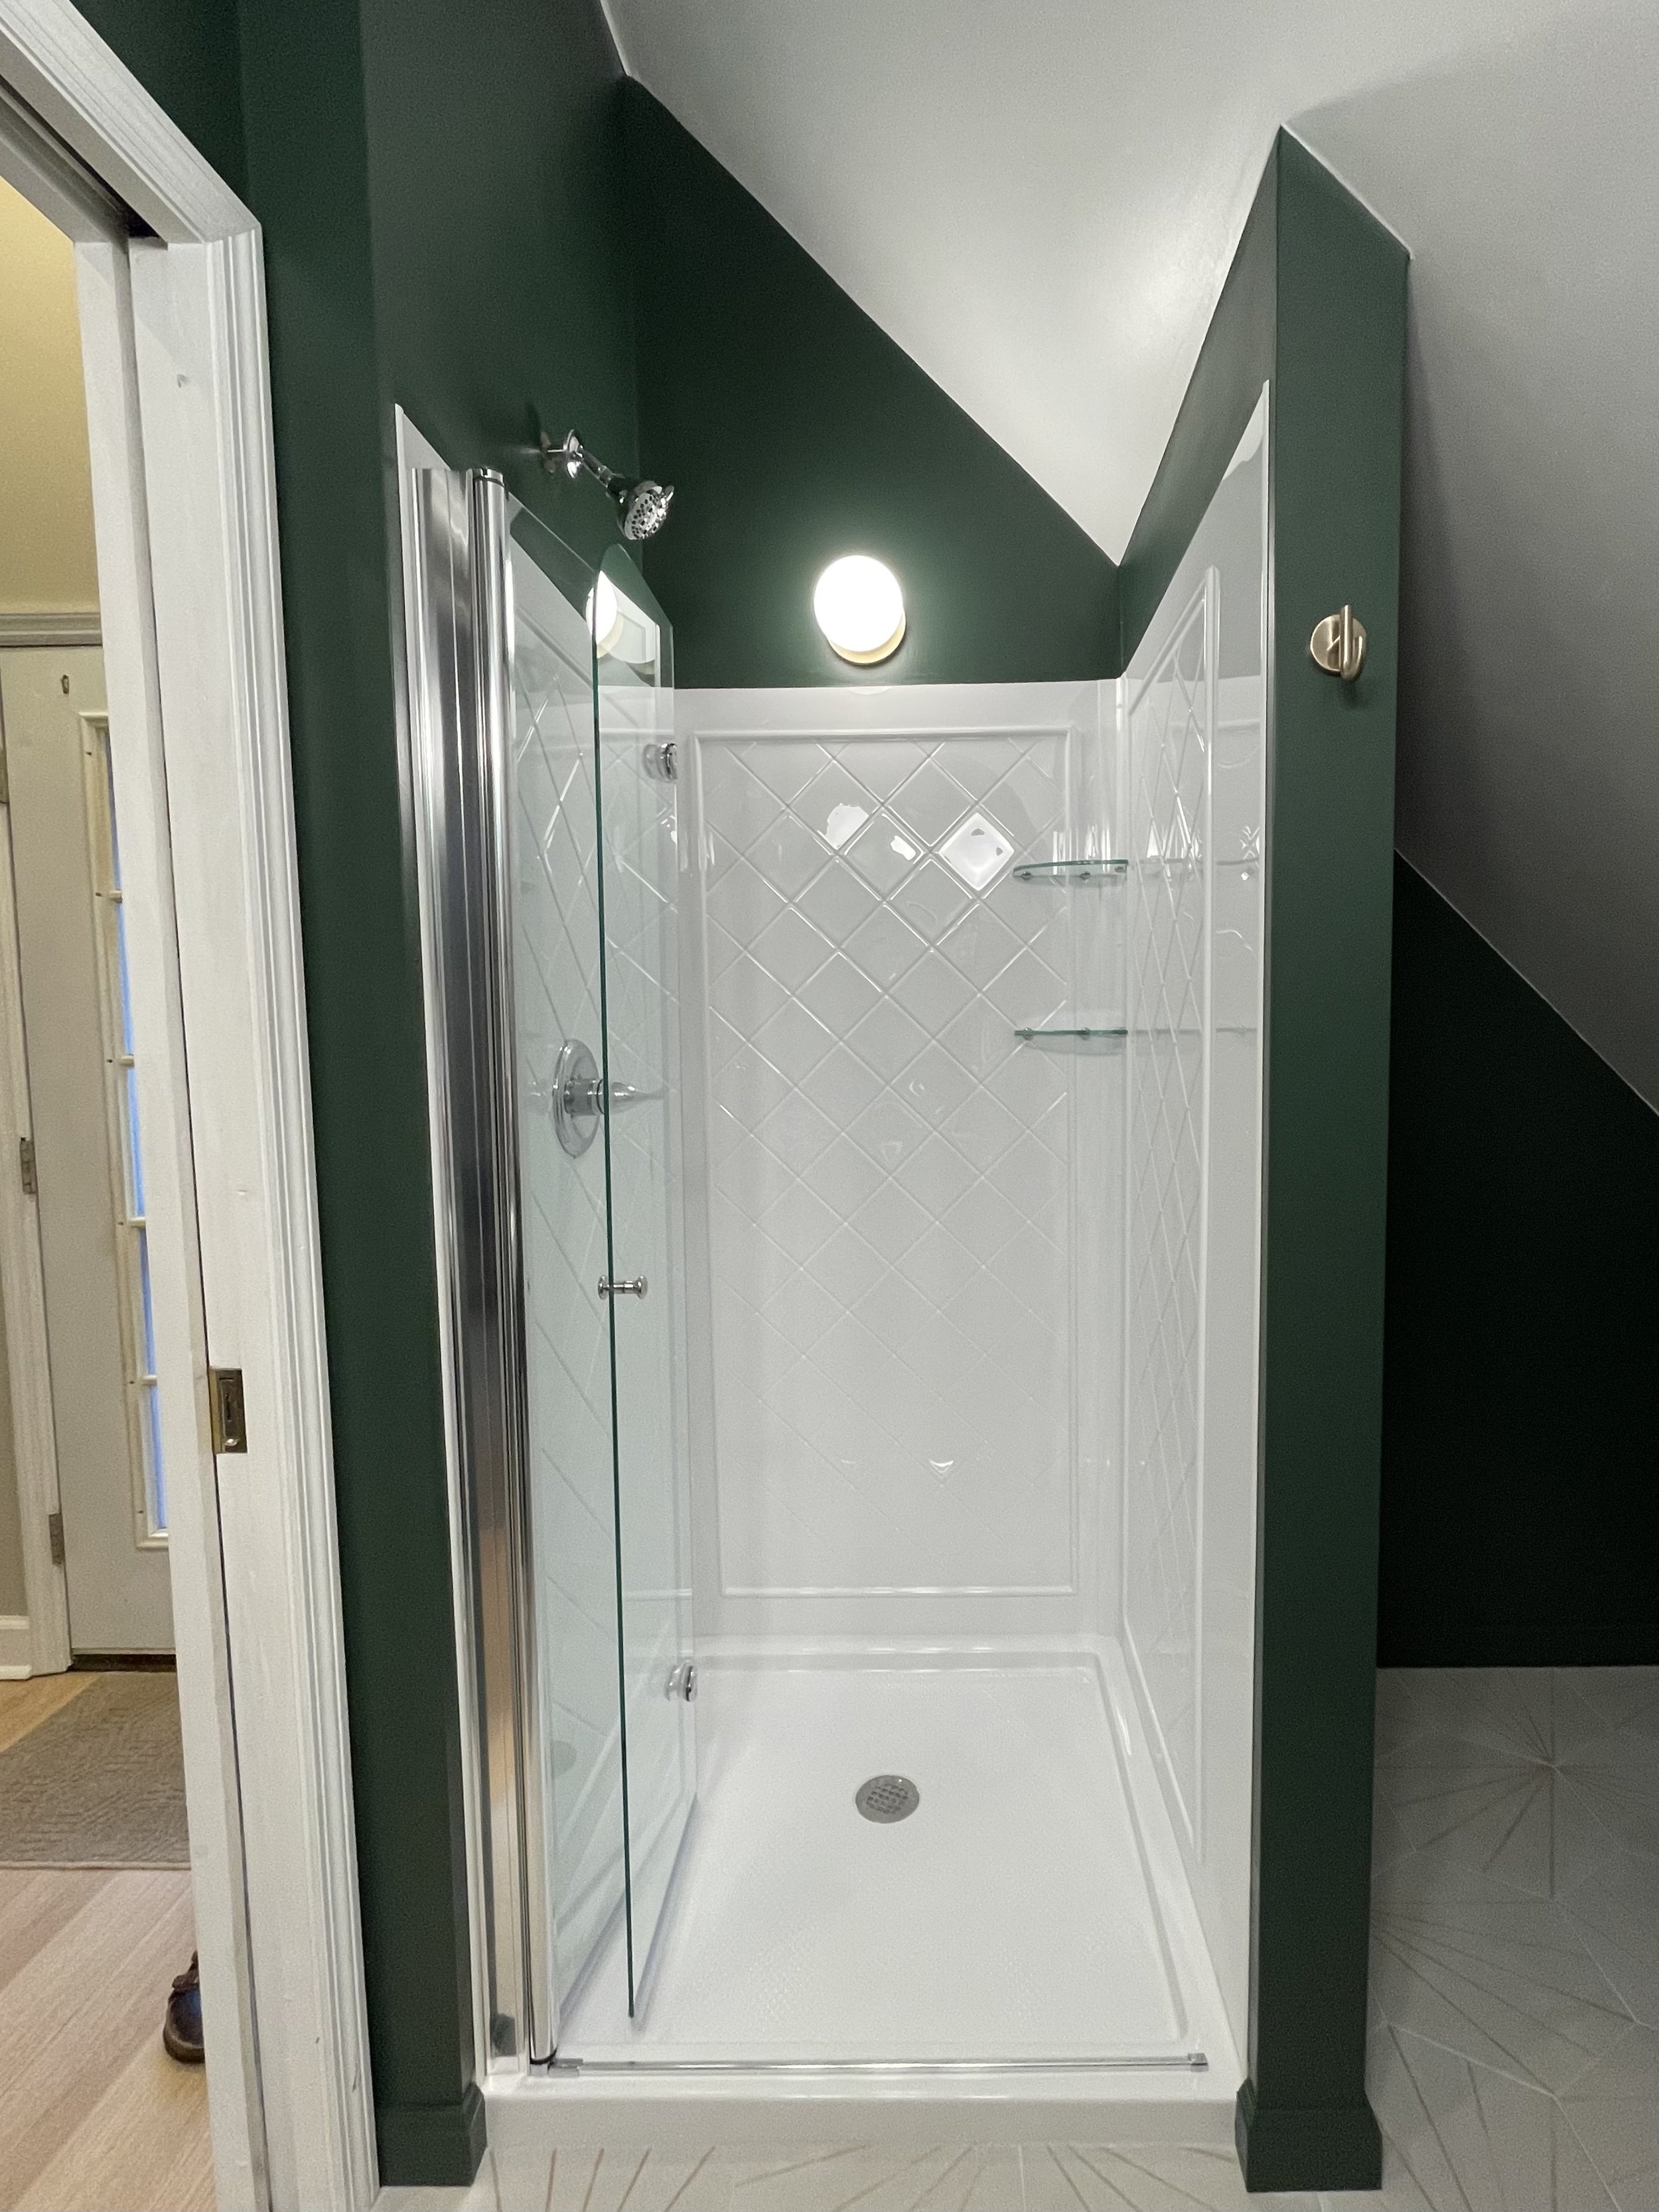
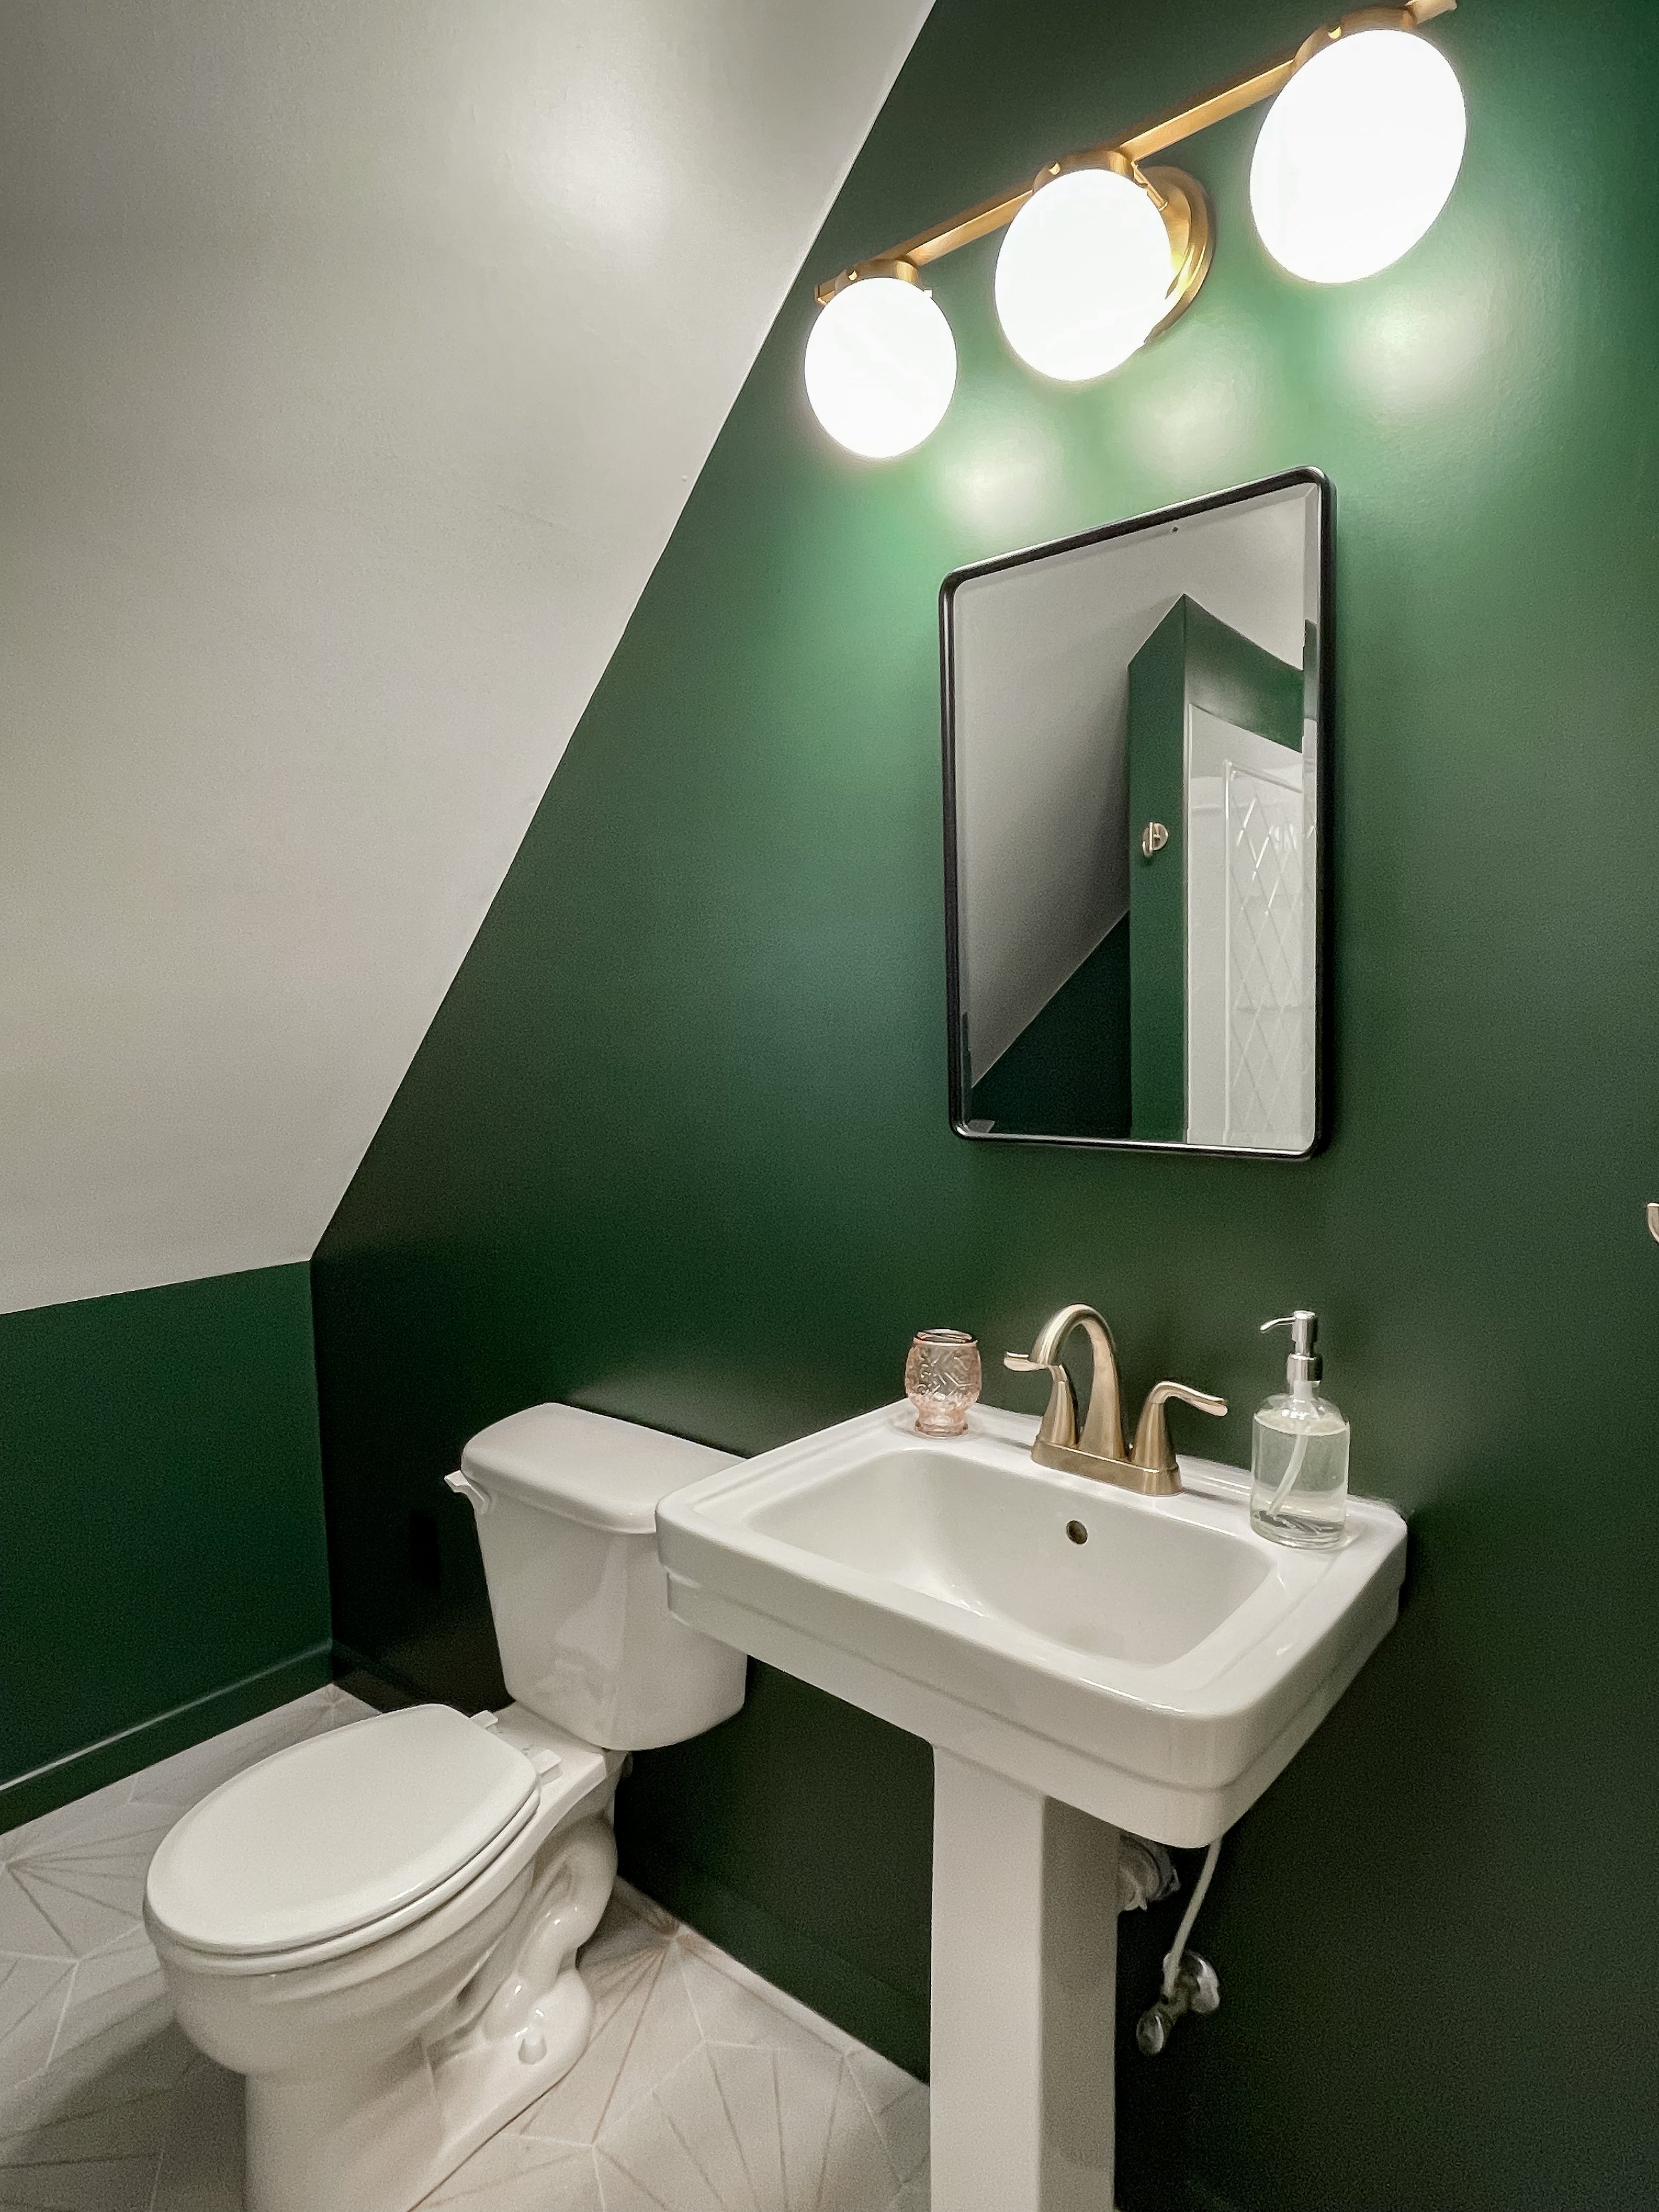
From here, it was the usual finishing touches: baseboards, caulking, paint touchups, hooks. And here’s my big reaveal (for now):


What did it cost?
Here’s how much it cost to renovate the bathroom, with a mix of DIY and professional help:
Framing & Drywall: about $200
Shower Kit: $1,657
Faucet: $131
Plumbing Supplies: $123
Plumbing Installation: $377
Floor Tile: $420
Tile Installation: $486
Tile Supplies (mortar, grout, etc.): $82
Paint: $53 (2 gallons of Sherwin Williams Promar 200 using a friend’s discount)
Medicine Cabinet: $194
Vanity Sconce: $148
Shower Sconce: $88
Toilet Paper Holder: $31
Robe/Towel Hook: $25 each
Hamper: $35
Grand Total: $4,229
We would have saved about $1600 without the extra costs of going all-in. That’s mostly the cost of tile (about $1,000) followed by upgrading the lighting ($236) and faucet + accessories ($212) and the medicine cabinet. All-in-all, I think it was very worth the upgrade costs! Now that it’s finished, I can’t imagine the room without any of those things changed.
We’re not quite finished in here! We still need to build the shelves in the corner, and I’d like to put a small piece of art above the toilet. But it’s tidy and functional, so we’re moving on to our next projects, and we’ll circle back later to level it up one more notch.
A few more photos to round it out! I desperately wish I’d had the time to accessorize and style this room, but I didn’t and I’m giving myself some grace here - it still deserves to be shared! If I wait for things to be perfect, I’ll never post anything!

Next up for the Hakanson Home:
Shortly after we finished this project, our whole house received new windows and interior trim! It’s part of our ongoing effort to make sure that we’re creating a great base on which to build. It’s massively transformed our home in a subtle way, and I can’t wait to share more.
New windows has been our gateway project: on the other side of new windows are several projects that we’re excited to tackle but weren’t worth starting before such a big project. A few of those projects we’re hoping to get to this year:
The Study: this was supposed to be our first project after we moved in, but we weren’t counting on working from home! (We moved in March of 2020.) It hasn’t been touched since we moved in, so it will be getting a full demo.
The Master: I’m so excited to level up our bedroom! We added a window, and down the road it will get wallpaper and finishing touches like a standing mirror and a great rug. I’m really looking forward to taking it from a nice room into something really special.
New Doors: we’re hoping to get new doors and trim for the whole house. Lead times on doors are pretty tricky right now, but it will make a world of difference to swap out our cracked, crooked, and overall very sad slab doors. We will also need to get this finished in order to finish the study and our bedroom.
The Kitchen & Laundry: We’d love to tackle it this year, but it seems like a reach! We’ll be fully gutting it and building our dream kitchen (okay, we are on a budget, so maybe a few steps below our dream kitchen). With as much as we cook, it will be a huge life upgrade!
It’s a lot for a year, and we’re already half way through our time!
This post includes affiliate links. Click here to learn more.